Bunny and Bear Crochet Pattern: 15 Beautiful Tips
PLUSH AMIGURUMI PROJECT • ENGLISH US TERMS
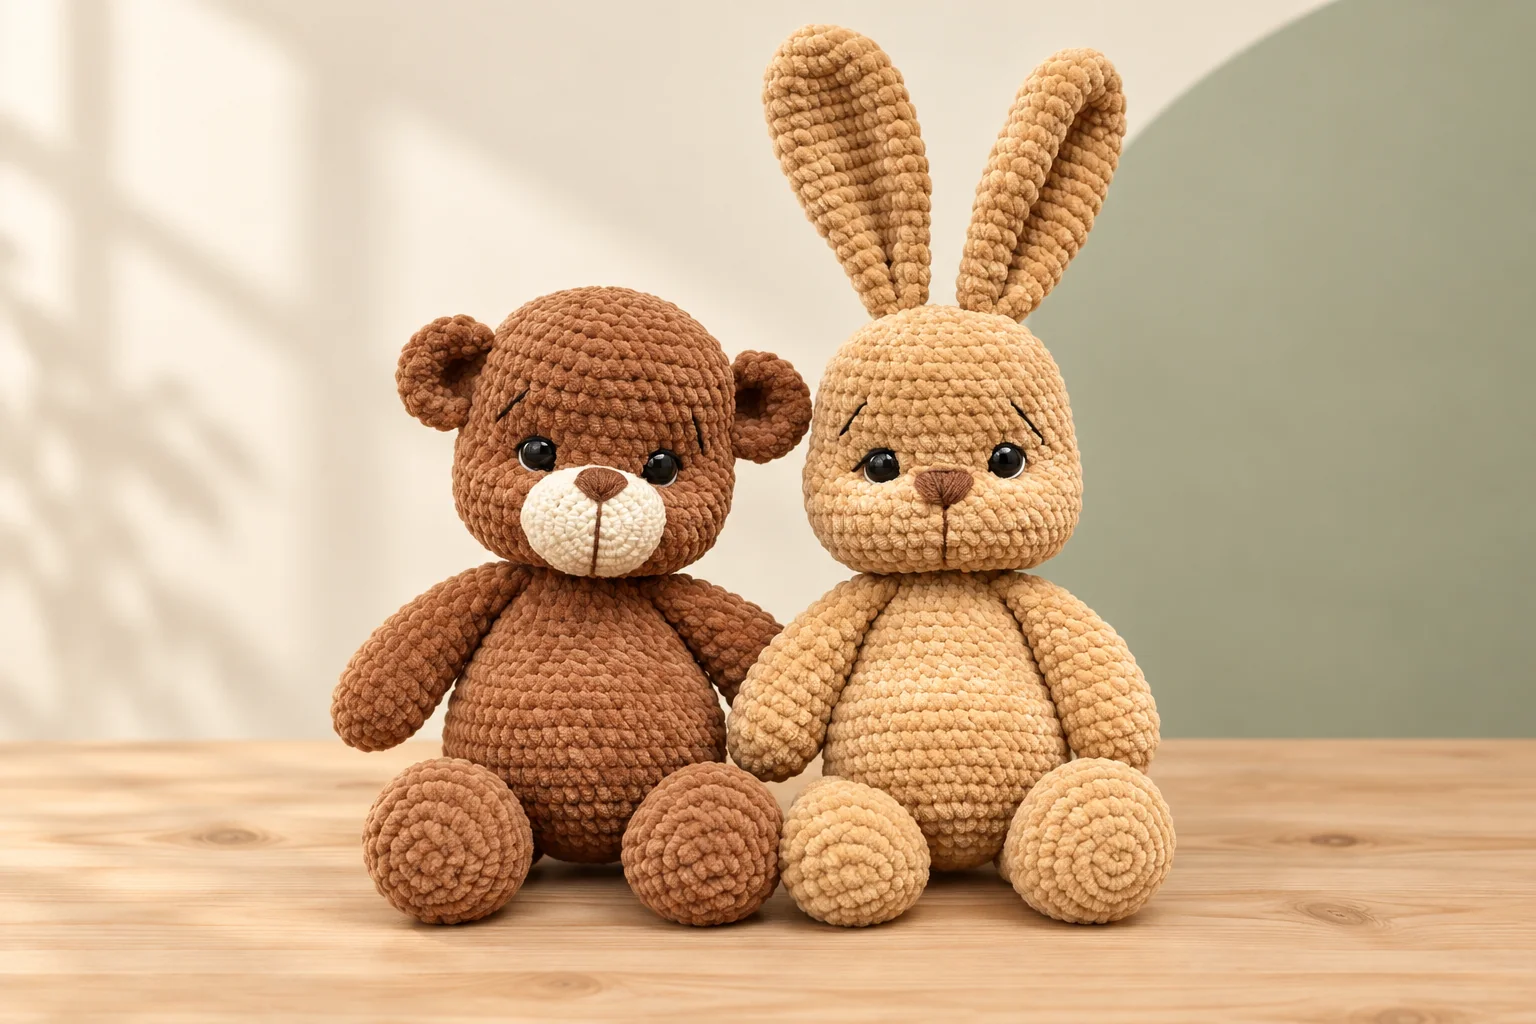
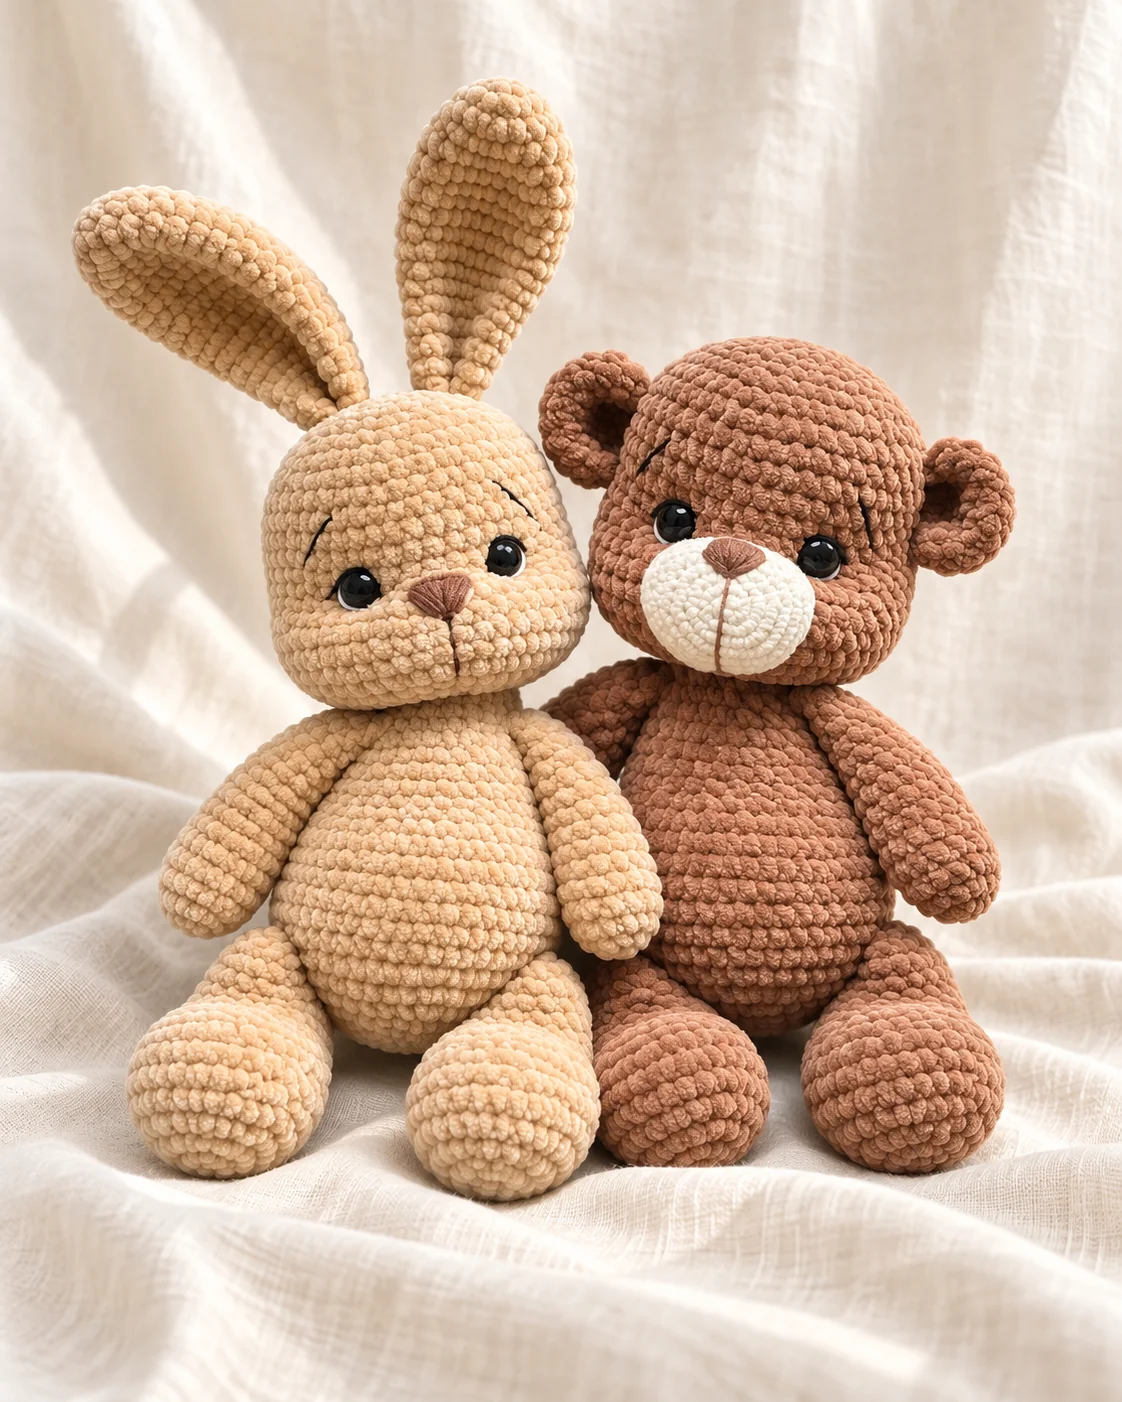
This bunny and bear crochet pattern brings two woodland friends to your crochet basket. The sandy bunny has tall ears and rounded cheeks. The brown bear has little curved ears and a creamy muzzle. Together, they make a lovely pair with soft bellies, chunky paws, and thoughtful embroidered faces.
If you enjoy watching simple crochet shapes turn into little characters, this project has plenty to love. You can make your favorite animal first, then use the same construction skills for its companion.
Below, you will find the materials, a construction overview, and fifteen practical tips for a neat finish. This article helps you prepare and understand the project. Keep the complete PDF beside you for the exact rounds, stitch counts, placement instructions, and close-up assembly photographs.
Meet the Bunny and Bear Crochet Pattern
These animals share a rounded body shape, but their faces give them different personalities. The bunny looks curious. Its long ears draw your attention upward, while the sculpted cheeks soften the lower face. A small brown nose finishes the expression without covering the plush texture.
The bear feels warm and familiar. Its contrasting muzzle gives the face a clear center, and the rounded ears balance the broad head. The original brown and sandy shades look beautiful together, especially against a plain background where the stitches can stay in focus.
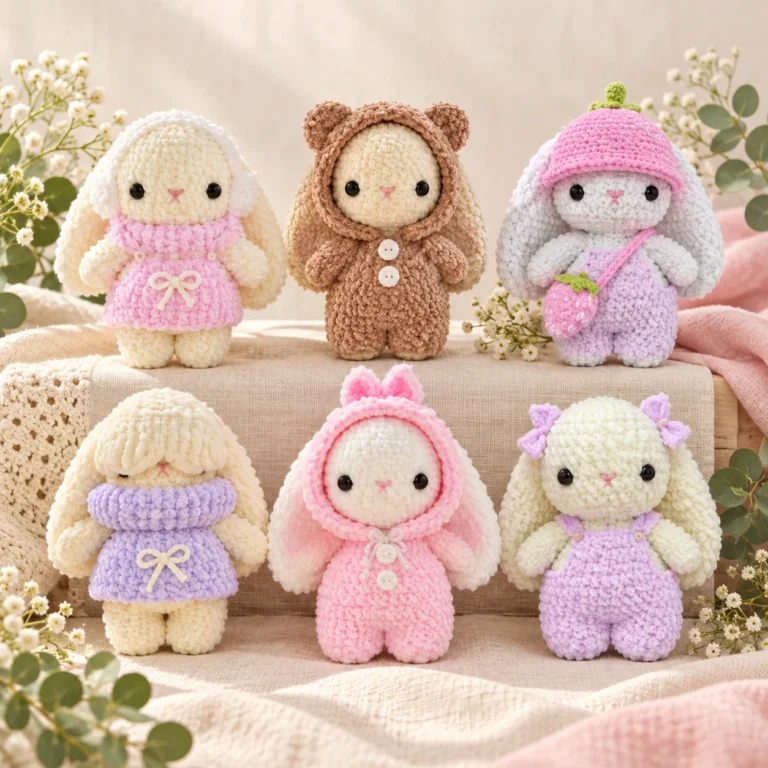
You do not need to add clothing to make this pair feel complete. Their appeal comes from the proportions, the texture, and those small facial details. If you prefer a dressed character, our crochet bunny pattern with clothes offers a different project with a coordinated outfit.
Materials for the Bunny and Bear Crochet Pattern
Gather your supplies before starting. The list below follows the pattern rather than guessing from the photographs. Yarn substitutions can change the size, firmness, and appearance of both animals, so treat the stated height as a guide rather than a guarantee.
Main yarn and colors
- Bear: YarnArt Dolce, brown 765, approximately 1.5 skeins.
- Bunny: Wolans Bunny Baby, sandy 100-18, approximately 1.5 skeins.
- Nose embroidery: YarnArt Jeans, brown 40.
- Facial details: YarnArt Jeans, black 53.
- Bear muzzle: YarnArt Jeans, milky 03.
Hooks and other tools
- A 3.75 mm crochet hook for the plush yarn.
- A 1.75 mm crochet hook for the cotton yarn.
- Safety eyes measuring 16 mm in diameter.
- An optional safety nose measuring 20 × 16 mm.
- Fiberfill or polyester stuffing, stitch markers, and a tapestry needle.
- Scissors and removable pins for positioning pieces before sewing.
The pattern allows an embroidered nose or a safety nose. Choose your finishing method before you reach the face. For a project intended for young children, choose suitable materials and construction carefully; the name “safety eyes” does not make a finished toy automatically suitable for every age.
Before You Start: Read the Pattern Once
The bunny and bear crochet pattern assumes that you already know basic crochet techniques. It is not a first lesson in holding a hook or making a stitch. You should feel comfortable with a magic ring, single crochet, increases, decreases, and working around a small stuffed shape.
The abbreviations include MR for magic ring, sc for single crochet, inc for increase, dec for decrease, sl st for slip stitch, and ch for chain. A repeated sequence appears inside parentheses. Read both the sequence and its repeat number before working the round.
Need a refresher? Visit our beginner crochet guides and crochet tutorials. The Craft Yarn Council abbreviation guide is another useful reference for US crochet terms.
1. Choose Your First Animal
Start with whichever character makes you most excited to pick up your hook. The bunny has long ears and a plush face. The bear adds a separate milky muzzle, which gives you a smaller cotton piece to crochet and attach.
Making one animal first lets you learn the construction without managing two sets of pieces at once. Keep its yarn and unfinished parts in one basket. When you begin the second animal, your notes will make the shared steps easier to follow.
2. Test Your Plush Yarn and Hook
Use the specified 3.75 mm hook as your starting point for the plush sections. Make a small sample and look at the fabric gently stretched over a little stuffing. The stitches should sit closely enough that large gaps do not appear.
Avoid solving every gap by pulling harder. Very tight tension can make the work uncomfortable and the decreases difficult. Yarn thickness varies, so a substitute may need a different hook. Make that decision before the main pieces, then keep your tools consistent.
3. Keep a Marker in Every Round
Plush fibers can hide the top of a stitch, especially under warm evening light. Mark the beginning of each round and move the marker as you work. Count before starting the next round, particularly when the instructions include several increases or decreases.
If you stop halfway through a section, write down the round number and where you paused. One short note saves a lot of searching later. For longer rounds, extra temporary markers can divide the work into smaller groups that are easier to check.
4. Make the Upper Paws Match
Crochet both upper paws close together in your schedule. Your tension is more likely to stay similar, and you will remember how the first one felt. Compare their length, width, and curve before closing either piece completely.
The pattern calls for stuffing only half of the upper paw before folding and crocheting across the opening. Follow that instruction rather than filling the whole arm firmly. The unfilled area helps the attachment sit neatly and keeps the paw from looking stiff.
5. Shape the Bottom Paws Carefully
The lower paws begin around a foundation chain, creating an oval rather than a simple circular base. Read the first round slowly. Working along both sides of a chain can feel different from the magic ring starts used elsewhere.
The pattern later moves the round beginning toward the heel. That adjustment matters because it controls where the shaping sits. Do not keep the old marker position out of habit. Compare both heels and toes before stuffing and closing the paws for joining.
6. Check the Paws Before Joining
In this bunny and bear crochet pattern, the paws become part of the body as you crochet. Lay them beside the body before the joining round. Check which surface faces forward and make sure neither piece is twisted.
Follow the exact joining counts in the PDF. After completing the round, pause and inspect the front, back, and sides. A misplaced paw is much easier to correct now than after the body and head are finished. Take a quick reference photo if it helps.
7. Keep the Body Marker at the Back
Some body instructions use the center back as a reference. This is especially important around belly shaping and upper-paw attachment. Keep checking the position of your marker instead of assuming it has stayed aligned as the rounds develop.
Add stuffing gradually while the opening is comfortable to reach. The belly should look rounded without stretching the stitches apart. Rotate the body in your hands and gently redistribute the filling if one side looks fuller than the other.
8. Continue Smoothly Into the Head
The body flows directly into the head without cutting the yarn between those sections. Read ahead before finishing the neck so you do not fasten off automatically. This continuous construction removes a separate head attachment seam.
Keep counting as the head expands. The larger shape can make an unnoticed extra stitch more difficult to spot by eye. Add filling in small amounts and check the cheeks from the front. The pattern asks for a firmly stuffed, rounded head with plump cheeks.
9. Plan the Eyes Before Closing
The PDF places the eyes between rounds 36 and 37, with eight single crochet stitches between the eye stems. Use those written positions as your reference. Do not estimate the placement from an angled photograph or count the decorative eye whites instead.
Look at the face straight on before securing the components. The head can shift while you hold it, making level eyes seem uneven. Set the work down, check both sides, and then continue. Taking this small pause protects the gentle expression you are trying to create.
10. Sculpt the Cheeks Gently
Facial sculpting gives the bunny and bear crochet pattern much of its character. The guide uses doubled brown YarnArt Jeans and marked needle points. Follow the numbered photographs carefully so the thread travels through the intended parts of the head.
Pull gradually rather than tightening the thread all at once. Watch both cheeks as the shape changes. You want a balanced face, not a deep dent on one side. Secure the thread only after the expression looks even from the front and at a slight angle.
11. Attach the Bear Muzzle Evenly
The bear’s muzzle uses milky YarnArt Jeans and the smaller 1.75 mm hook. This firmer, smoother texture makes a gentle contrast with the plush head. Leave the sewing tail specified in the pattern instead of cutting it short.
Pin the muzzle below the eyes and check that it is centered. Sew with small, steady stitches and add stuffing as directed while attaching it. Pause occasionally to make sure the circle has not drifted sideways. A centered muzzle makes the nose placement much easier.
12. Build a Neat Embroidered Nose
Mark the nose shape before making permanent stitches. The guide shows a small triangle with three points, then layers embroidery across that shape. Keep the strands smooth and avoid pulling them so tightly that they disappear into the plush surface.
The photographs show brown embroidered noses. A wording inconsistency in the source refers to a milk color for the bear’s nose, and the redesigned PDF flags that difference. Use the photo guide and that note when deciding your finish; do not mistake the creamy muzzle for the nose.
13. Add Eyelids and Brows Slowly
Small embroidery details can change the whole face. Work with the single strand specified for the black facial details, and keep the thread manageable. Long lengths tend to twist and snag as you pull them through the stuffed head.
Mark both eyebrows before stitching either one. Check their height and angle together, then work slowly. The white eye accents add another little highlight. Follow the photographs for their position, keeping the outlines clean so the dark eyes remain the focus.
14. Position the Ears Before Sewing
The bunny’s tall ears and the bear’s rounded ears need different placement. Pin both ears in position before attaching them permanently. Look from the front and side, and compare the bases rather than judging only the tips.
The source contains conflicting round descriptions in the ear sections. These are flagged in the redesigned PDF rather than silently changed. Read those notes before crocheting or attaching the ears. If the intended count remains unclear, contact us before proceeding instead of guessing from the finished photograph.
15. Finish the Tail and Inspect Everything
Attach the tail at the center back following the placement in the PDF. Add its stuffing as instructed, then secure the yarn ends inside the work. Turn the animal slowly and look for loose threads or areas needing a little reshaping.
Compare the paws, ear bases, and facial details one last time. A handmade toy does not need machine-perfect symmetry to be beautiful. Aim for balanced shapes, secure joins, and a face you enjoy looking at. Those details make the finished pair feel thoughtfully made.
Color Ideas for Your Plush Pair
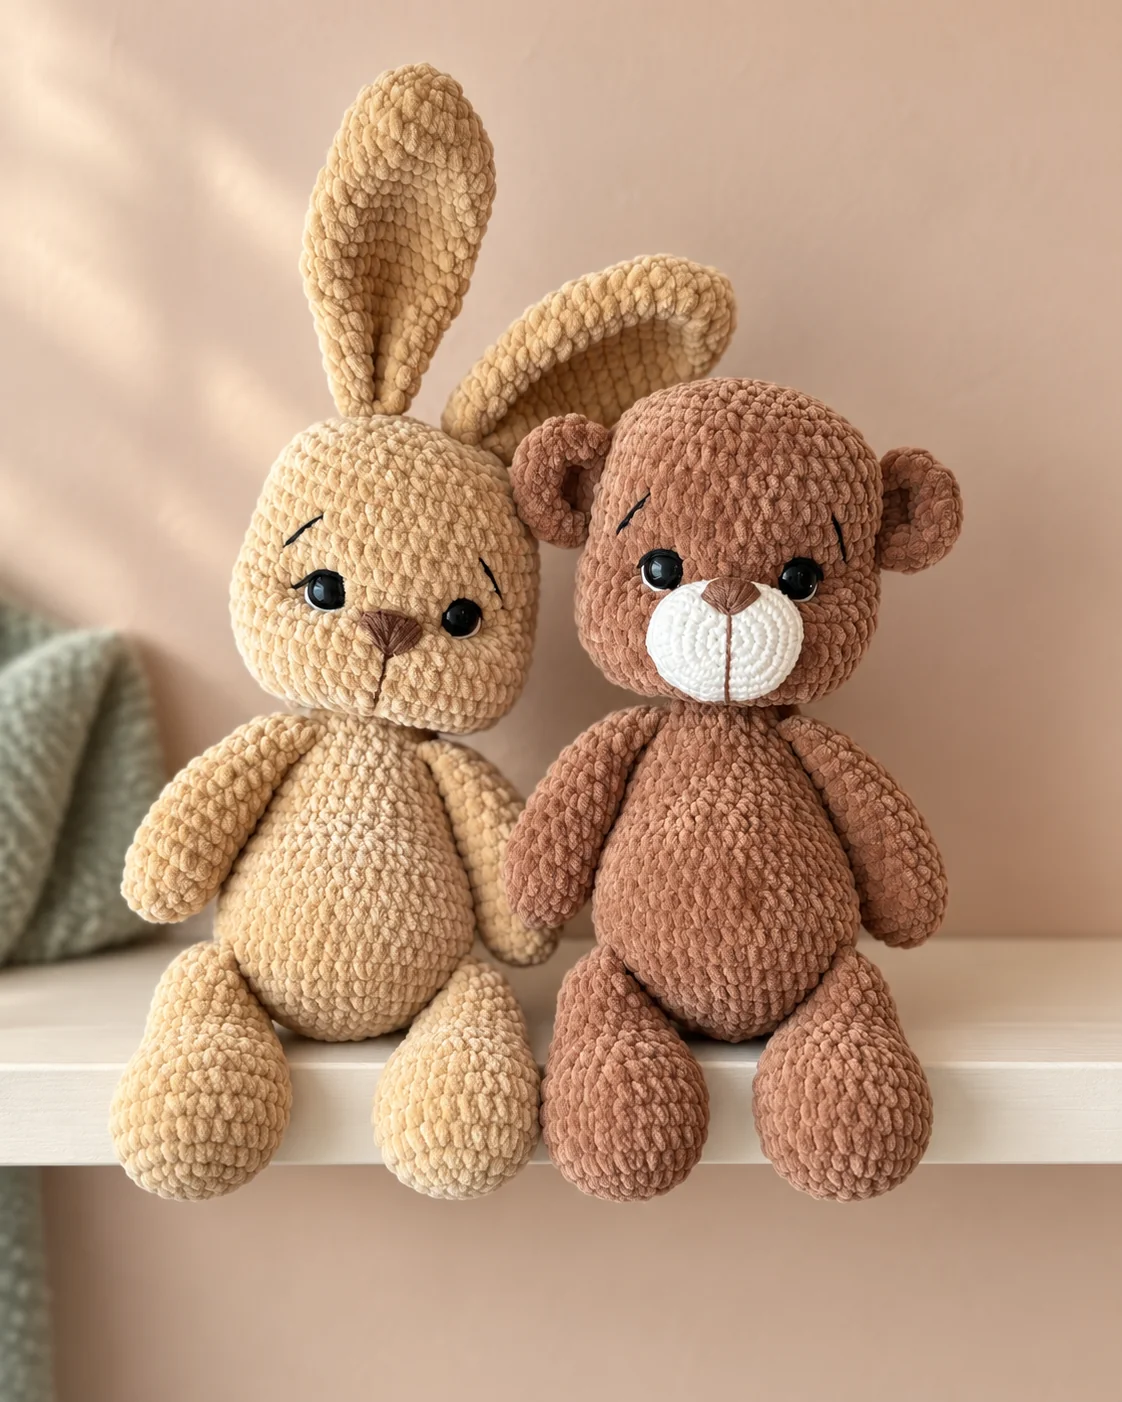
The original sandy bunny and brown bear create a soft woodland palette. Keeping those colors is a lovely choice for your first pair because the photographs remain easy to compare with your work. The milky bear muzzle provides contrast without making the face busy.
For a lighter pair, consider ivory and warm beige in comparable yarns. For a cooler look, try a pale gray bunny beside a deeper gray bear. Keep enough contrast between the bear’s muzzle and head so the facial embroidery remains visible.
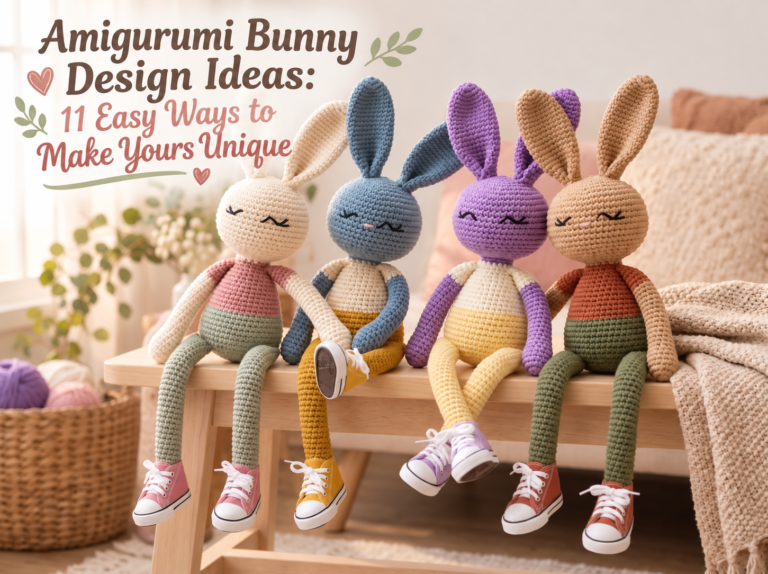
Change color first before changing yarn thickness, hook size, and finishing details together. That way, you can see what each choice does. Our amigurumi bunny design ideas can help you plan a palette for a future project.
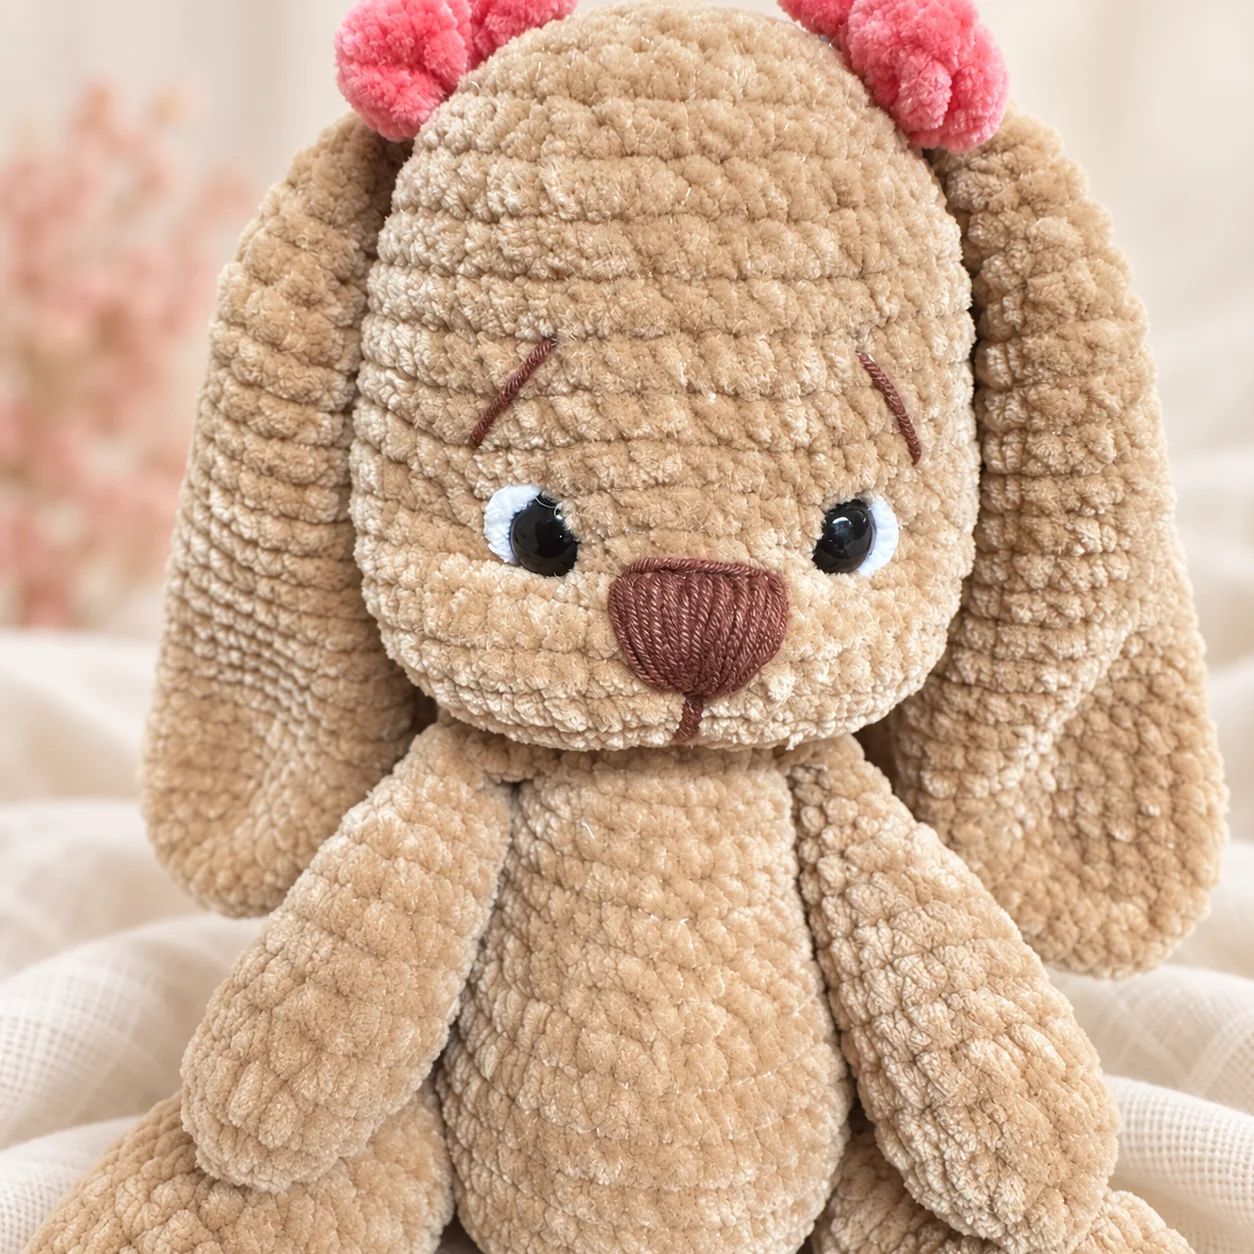
A different bunny for decoration inspiration
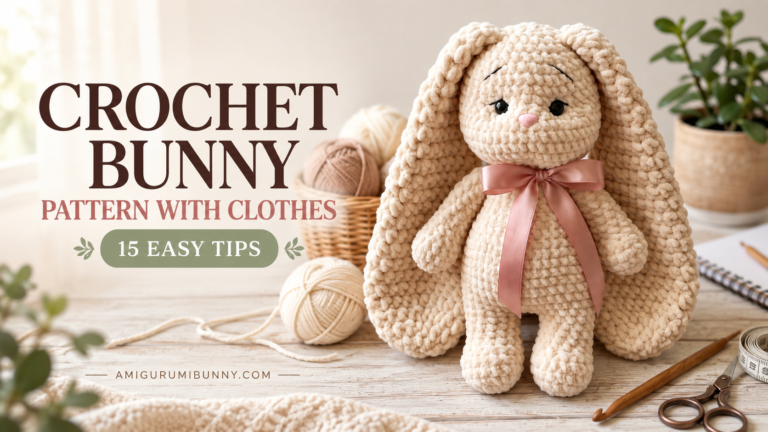
The floppy-eared bunny below is a separate styling reference supplied for this article. Its pink bows and different ear shape are not instructions included in the bunny and bear crochet pattern. Use it as inspiration for color accents and facial expression, not as an exact preview of the PDF result.
Common Plush Yarn Problems
Your stitch count keeps changing
Check the last completed round before continuing. Look for a missed increase, an extra stitch beside the marker, or a decrease worked into the wrong loops. Correct the earliest mistake you can identify instead of adjusting the next round at random.
The magic ring is difficult to close
Chenille fibers can catch against one another. Move the stitches gently and tighten the tail in stages rather than pulling sharply. If the yarn is weakening or shedding heavily, stop and restart with fresh yarn before building more rounds onto an unstable beginning.
Stuffing shows between the stitches
First, remove a little filling and check the shape again. If the gaps remain, review your tension and hook choice. Do not change hooks halfway through a matching pair of paws without considering how that will affect their size.
The face looks uneven
Check the stuffing before redoing the embroidery. A lump beside one eye can make correctly placed features appear crooked. Smooth the filling gently, set the animal upright, and inspect it again. Only change the stitching after you understand what is causing the difference.
Photograph and Care for Your Finished Friends
Use a simple background and soft window light when photographing your pair. Keep the camera near face height for one clear front view. Then take a full-length image showing the ears and paws, followed by a closer view of the embroidery.
Keep styling props away from the face. A folded cloth or small yarn basket can support the handmade mood, but the animals should remain easy to see. The images in this article have edited backgrounds and arrangements; use the PDF photographs as your construction references.
For cleaning, follow the care labels of every yarn and component used. Test gentle spot cleaning on a discreet area first. Avoid strong rubbing that could disturb the plush fibers, and allow the filling to dry completely before putting the animals away.
Bunny and Bear Crochet Pattern FAQ
Does the PDF include both animals?
Yes. It covers the shared paws, body, and head construction, plus the bunny ears, bear ears, bear muzzle, tail, and facial finishing. You can make one character or work toward a matching pair.
Is this a completely no-sew pattern?
No. The paws are joined during the body rounds, and the head continues from the body. However, the ears, bear muzzle, and tail still require attachment, and the face includes sculpting and embroidery.
Can a complete beginner make it?
Basic crochet knowledge is required. If you are new to amigurumi, practice the stitches on a small project first. The plush yarn and detailed face are easier to manage once counting, increasing, and decreasing feel familiar.
Will my animals be exactly 30 cm tall?
Not necessarily. The stated height is approximately 30 cm with the recommended materials. Your tension, yarn substitution, stuffing, and finishing can change the measurements. Keep notes if you want to repeat the same size later.
Is the floppy-eared bunny included?
No. The pink-bow bunny shown as decoration inspiration is a different design. This PDF’s bunny has the tall ears shown with the brown bear. The caption identifies the separate reference so you can choose the correct project.
Where can I ask about the instructions?
Email contact@amigurumibunny.com with the page, section, and round you are working on. Include your yarn and hook size, plus a clear photo if useful. You can also find us on Instagram as @amigurumi_bunnyy.
Get Ready for Your Next Cozy Project
Choose your first character, gather the listed supplies, and keep the bunny and bear crochet pattern nearby while you work. Take your time with the cheeks, muzzle, and ears. These finishing stages turn a set of crocheted shapes into two recognizable little friends.
The PDF is a crochet pattern, not a finished physical toy. It includes the round instructions and numbered photographs you need alongside these planning tips. The original pattern design and instructional photography are credited to Anastasia Parkaeva in the redesigned edition.
Enjoy each small step as your companions grow.
One Comment
Comments are closed.