Halloween Dumplings Crochet Pattern: 5 Adorable Friends
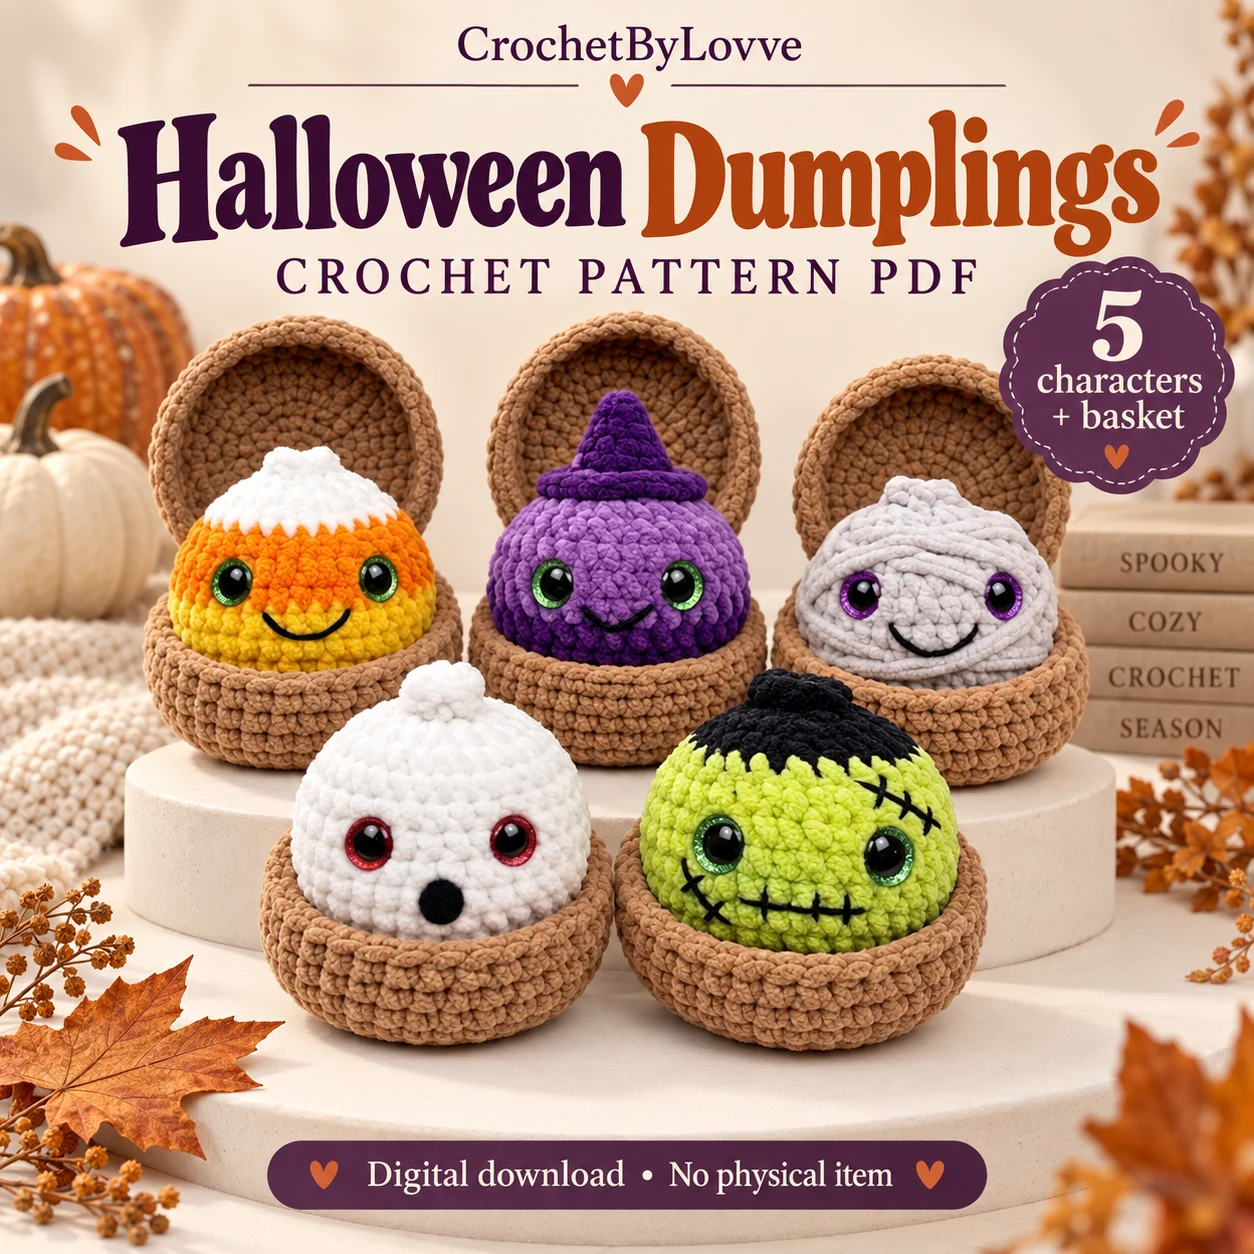
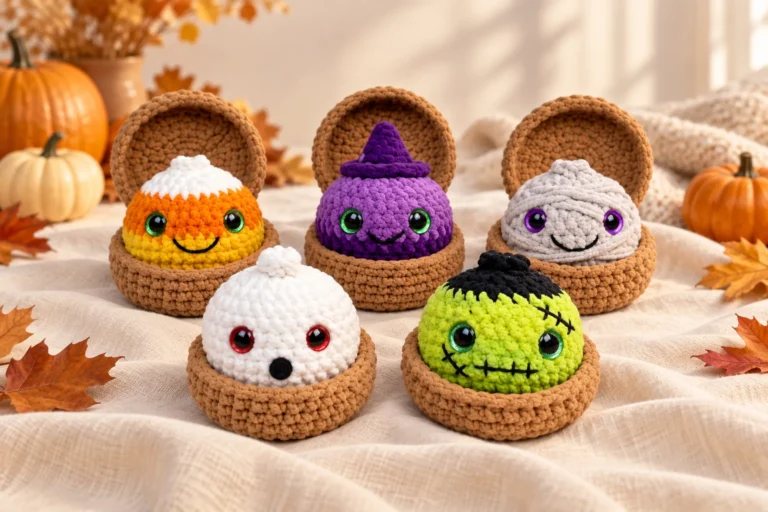
A Halloween dumplings crochet pattern is a lovely way to turn a few colors of plush yarn into a whole cast of tiny characters. Imagine a surprised white ghost, a smiling purple witch, and a cheerful green monster, each tucked into a little brown basket.
This collection adds a wrapped mummy and a striped candy corn dumpling, bringing the total to five. The shapes are small, the texture is soft, and the faces give each one its own personality. Together, they make a playful addition to your handmade autumn display.
Below, you will find a clear guide to the materials, skills, size, color choices, and finishing details. There are also practical tips for working with chenille, making the baskets, and arranging your finished pieces. Choose a favorite, make yourself comfortable, and start planning a little spooky crochet time.
Five characters, matching baskets, and step-by-step photos. Digital PDF pattern; supplies and finished toys are not included.
View the Halloween Dumplings pattern on Etsy →Halloween dumplings crochet pattern at a glance
Five little personalities, one cozy collection.
This Halloween dumplings crochet pattern brings together five rounded chenille characters: a ghost, a witch, a mummy, a candy corn dumpling, and a green monster. Each one sits in a small brown crochet basket. The basket lid adds a lovely finishing touch and makes the whole collection feel like a miniature Halloween surprise.
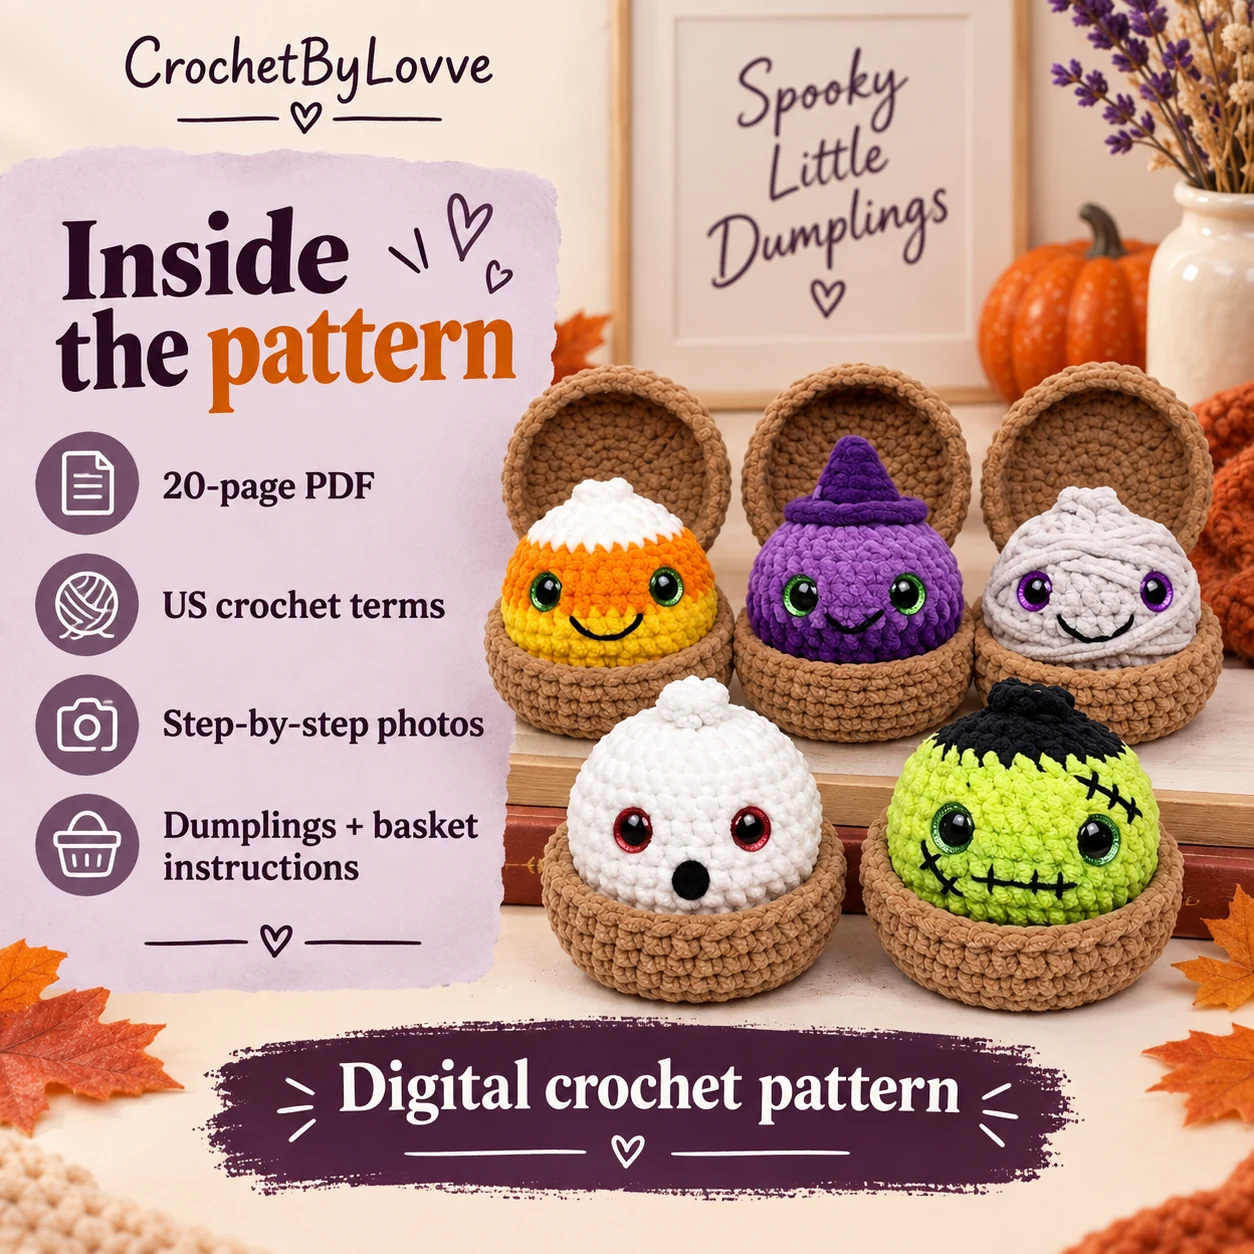
The prepared edition is a 20-page English PDF with US crochet terms, written instructions, and step-by-step photographs. It includes the shared dumpling body, the changes for each character, and the basket and lid. You can choose one favorite first or gradually build the complete collection.
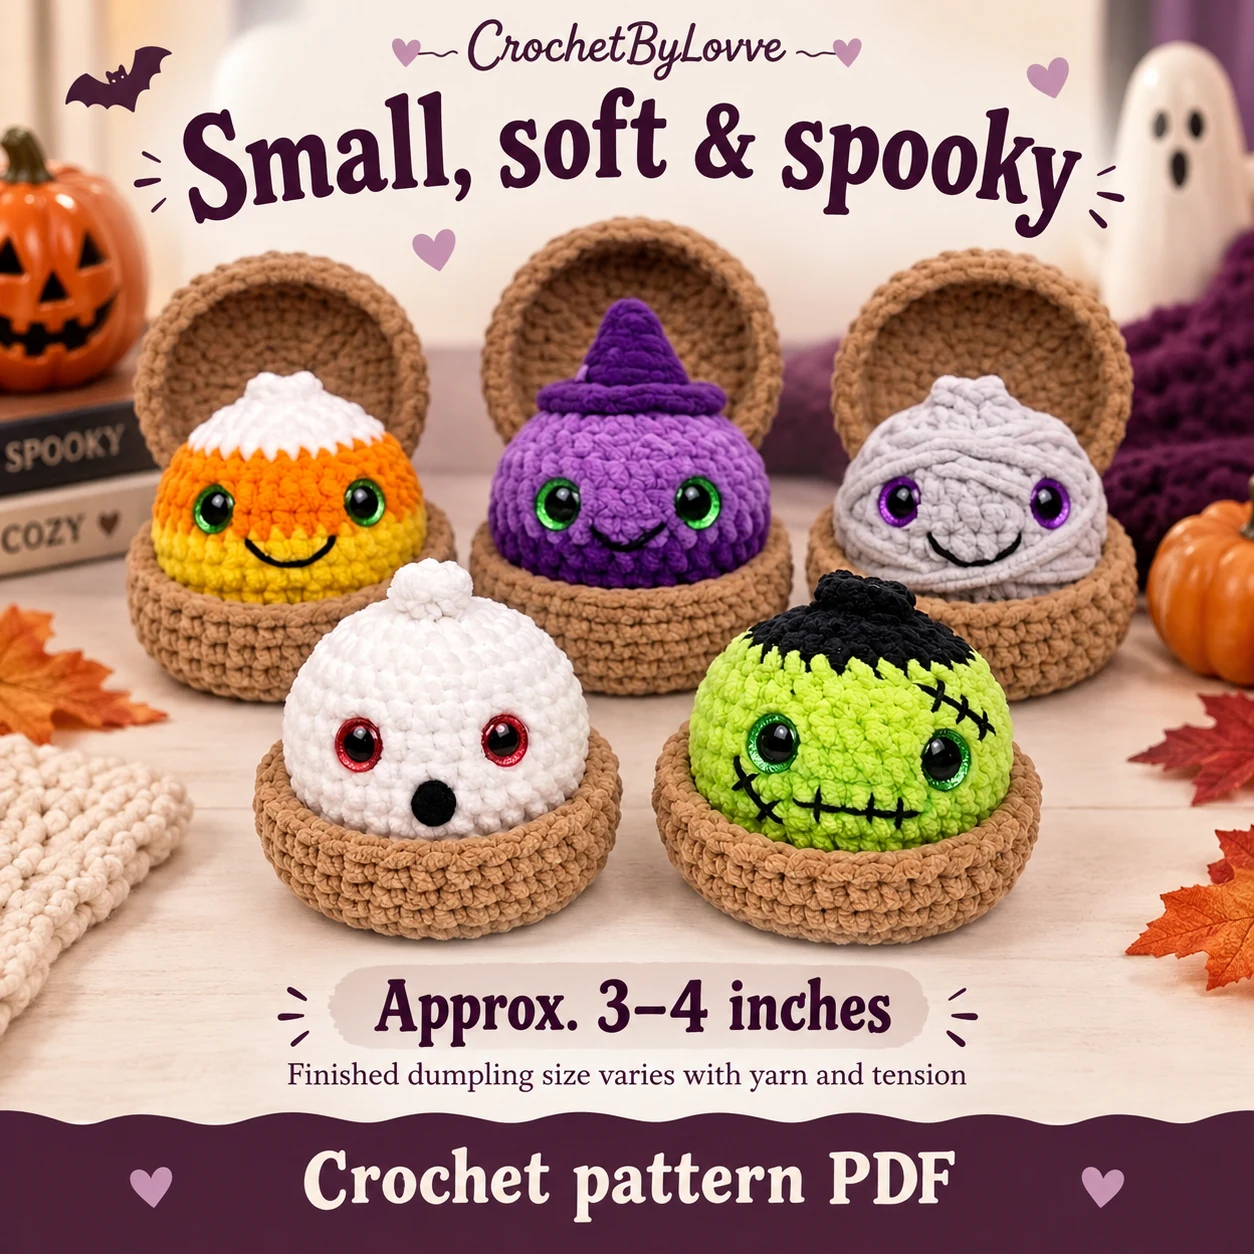
The finished dumplings measure roughly 3–4 inches with the suggested materials. Treat that as an approximate guide because yarn thickness, your tension, and stuffing can change the result. This article helps you understand the project and plan your work. Keep the complete PDF beside you for the round counts, construction order, and finishing photographs.
The original pattern design is credited to Peachy Stitch. The linked CrochetByLovve listing offers the digital pattern edition discussed here. The listing is for instructions to make the pieces yourself; it does not include finished dumplings or a supply kit.
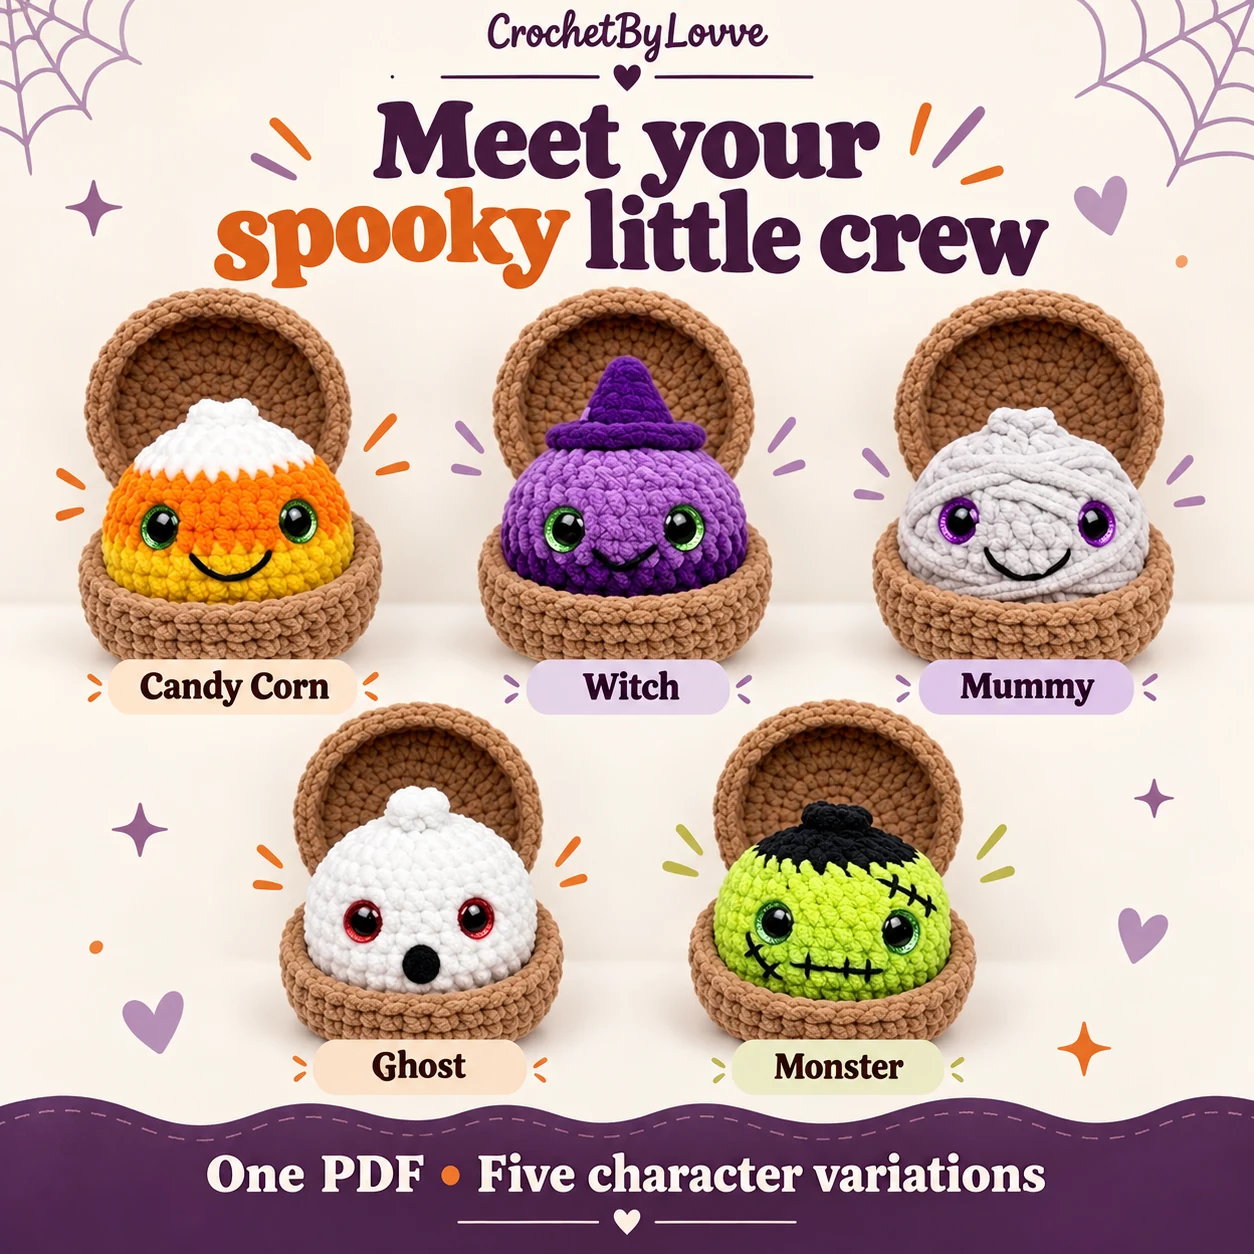
Meet your five Halloween dumplings
Pick the face that makes you reach for your yarn.
The little white ghost
The ghost has a white body, bright eyes, and a small black oval mouth. Its surprised expression gives the simplest colorway plenty of personality. The brown basket provides a warm contrast, so the white stitches remain easy to see in a shelf display.
If you want to learn the basic shape before managing color changes, the ghost is a useful first choice. You can concentrate on counting, shaping, and arranging the face. Check the eye placement before closing the body, then use the mouth instructions in the PDF to finish the expression.
The purple witch
The witch combines purple and lavender with a pointed purple hat. A curved smile softens the Halloween theme, while the hat gives this dumpling its distinctive outline. It looks especially cheerful beside the white ghost and orange candy corn character.
Allow a separate session for the hat if you prefer shorter projects. Shape it gently, place it on the finished body, and check the angle before attaching it. A small change in the tilt can affect how much of the face remains visible.
The wrapped mummy
The mummy starts with a light grey body and gains its character from loose yarn wraps. These overlapping strands suggest bandages while leaving the crochet underneath visible. Purple eyes and a simple smile make the finished piece more playful than frightening.
Keep the wrapping relaxed. Pulling it tightly can sink the yarn into the stuffing and flatten the rounded silhouette. Check the face as you work so the strands frame the eyes rather than covering the details you want people to notice.
The candy corn dumpling
Yellow, orange, and white give the candy corn version its recognizable three-color look. Unlike a plain body, this character depends on placing the color bands at the stages specified in the pattern. Lay all three yarns nearby before you begin.
Choose shades that are clearly different from each other. A warm yellow and a brighter orange create more visible stripes than two very similar tones. In a group photograph, this dumpling provides a lively accent among the white, grey, purple, and green characters.
The green monster
The monster pairs a light green body with black on top. A stitched mouth and small scar details give it a familiar Halloween personality without adding separate limbs. It shares the same compact shape as its companions but has the boldest contrast.
Use the finishing photographs to guide the black details. Keep the stitches loose enough to sit on the surface without dragging the plush fabric inward. Step back between details and check the whole expression instead of concentrating only on one tiny stitch.
Is this project right for your crochet skills?
Beginner-friendly, with a few finishing techniques to prepare.
The Halloween dumplings crochet pattern is described as beginner-friendly. That is most useful if you already know the basic crochet motions and want to practice a small shaped project. A little preparation makes the experience more comfortable, especially when chenille hides the tops of your stitches.
You will encounter single crochet, increases, decreases, chains, slip stitches, and work in selected loops. The basket includes half double crochet and back post half double crochet. The witch hat also uses double crochet. Check the abbreviation list before starting if you normally use UK crochet terminology.
The body has a simple rounded silhouette, but the finishing still deserves attention. You will use a needle to close openings and add some details. The witch hat can be attached with yarn and a needle or craft glue, and the ghost mouth uses a glued shape. Plan for those tasks instead of assuming the entire project needs only a hook.
If a stitch feels unfamiliar, practice it with a smooth scrap yarn first. Seeing the loops clearly can help you understand the movement before returning to plush yarn. Our how to crochet for beginners guide is a useful place to refresh the basic motions.
Gather your yarn and materials
A small checklist makes the first session easier.
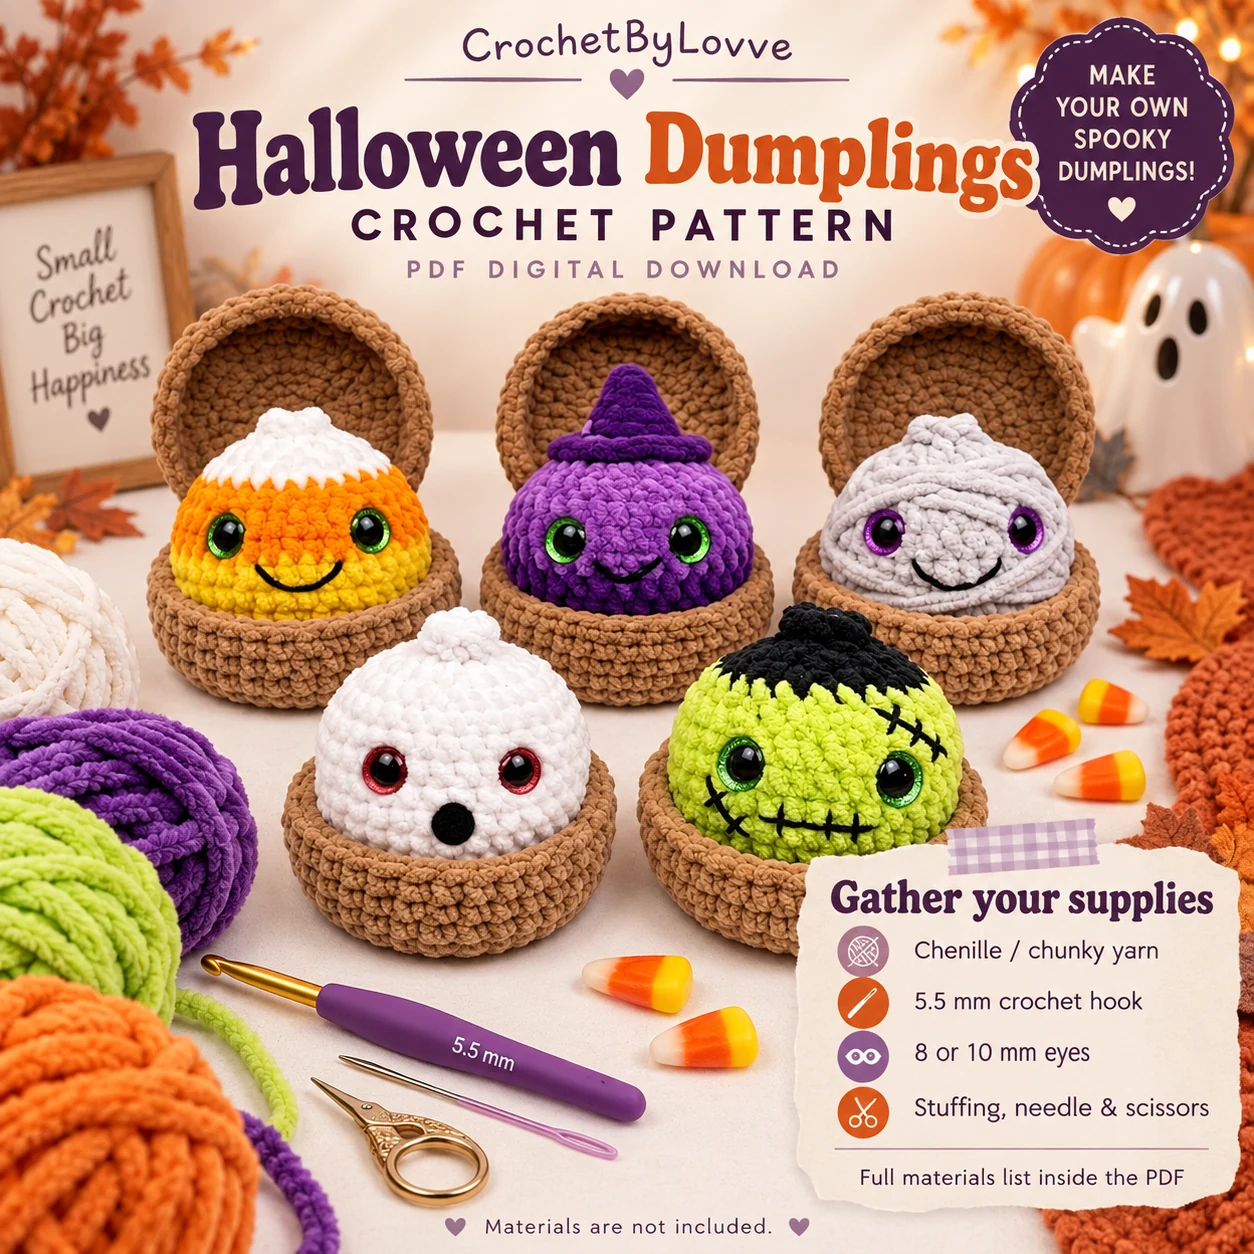
Start with the materials in the Halloween dumplings crochet pattern rather than guessing from the photographs. The guide calls for chenille or chunky yarn and a 5.5 mm crochet hook. Keep your chosen yarns close in thickness so the five bodies and their baskets look consistent.
- Chenille or chunky yarn for the bodies, details, and brown baskets.
- A 5.5 mm crochet hook.
- 8 or 10 mm colorful glitter eyes or black safety eyes.
- Polyfill stuffing, plus the optional contained pellet filling described in the PDF.
- Acrylic yarn for closing the opening and black yarn for facial details.
- A tapestry needle, scissors, craft glue, and a black foam sheet.
- Stitch markers, if you find them helpful for tracking rounds.
The source does not provide one reliable yarn quantity for every possible chenille brand. Before choosing several substitute yarns, compare their labels and thickness. Keep the labels with your project so you can match a color if you decide to make another basket later.
Set aside the finishing materials before you begin. A nearly finished ghost still needs its mouth, and the mummy needs enough matching yarn for the wraps. Keeping those extras in a small container prevents an otherwise enjoyable project from stopping at the final detail.
Choose a Halloween color palette
Use the original colors or plan a thoughtful variation.
The original palette gives each character an immediate identity. White belongs to the ghost, purple and lavender to the witch, light grey to the mummy, yellow with orange and white to the candy corn, and light green with black to the monster. Brown baskets connect the group visually.
For your first Halloween dumplings crochet pattern project, these colors are a helpful starting point. You can compare your work with the photographs more easily and focus on the construction. The familiar shades also make the characters readable even when they are arranged together on a small shelf.
If you want a softer collection, you could experiment with muted lavender, warm cream, and gentler green accents. These are optional styling ideas, not extra color instructions supplied in the PDF. Preserve enough contrast for the eyes, mouth, and monster stitches to stay visible.
Lay your yarns together in daylight before deciding. Look at the basket yarn beside each body color, then take a simple phone photograph. A camera can reveal when two shades blend together. Making that decision early is easier than changing a whole finished character.
Plan a relaxed making session
Finish one dumpling before starting the whole crew.
Choose the character you most want to finish and read its sections from beginning to end. Look for moments when you must change color, insert the eyes, add stuffing, or prepare the closure. These steps are easier to manage when you know they are coming.
A simple project plan has four parts: prepare the materials, crochet the body, finish the face, and make the basket. Follow the actual construction order in the PDF whenever a detail needs to happen before the opening becomes smaller. This planning outline is only there to organize your time.
Keep a short note when you stop working. Write down the character, the last completed round, and which yarn you are using next. With similar rounded shapes on the table, a note is more reliable than trying to remember whether you already completed a decrease round.
Once you finish one character, decide whether you enjoy working in batches. You might prefer making several baskets together, or you might like completing each dumpling and its basket as a pair. Choose the rhythm that keeps the project enjoyable and your parts easy to identify.
Keep the dumpling body neat and rounded
Count first, then assess the shape.
All five versions in the Halloween dumplings crochet pattern share the same basic body construction. The color changes and finishing details create their individual appearances. Learning the base once helps you understand the later variations without treating each character as an entirely different project.
Move a stitch marker consistently if you use one, and check your count at the end of a shaping round. Chenille can hide an accidental increase or a skipped stitch. Finding the problem early saves more work than continuing until the body clearly looks uneven.
Let the crochet fabric develop before judging the whole shape. An unstuffed piece will not look exactly like a finished photograph. Check the stitch count and symmetry first, then use the filling stage to support the rounded form rather than trying to solve every issue by pulling the yarn tighter.
When something looks wrong, compare your most recent round with the written instructions. Check whether you worked through the required loops and whether a color change distracted you from a stitch. Correcting a small section is usually easier than disguising the mistake with extra stuffing or facial details.
Stuff and close the body carefully
A balanced shape helps the expression look even.
Add polyfill in small amounts and spread it around the inside. Aim for an evenly supported body with a smooth outline. Large clumps can create lumps, while too little filling may leave the top or sides looking hollow once the dumpling sits inside its basket.
The pattern offers an optional contained pellet filling and also allows you to use polyfill throughout. If you prefer a simpler materials list, read that all-polyfill option before buying additional filling supplies. The finished feel depends on your choices, so do not expect every version to have the same weight.
Check the face area before completing the closure. Look at the eyes straight on and make sure the stuffing has not pushed one side farther forward. Small adjustments to the filling are easier while you still have access to the opening.
The supplied instructions use acrylic yarn for the closing step. Follow the loop placement shown in the PDF and secure the ends as directed. Avoid forceful tugging on chenille tails, which can damage the plush surface. A tidy closure helps the characteristic gathered top remain the focus.
Five characters, matching baskets, and step-by-step photos. Digital PDF pattern; supplies and finished toys are not included.
Get the complete crochet PDF on Etsy →Give each face its own personality
A few small details do most of the storytelling.
These characters have very little space for an expression, so placement matters. Before attaching a permanent detail, look at the body from the front and from a little farther away. Check how the face will appear when the dumpling is actually sitting in the basket.
The ghost uses an oval black foam mouth. The witch, mummy, and candy corn have curved smiles, while the monster has a horizontal mouth with crossing stitches and separate scar details. Follow the measurements and placement references in the complete pattern instead of copying a close-up image by eye alone.
For embroidery, use gentle tension. Pulling a smile too tightly can create an unintended dent or change the expression. Make a few stitches, check their position, and keep the surrounding chenille loops free rather than trapping large clumps of pile underneath the embroidery.
For the mummy, leave small gaps between the overlapping wraps so the body still shows. For the witch, test the hat position before attaching it. These final checks take only a little time, but they help the five characters look considered and distinct.
Make the matching crochet basket and lid
The small container completes the dumpling idea.
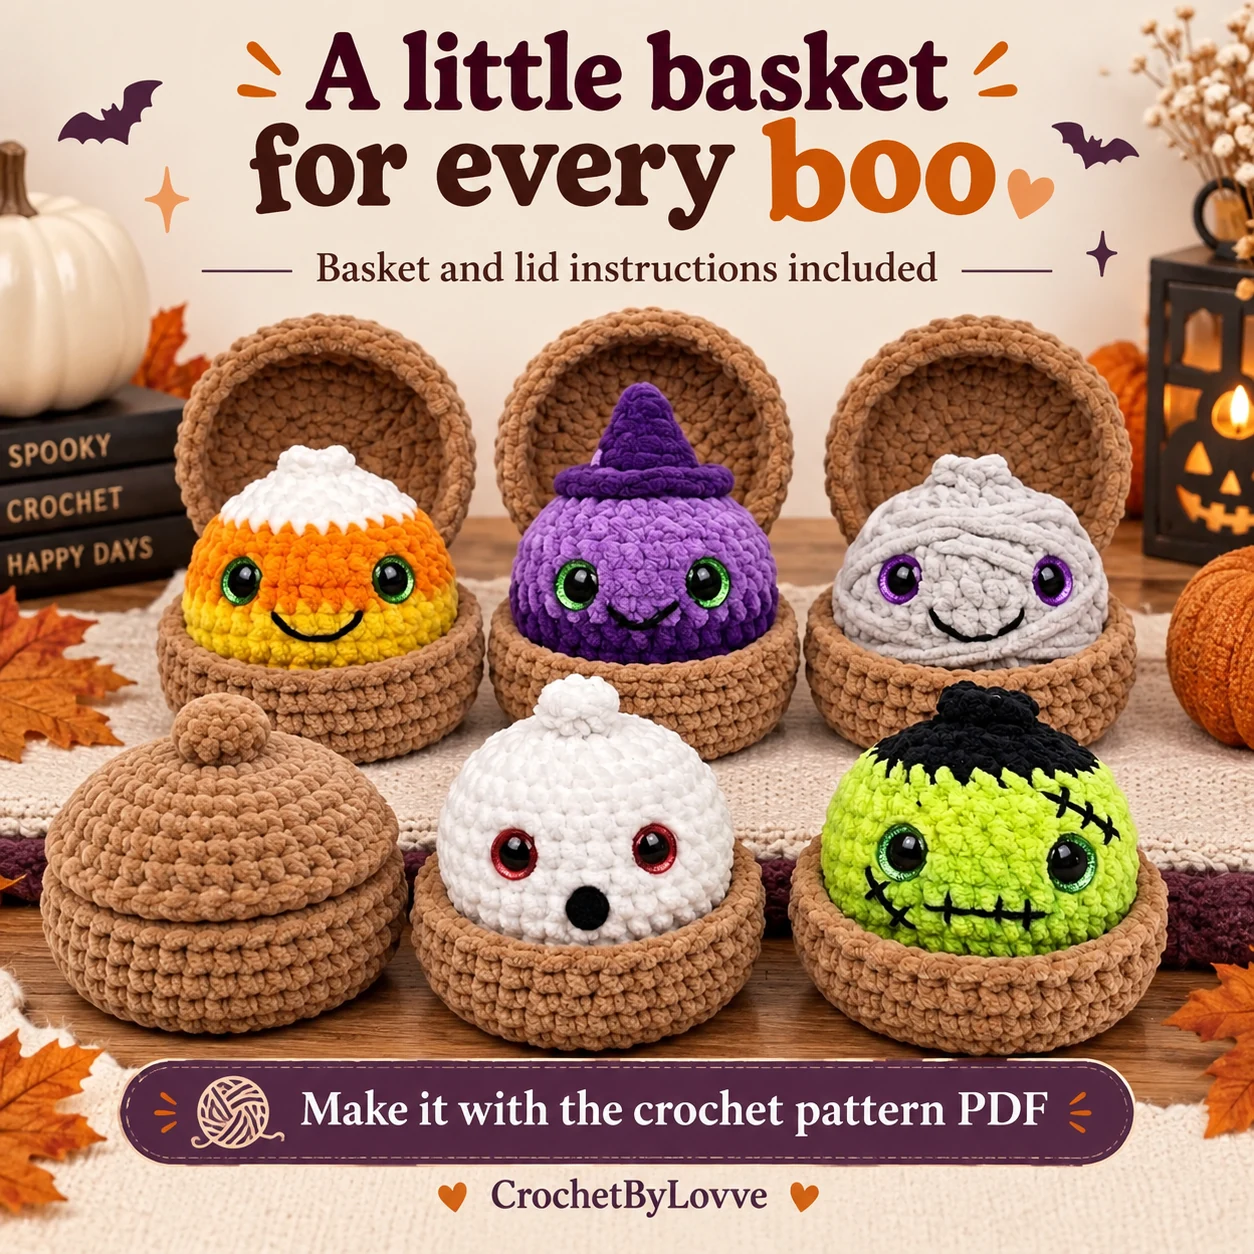
The brown basket is more than a background prop: its instructions are included in the Halloween dumplings crochet pattern. The basket and lid echo a small steamer, giving the rounded characters a shared setting. You can display one open basket or arrange several together.
The construction includes half double crochet and post stitches, so read those steps before beginning. Watch where the instructions specify front-loop or back-loop work. Those details help create the changes between a flat circular section, an edge, and the sides.
Check the basket beside your actual dumpling as you work. If you substitute a different yarn for the container, its size and firmness may change independently from the body. Using a similar yarn thickness makes the relationship between the two pieces easier to judge.
The PDF includes an optional joining step for the top and bottom. Choose your finishing approach after reviewing that section. Whether you display the lid open or alongside the basket, weave in the ends neatly so the container looks finished from the viewing angle you prefer.
Simple fixes for common chenille problems
Pause early and make one adjustment at a time.
When the stitches are hard to see
Work in good light and rotate the piece until you can see the tops of the stitches. A contrasting stitch marker helps you find your place. If you repeatedly lose the count, pause after smaller groups of stitches instead of waiting until the end of a difficult round.
When stuffing shows through gaps
First check that you have not skipped a stitch or stretched the fabric by adding too much filling. Your yarn and tension also affect the density. Test any hook adjustment on a small sample, because changing the hook can change both the finished size and the basket fit.
When the characters are different sizes
Compare the yarn thickness, completed round counts, and amount of stuffing. Different brands can behave differently even when they share a broad yarn category. Keep notes about the materials you use so you can repeat the version you like instead of relying only on a color name.
When a face looks uneven
Set the dumpling on a level surface and check it from the front. Redistribute the filling if the body leans. Then review the facial placement. Change one thing at a time so you can tell whether the shape or the decoration caused the uneven appearance.
Style your handmade Halloween collection
Let the faces and soft texture stand out.
A shallow tray or a plain shelf makes a comfortable home for the finished crew. Put the taller witch toward the back and keep the ghost and monster faces visible at the front. Leave a little breathing room between baskets so the different expressions remain easy to notice.
Repeat only a few colors in the surrounding display. A cream cloth, a small decorative pumpkin, and one muted purple accent are enough to connect the scene. Too many bright props can compete with the candy corn stripes and the green monster rather than supporting them.
You can also build a display around a single character. Try the ghost against a warm beige background or let the mummy sit beside neutral autumn decorations. For more seasonal company, explore our Halloween ghost crochet pattern guide and its three dressed-up little spirits.
If you enjoy larger character displays, our Halloween crochet gnome pattern article offers another project to consider. Match the background colors across different makes rather than expecting every pattern to produce the same size or texture.
Photograph and share your finished dumplings
One group picture, then a few close details.
Start with a clean background and soft window light. Take a group photograph that shows all five faces, then a closer image of the stitches and baskets. The small size can be difficult to judge from photographs, so include the approximate measurement when you describe your finished work.
Keep the camera near the characters rather than looking down from a very steep angle. A high angle can hide the witch’s face beneath the hat or make the basket rim cover the mouth. Move slightly and watch how the light changes the white ghost and grey mummy.
Check the colors before sharing. Strong filters can make lavender appear blue or change the monster’s green. A clear, naturally lit image gives a more useful reference for another crocheter choosing yarn. Include the pattern designer’s credit when you share your own interpretation of the project.
The styled images in this article are promotional visuals. Your finished result will reflect your materials, tension, stuffing, and finishing choices. Use the pattern’s process photographs for construction details, especially where a decorative scene makes the stitches harder to inspect closely.
Halloween dumplings crochet pattern questions
Quick answers before you choose your first character.
Is this a free Halloween crochet pattern?
No. This article is a project guide. The complete crochet instructions are available through the linked Etsy listing as a digital PDF. Check that listing for the current price and purchase details.
Does the PDF include all five characters?
Yes. The guide includes the shared dumpling body and the variations for the ghost, witch, mummy, candy corn, and green monster. It also includes the crochet basket and lid instructions.
How large are the finished dumplings?
The approximate size is 3–4 inches. That measurement refers to the dumpling, and your yarn, hook, tension, and filling affect the result. Do not judge the finished dimensions only from a close-up photograph.
Can a beginner follow the pattern?
The pattern is labeled beginner-friendly. Familiarity with basic crochet, working in rounds, increasing, and decreasing will help. Practice the basket’s post stitches and review the finishing steps before starting if those techniques are new to you.
Is there any sewing or needlework?
Yes, some finishing uses a needle. The opening is closed with acrylic yarn, smiles and scars use stitched details, and the witch hat has an attachment step. Some decorative elements also use glue, so gather the full materials list.
Can I use a different yarn?
You can experiment, but substitutions may change the size, texture, and fit of the basket. Compare yarn thickness and make a sample first. Keep your related pieces consistent if you want a coordinated collection.
How long does the collection take?
There is no single completion time that suits every crocheter. Your experience and finishing choices matter. Plan separate sessions for the body, details, and basket, then use your first finished character to estimate the rest.
Will I receive finished toys or supplies?
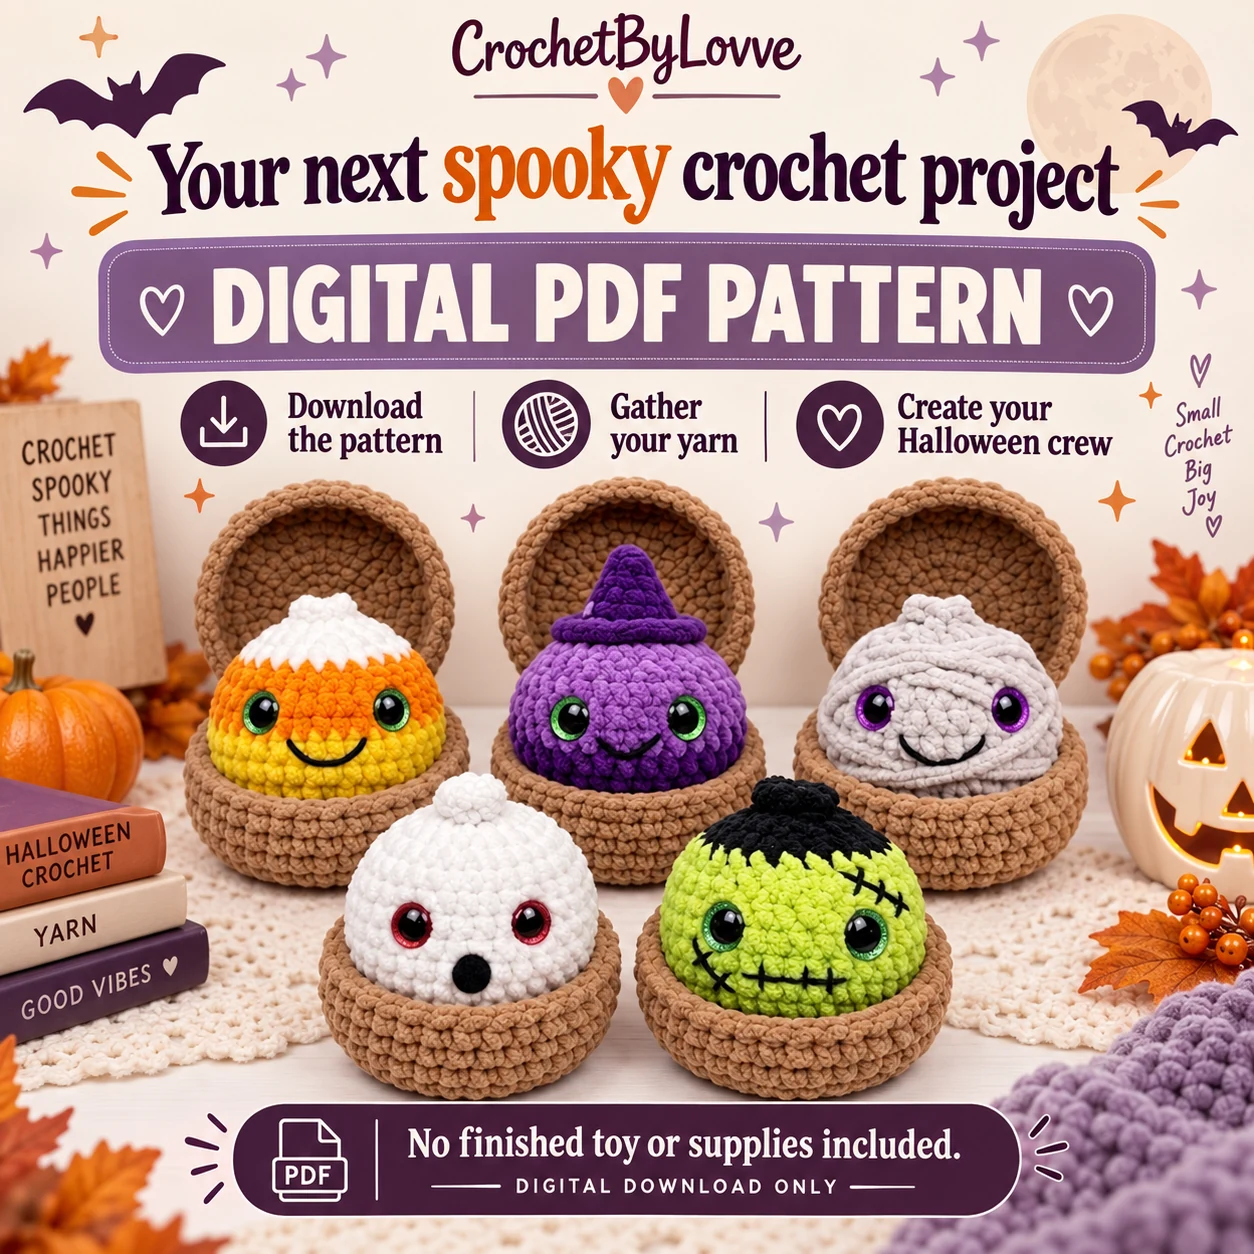
No. The linked product is a digital crochet pattern. You provide the yarn, hook, filling, and other supplies, then make the characters yourself. The article’s three pattern buttons all lead to the same Etsy listing.
Choose your first little Halloween friend
A small project with plenty of personality.
The charm of this Halloween dumplings crochet pattern comes from the way one rounded body becomes five different characters. A hat, a few color bands, some loose wraps, or a stitched expression can change the whole mood. The brown baskets give the finished group a shared home.
Choose the version you are most excited to make, gather its colors, and give yourself time for the finishing. You do not need to complete the whole crew at once. One carefully finished dumpling can be a satisfying project and a useful starting point for the next.
When you are ready to move from inspiration to making, open the complete PDF and follow its construction photographs and written rounds. Keep this guide handy for planning, yarn ideas, and display inspiration as your own little Halloween collection grows.
Five characters, matching baskets, and step-by-step photos. Digital PDF pattern; supplies and finished toys are not included.
Explore the Halloween Dumplings pattern on Etsy →
One Comment
Comments are closed.