Crochet Sugar Skull Garland: Free Pattern in 10 Fun Steps
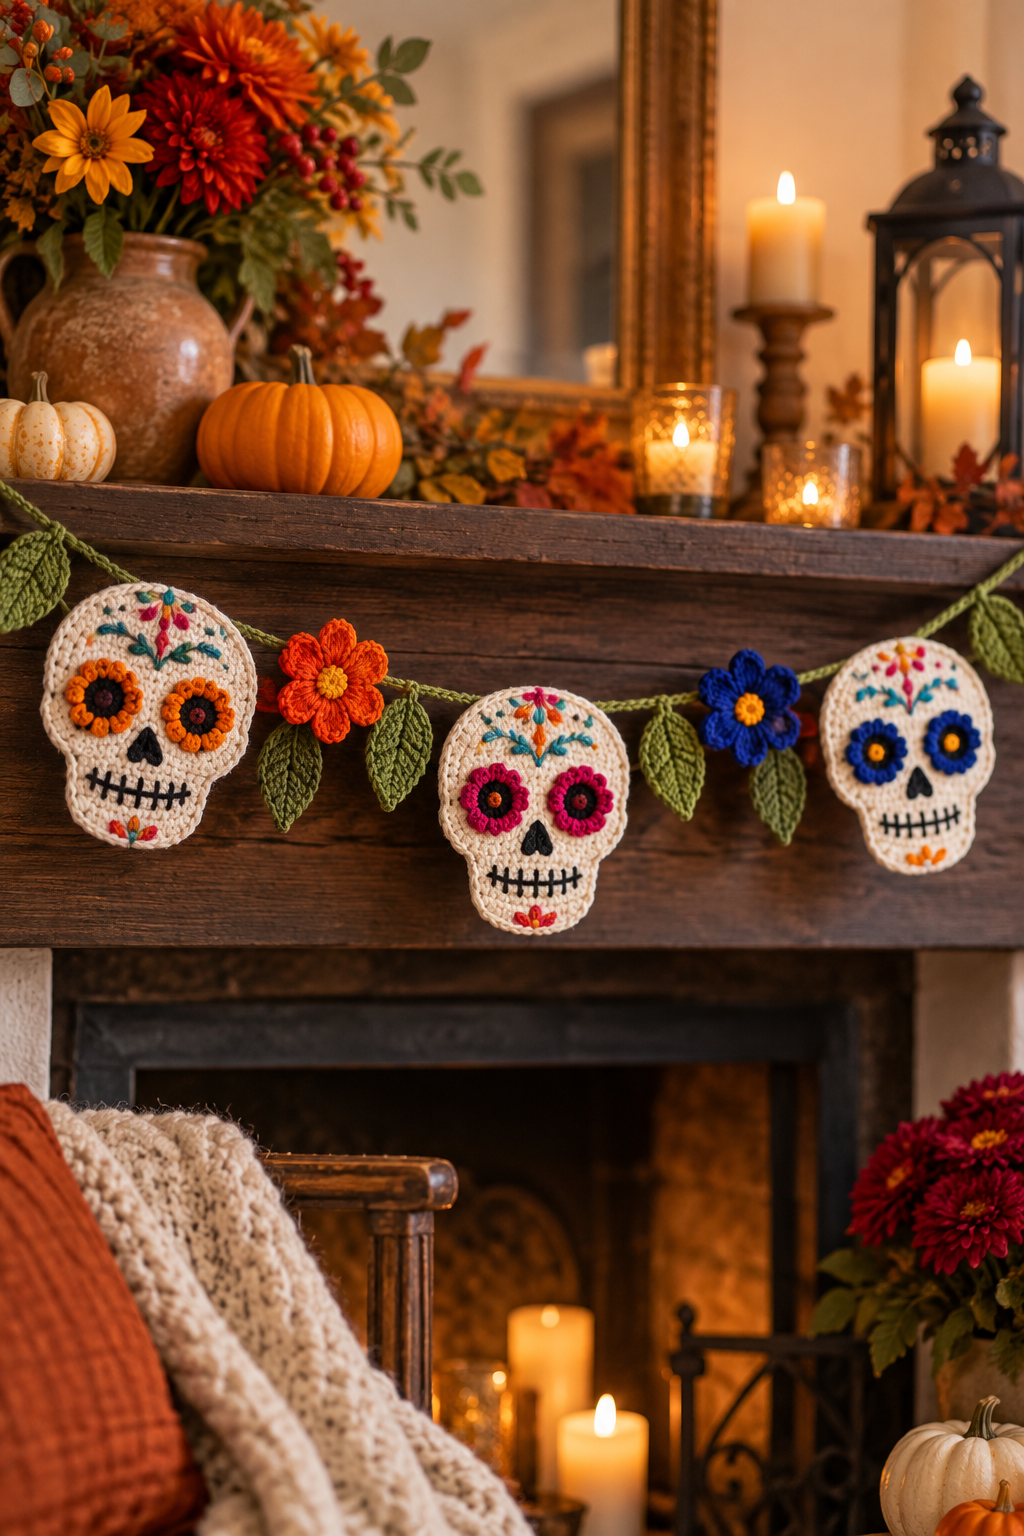
This free crochet sugar skull garland pattern combines three cream skulls, bright flower eyes and four layered flower motifs. Small green rings connect the pieces into a colourful decoration for a mantel, shelf or party backdrop. Below you will find the materials, every round and row, colour placement, and finishing instructions in US crochet terms.
Design: Brenda K.B. Anderson. This expanded tutorial is based on the supplied Sugar Skull Garland pattern. The AI-generated images are construction illustrations and styling inspiration; follow the written instructions for exact stitches, counts and connections.
Crochet sugar skull garland: project details
- Skill level: Intermediate.
- Finished length: approximately 44 inches / 112 cm.
- Each skull: approximately 5½ inches / 14 cm wide and 7 inches / 18 cm long.
- Construction: flat crochet motifs, sewn details, felt backing and covered connector rings. No stuffing is needed.
- Gauge: skull rounds 1–8 measure 4 inches / 10 cm in diameter. Adjust hook size if needed.
Materials for your crochet sugar skull garland
Use medium weight (category 4) yarn. The source supply list specifies one skein of each colour; this is a shopping allowance, not a measured quantity used by the project. Its solid-colour skein reference is 7 oz / 198 g, 364 yd / 333 m.
- A: cream / aran.
- B: black.
- C: shocking pink.
- D: pumpkin orange.
- E: gold.
- F: leaf green.
- G: blue.
- 5 mm / US H-8 crochet hook, or size needed for gauge.
- Yarn needle, removable stitch marker and sewing pins.
- Eight plastic rings, 1 inch / 25 mm in diameter.
- Twenty-four rhinestones or sequins, approximately ¼ inch / 6 mm, in assorted colours.
- Craft glue suitable for felt and embellishments, glitter fabric paint, and felt for backing each skull and flower background.
US abbreviations and pattern notation
ch = chain; sc = single crochet; hdc = half double crochet; dc = double crochet; tr = treble crochet; sl st = slip stitch; st(s) = stitch(es); hdc2tog = half double crochet two stitches together.
Work everything inside parentheses into the same stitch. Repeat the instructions inside square brackets the stated number of times. A chain space is the opening below a chain, rather than the top loops of a stitch.
Need a terminology reference? Keep the Craft Yarn Council crochet abbreviation list beside this pattern.
Half double crochet decrease: hdc2tog
[Yarn over, insert the hook into the next stitch, yarn over and pull up a loop] twice. You now have five loops on the hook. Yarn over and pull through all five loops. Two stitches have become one.
Adjustable ring
Form a yarn ring with the tail behind the working strand. Hold the crossing point, insert the hook through the ring, catch the working yarn and pull up a loop. Work the specified first-round stitches into the ring, around both the loop and tail. Pull the tail gently to close the centre after completing the first round.
Covering single crochet around a plastic ring
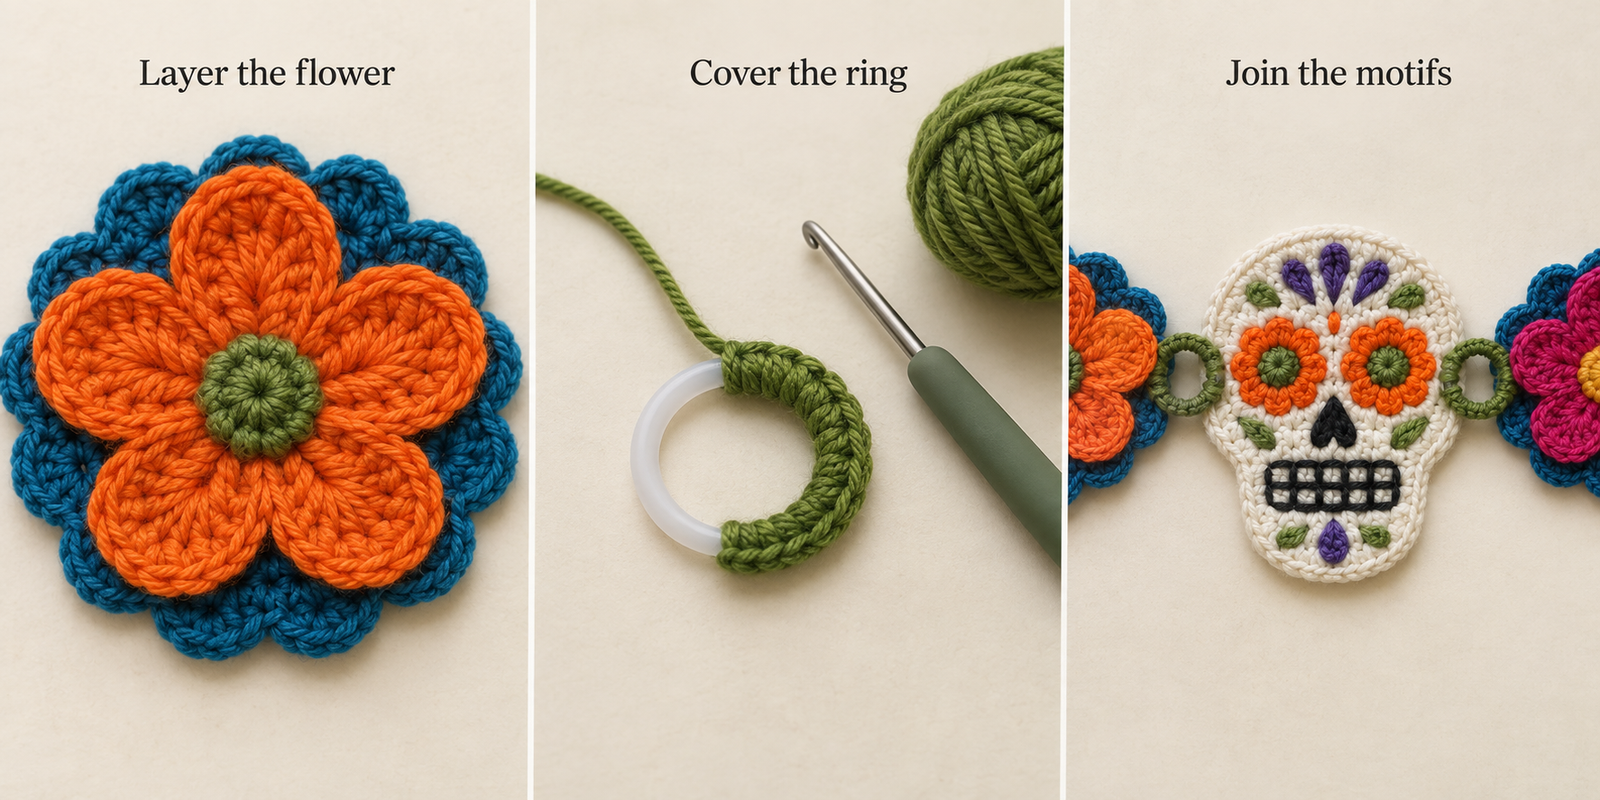
Start with a slip knot on the hook. Take the working yarn over the ring to its back. Insert the hook through the centre from front to back; catch the yarn and draw a loop to the front. Bring the yarn over the top of the ring toward the front, yarn over and pull through both loops on the hook. Repeat to cover the ring.
Before starting your crochet sugar skull garland
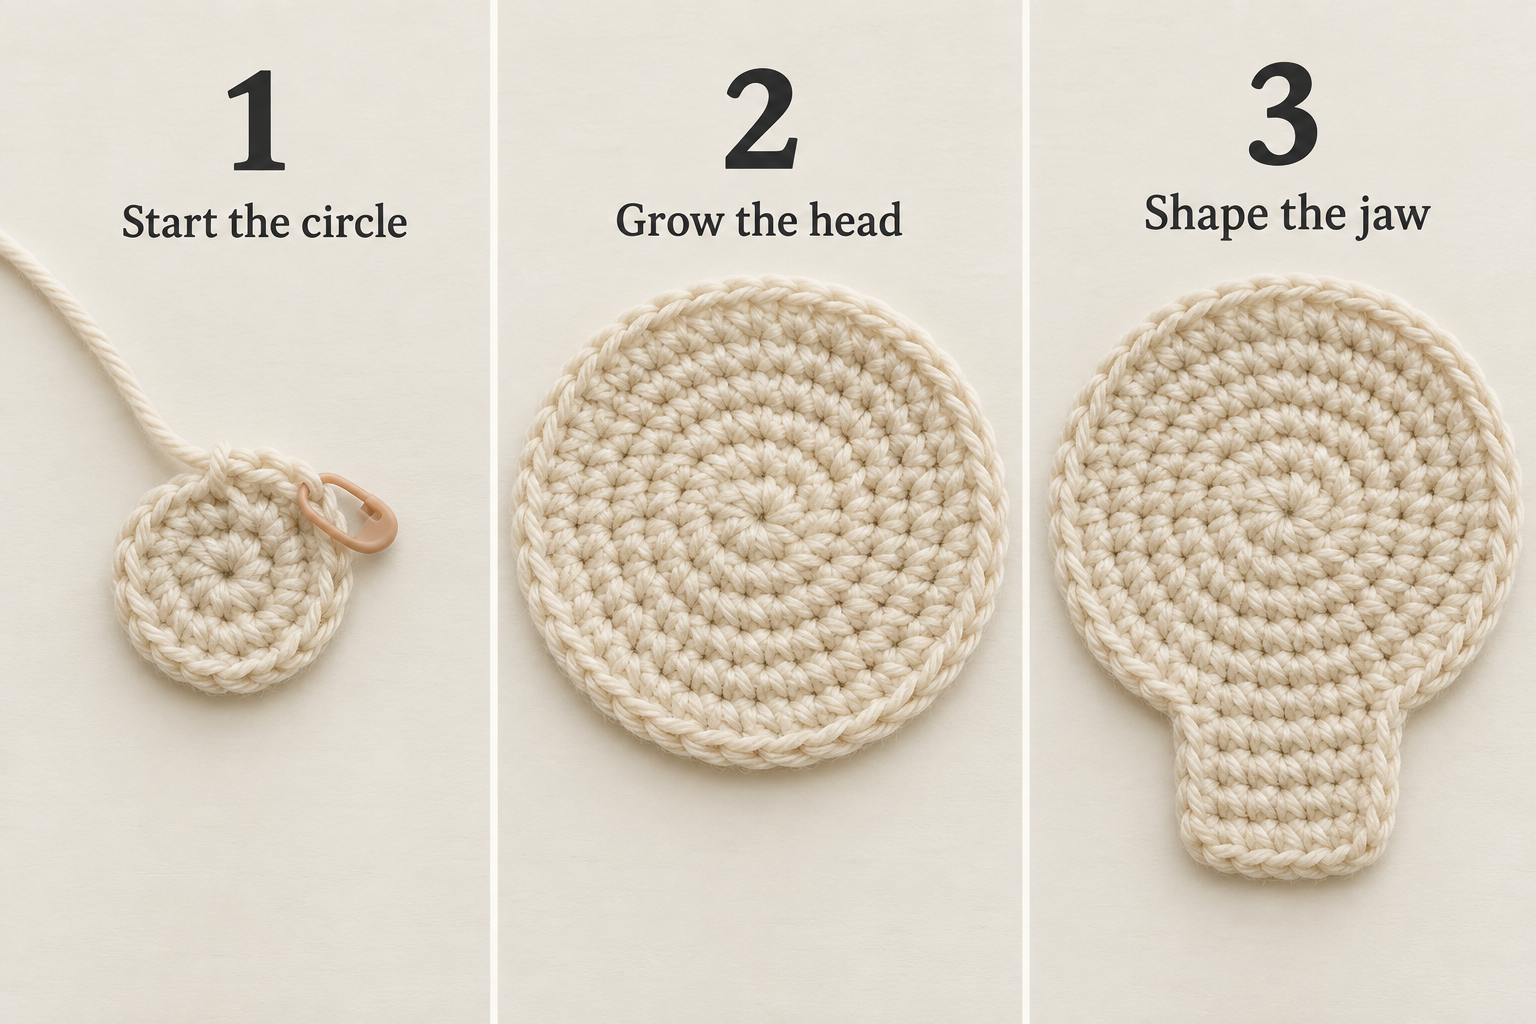
The skull head is worked in a continuous spiral. Do not join or turn its rounds. Put a marker in the first stitch and move it up each round. The jaw is worked back and forth in rows. Flowers, centres, nose and teeth are separate pieces sewn onto the skull. Felt hides the stitching on the reverse and helps the motifs stay flat.
Prepare three skulls, six eye flowers, six black eye centres, three forehead flowers, three forehead centres, three noses, three teeth pieces, four large flowers, four large flower centres, four flower backgrounds and eight covered rings. Leave sewing tails on small pieces.
1. Crochet the skull head — make 3
With colour A, make an adjustable ring.
- Round 1: 6 sc in the ring. Do not join. 6 stitches.
- Round 2: 2 sc in each stitch around. 12 stitches.
- Round 3: [Sc in next stitch, 2 sc in next stitch] 6 times. 18 stitches.
- Round 4: [Sc in next 2 stitches, 2 sc in next stitch] 6 times. 24 stitches.
- Round 5: [Sc in next stitch, 2 sc in next stitch, sc in next 2 stitches] 6 times. 30 stitches.
- Round 6: [Sc in next 3 stitches, 2 sc in next stitch, sc in next stitch] 6 times. 36 stitches.
- Round 7: [Sc in next 3 stitches, 2 sc in next stitch, sc in next 2 stitches] 6 times. 42 stitches.
- Round 8: [Sc in next 6 stitches, 2 sc in next stitch] 6 times. 48 stitches. Check the diameter: approximately 4 inches / 10 cm.
- Round 9: [Sc in next 4 stitches, 2 sc in next stitch, sc in next 3 stitches] 6 times. 54 stitches.
- Round 10: [2 sc in next stitch, sc in next 8 stitches] 6 times. 60 stitches.
- Round 11: [Sc in next 6 stitches, 2 sc in next stitch, sc in next 3 stitches] 6 times. 66 stitches. Do not fasten off.
Shape the jaw
Row 1: Ch 2; this turning chain does not count as a stitch. Turn. Hdc2tog, hdc in next stitch, sc in next 6 stitches, hdc in next stitch, hdc2tog. Leave the rest of the head stitches unworked. 10 stitches.
Row 2: Ch 2, turn. Hdc in next 2 stitches, sc in next 6 stitches, hdc in last 2 stitches. 10 stitches. There are no decreases in this row.
Row 3: Ch 1, turn. Sc in every stitch across. 10 stitches.
Edging round, right side: Ch 1, turn. Work 2 sc in the first stitch, sc in next 8 stitches, 2 sc in the last stitch. Work 4 evenly spaced sc along the side of the jaw. Sl st in the next 54 stitches around the top of the skull. Work 4 evenly spaced sc down the other jaw side. Join with a sl st in the first sc. Fasten off.
2. Make the eye flowers — make 6
Make two flowers each in C, D and E. Each skull receives a matching pair.
Round 1: Make an adjustable ring; work 6 sc into it. 6 stitches.
Round 2: 2 sc in each stitch. 12 stitches.
Round 3: [Sc in next stitch, 2 sc in next stitch] 6 times. 18 stitches.
Round 4: [(Sc, hdc) in next stitch, (hdc, sl st) in next stitch] 9 times. 9 petals. Fasten off with a long sewing tail.
Eye centres — make 6 in B
Work 6 sc in an adjustable ring. Join with a sl st in the first sc. Fasten off with a long sewing tail. Make two for each skull.
3. Make the forehead flowers — make 3
Make one each in C, E and G.
Round 1: Work 6 sc into an adjustable ring. Do not join; mark the first stitch. 6 stitches.
Round 2: [Sl st in next stitch, ch 5; working in the back bumps of the chain, hdc in the third chain from the hook, sc in next chain, sl st in next chain] 5 times. Work 2 sc in the last stitch. You have 5 petals. Sl st in the next stitch and fasten off with a sewing tail.
Forehead centres — make 3
Make one each in C, F and G. For each, work 6 sc in an adjustable ring, join with a sl st in the first sc and fasten off with a sewing tail.
4. Crochet the noses — make 3
With B, make an adjustable ring. Work [sc, hdc, sc] into the ring 3 times. Join with a sl st in the first sc. 9 stitches. Fasten off with a long sewing tail. The hdc stitches help shape the nose; do not substitute nine plain sc.
5. Crochet the teeth — make 3
With B, ch 12.
Row 1: Work into the back bumps only. Dc in the sixth chain from the hook; the skipped beginning chains count as one foundation chain, the first dc and the first ch-1 space. [Ch 1, skip next chain, dc in next chain] 3 times. You have 4 ch-1 spaces and 5 dc.
Row 2: Ch 4, counting as the first dc and ch 1; turn. Skip the first ch-1 space, dc in the next dc. [Ch 1, skip next ch-1 space, dc in next dc] twice. Ch 1, skip the next chain of the turning chain, dc in the next chain of the turning chain. Fasten off with a long sewing tail.
Keep the open spaces clear when sewing this black mesh onto the cream jaw. The cream showing through creates the teeth.
6. Crochet the large flowers — make 4
Make one each in C, D, E and G.
Round 1: Work 5 sc into an adjustable ring. Do not join. Mark the first stitch. 5 stitches.
Round 2: [Sl st in next stitch, ch 7, sc in second chain from hook and in next 5 chains] 5 times. You have 5 axes, one for each petal.
Round 3: [Skip next sl st; working in the chains at the base of the stitches of the next axis, sl st in next 2 chains, sc in next 2 chains, hdc in next chain, 3 hdc in next chain; now work in the sc on the other side of the same axis: 3 hdc in first sc, hdc in next sc, sc in next 2 sc, sl st in last 2 sc] 5 times. 5 petals. Fasten off, leaving a long tail for sewing.
Large flower centres — make 4
Make one each in C, D, E and F. For each centre, work 6 sc into an adjustable ring, join with a sl st in the first sc and fasten off with a long sewing tail.
7. Crochet the flower backgrounds — make 4
Make one each in C, D, F and G.
- Round 1: 6 sc in an adjustable ring. Do not join. 6 stitches.
- Round 2: 2 sc in each stitch. 12 stitches.
- Round 3: [Sc in next stitch, 2 sc in next stitch] 6 times. 18 stitches.
- Round 4: [Sc in next 2 stitches, 2 sc in next stitch] 6 times. 24 stitches.
- Round 5: [Sc in next stitch, 2 sc in next stitch, sc in next 2 stitches] 6 times. 30 stitches.
- Round 6: [Sc in next stitch, hdc in next stitch, (dc, tr) in next stitch, (tr, dc) in next stitch, hdc in next stitch, sc in next stitch] 5 times. 40 stitches. Fasten off.
8. Cover the connector rings — make 8
With F, leave a long starting tail. Work 16 covering sc around a plastic ring. Join with a sl st in the first sc and fasten off, leaving another long tail. Thread the ending tail through 8 of the covering stitches so that it emerges opposite the starting tail. These two tails will attach the neighbouring motifs.
9. Plan the colours and sew the motifs
Skull colour placement
| Skull | Eye flowers | Forehead flower | Forehead centre |
|---|---|---|---|
| 1 | E — gold | G — blue | C — pink |
| 2 | D — orange | C — pink | F — green |
| 3 | C — pink | E — gold | G — blue |
Block the pieces if needed, following the yarn care instructions. Trace and cut a felt backing for each skull and each flower background; set the felt aside until the sewing is complete.
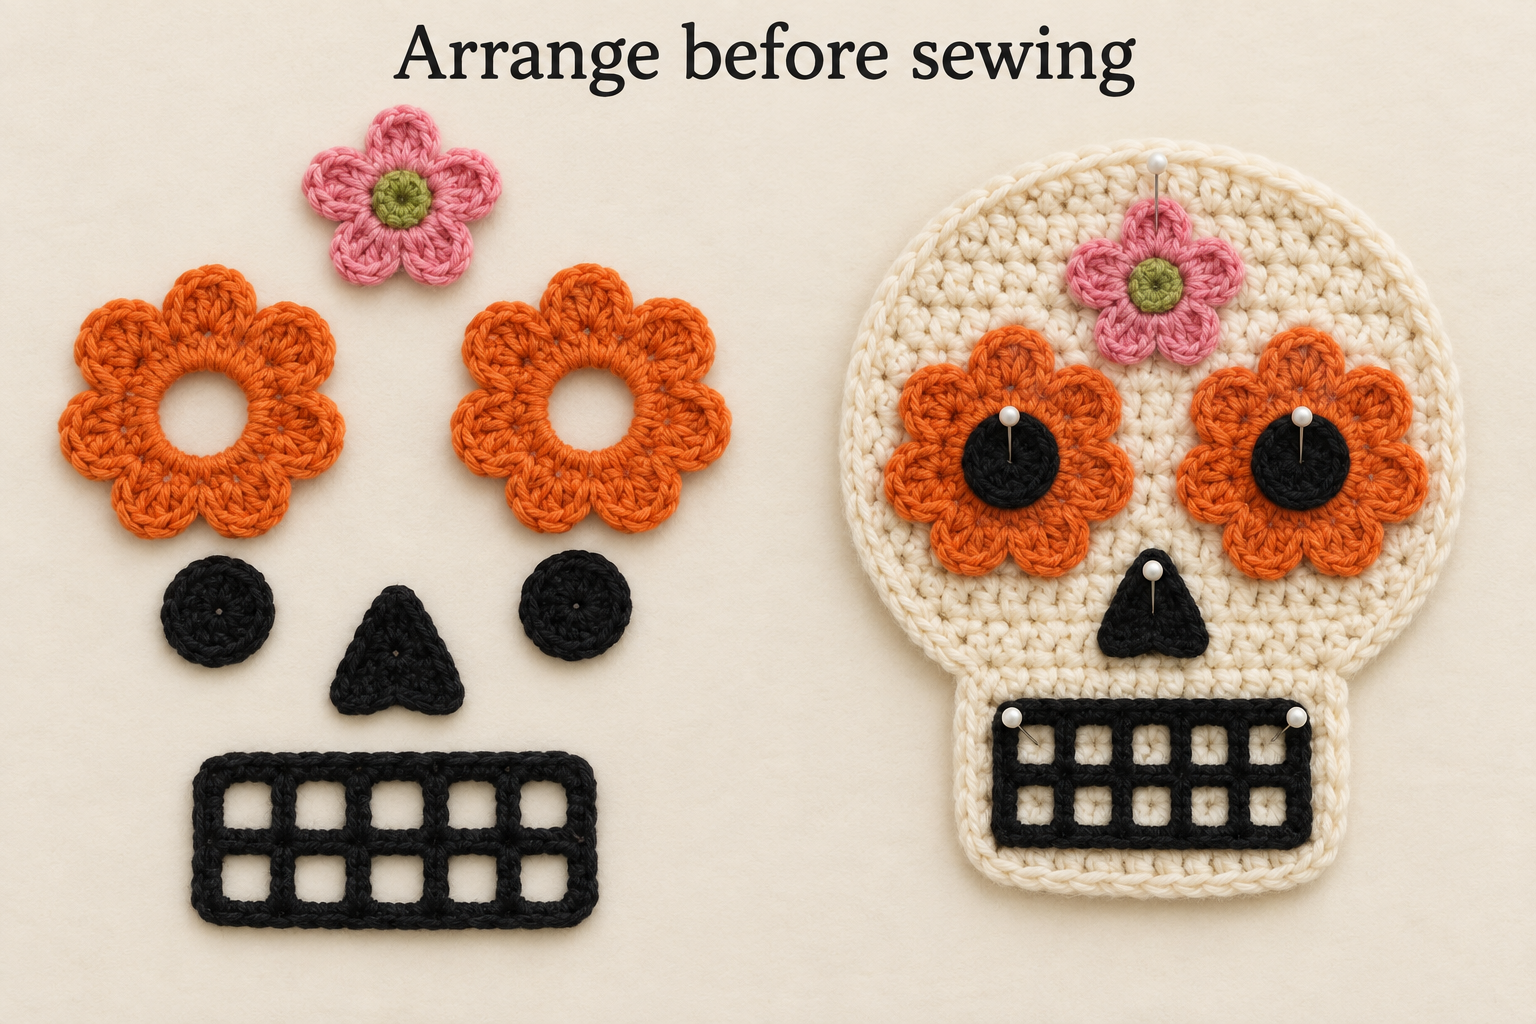
Pin the teeth to the jaw, the nose above them, the two eye flowers symmetrically on the head and the small forehead flower above the eyes. Sew around the edges of each piece with its yarn tail. Add the black eye centres and coloured forehead centre, then sew their outer edges securely. With B, add several radiating stitches from each eye centre toward the scalloped flower edge.
Large flower colour placement
| Motif | Background | Large flower | Centre |
|---|---|---|---|
| 1 | C — pink | D — orange | F — green |
| 2 | G — blue | C — pink | D — orange |
| 3 | F — green | E — gold | C — pink |
| 4 | D — orange | G — blue | E — gold |
Centre each large flower on its background. Rotate it so the background’s raised points fall between the large petals. Sew the flower edges to the background wherever they overlap. The projecting petal tips remain free. Centre and sew the small flower centre on top. The fourth combination is labelled motif 4 here to keep the assembly order clear.
10. Assemble your crochet sugar skull garland
Lay all the pieces flat before sewing. Starting at one end, arrange them in this exact sequence:
Ring → flower 1 → ring → skull 1 → ring → flower 2 → ring → skull 2 → ring → flower 3 → ring → skull 3 → ring → flower 4 → ring.
- Attach a covered ring to each side of every skull, near the height of the top of the eye flowers. Slide the yarn needle into the side edge and keep the sewing hidden on the reverse. The slip-stitch edging helps conceal the join.
- Weave the tail back and forth through the wrong-side loops to anchor it. Pull the ring snugly against the skull edge without leaving a gap, then secure and trim.
- Sew the flower backgrounds to the free sides of their adjacent rings in the same way. Check the front of the garland regularly to ensure all the faces remain upright.
- Keep one extra covered ring at each end for hanging. Weave in all remaining ends.
- Glue the prepared felt pieces onto the backs of the skulls and flower backgrounds. Allow them to dry completely.
- Add four rhinestones or sequins above each eye flower, slanting gently downward toward the middle of the face. Across six eyes, this uses 24 embellishments.
- Use glitter fabric paint to outline the flowers and their centres if desired. Let all paint and glue dry before hanging.
Crochet sugar skull garland: finishing checks
- Skull will not lie flat: check every round count before adding the face. Uneven increases and tight tension can distort the disc. Check gauge and block gently as appropriate for the yarn.
- Jaw looks too narrow: row 1 has 10 stitches; rows 2 and 3 keep all 10. Do not add a second decrease row.
- Eyes look uneven: pin both flower eyes and their centres before sewing either one permanently. Compare the gaps from the nose and outer edges.
- Flower twists on its background: centre it first, then distribute the sewing around the overlap. Do not pull the projecting petal tips down to the backing.
- Garland twists when hung: check that each ring is attached at a matching height and that the motif backs face the same direction.
Display and care for your crochet sugar skull garland
Hang the finished garland across a shelf or mantel using the two end rings. Keep yarn, felt and decorations away from candles, flames and heat. For a longer or shorter garland, make more or fewer motifs and plan the corresponding connector rings before joining. Store it flat or loosely folded without crushing the flowers; spot-clean carefully according to the yarn and embellishment care instructions.
More Halloween crochet ideas
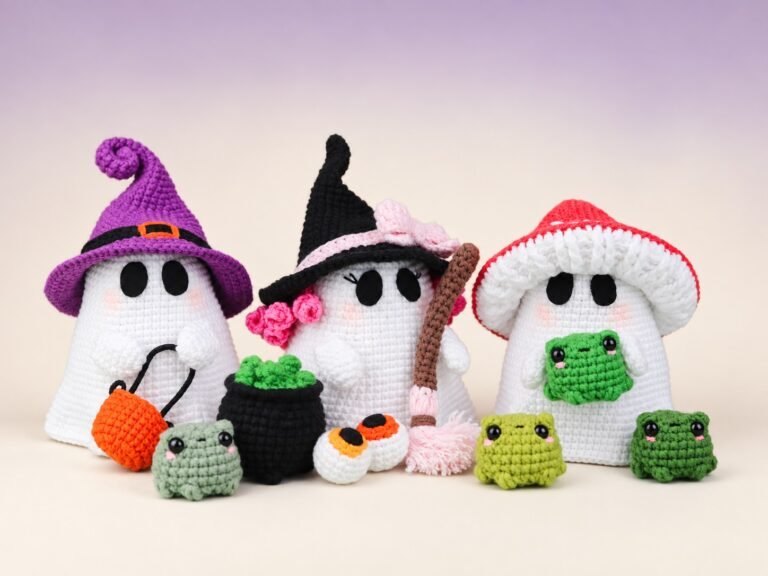
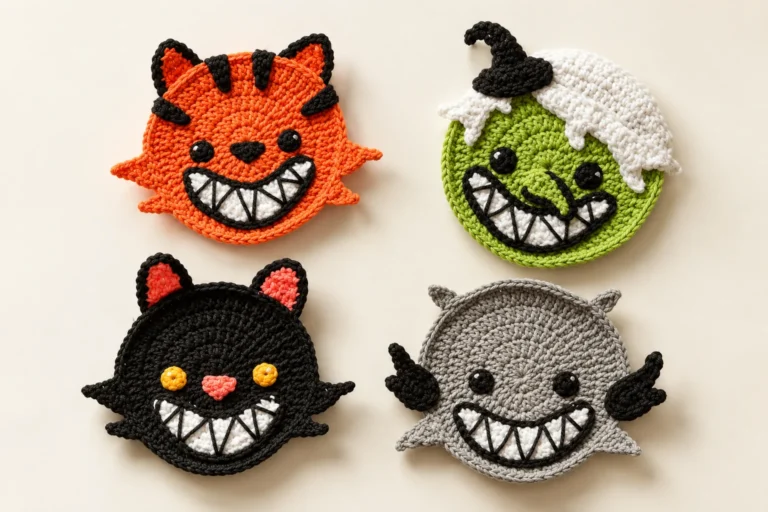
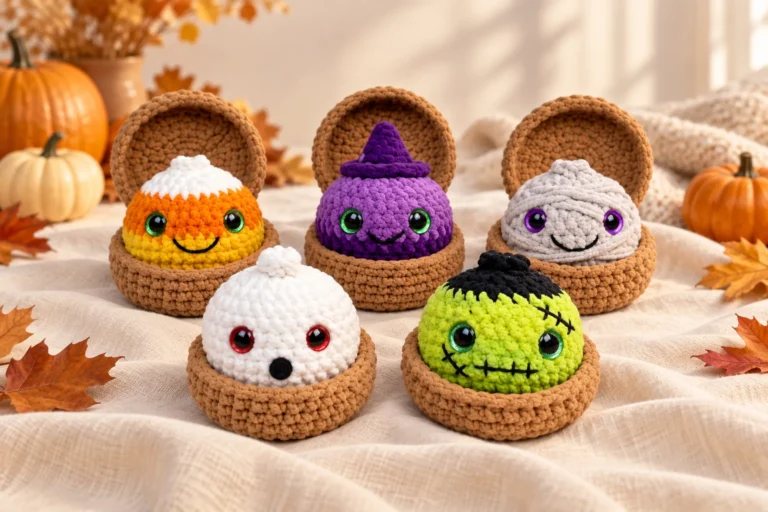
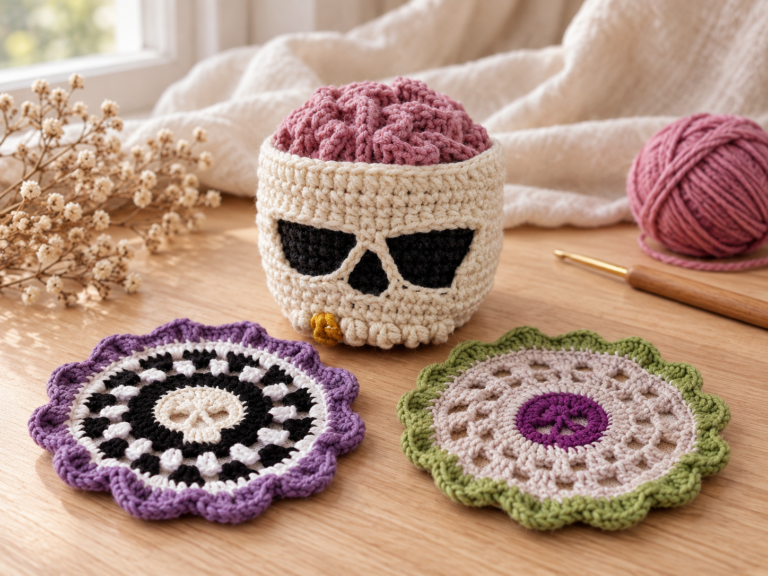
Pair your crochet sugar skull garland with our skull coaster project guide, or explore five Halloween amigurumi character ideas for a coordinated display.
Crochet sugar skull garland FAQ
Is this crochet sugar skull garland pattern free?
Yes. The complete written tutorial is available on this page at no charge. Yarn, hooks and other supplies are purchased separately.
Can a beginner make this crochet sugar skull garland?
This is an intermediate project because it combines spiral rounds, shaped rows, several stitch heights and sewn layers. Practice a plain circle and the small eye flower first if these techniques are new to you.
Does the crochet sugar skull garland need stuffing?
No. The skulls and flowers are flat motifs. Felt backing supports the pieces and covers the sewing on the reverse.
How can I make my crochet sugar skull garland longer?
Add more skull and flower motifs, maintaining the alternating arrangement. Count one connector between each neighbouring pair plus one at each end, and check the total length before sewing.
Can I change the crochet sugar skull garland colours?
Yes. Keep the same letter key for each substitute colour so the instructions remain easy to follow. Choose strong contrast between the skull, eye flowers and black facial details.
One Comment
Comments are closed.