Low Sew Amigurumi Bunny Pattern: 9 Easy Steps
Low-Sew Amigurumi Bunny Pattern: 9 Easy Steps for Beginners
This low sew amigurumi bunny pattern is a cozy, beginner-friendly project for crocheters who love adorable handmade animals but would rather spend more time crocheting and less time sewing separate pieces together.
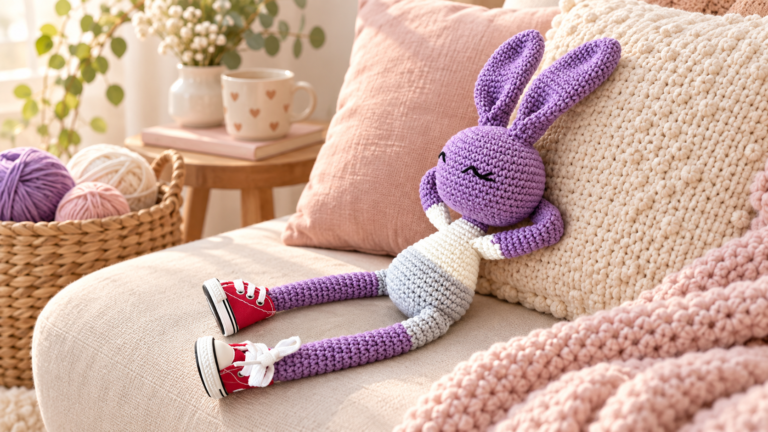
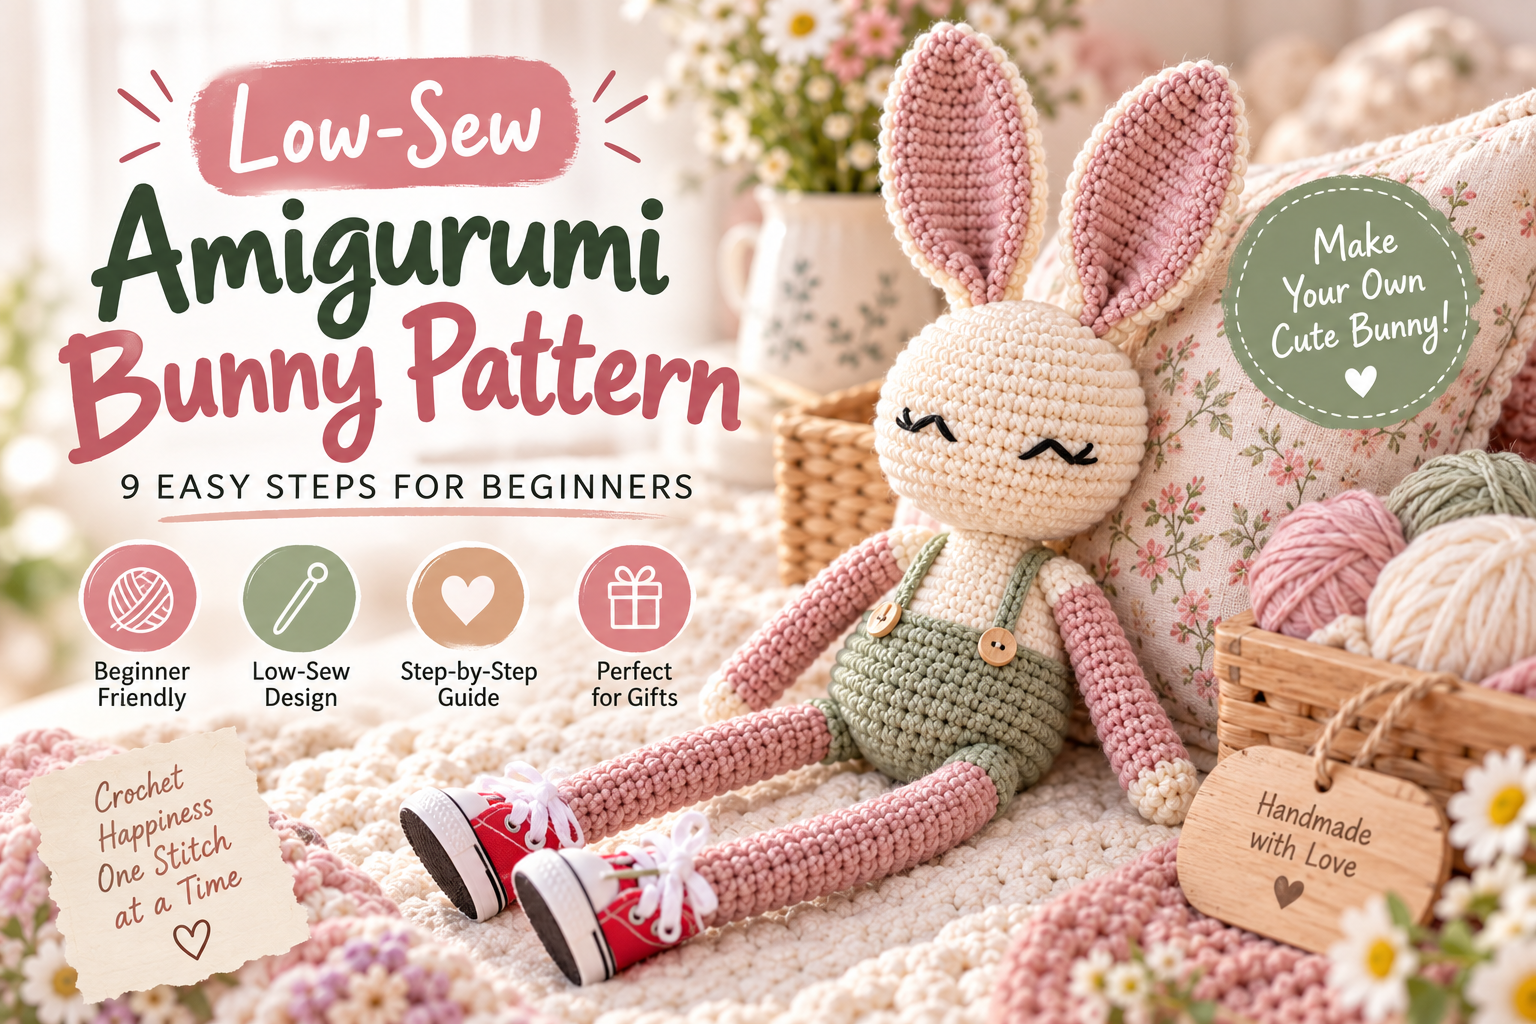
With long floppy legs, soft pastel colors, a sleepy embroidered face and a simple low-sew construction, this bunny is full of personality without requiring complicated techniques.
In this detailed guide, you will learn how to plan your yarn, shape the head, create matching ears and limbs, control your stuffing, join pieces neatly and finish your bunny so it looks polished rather than rushed.
You will also discover common beginner mistakes, color ideas, yarn recommendations and practical tips that can make your next amigurumi project much easier.
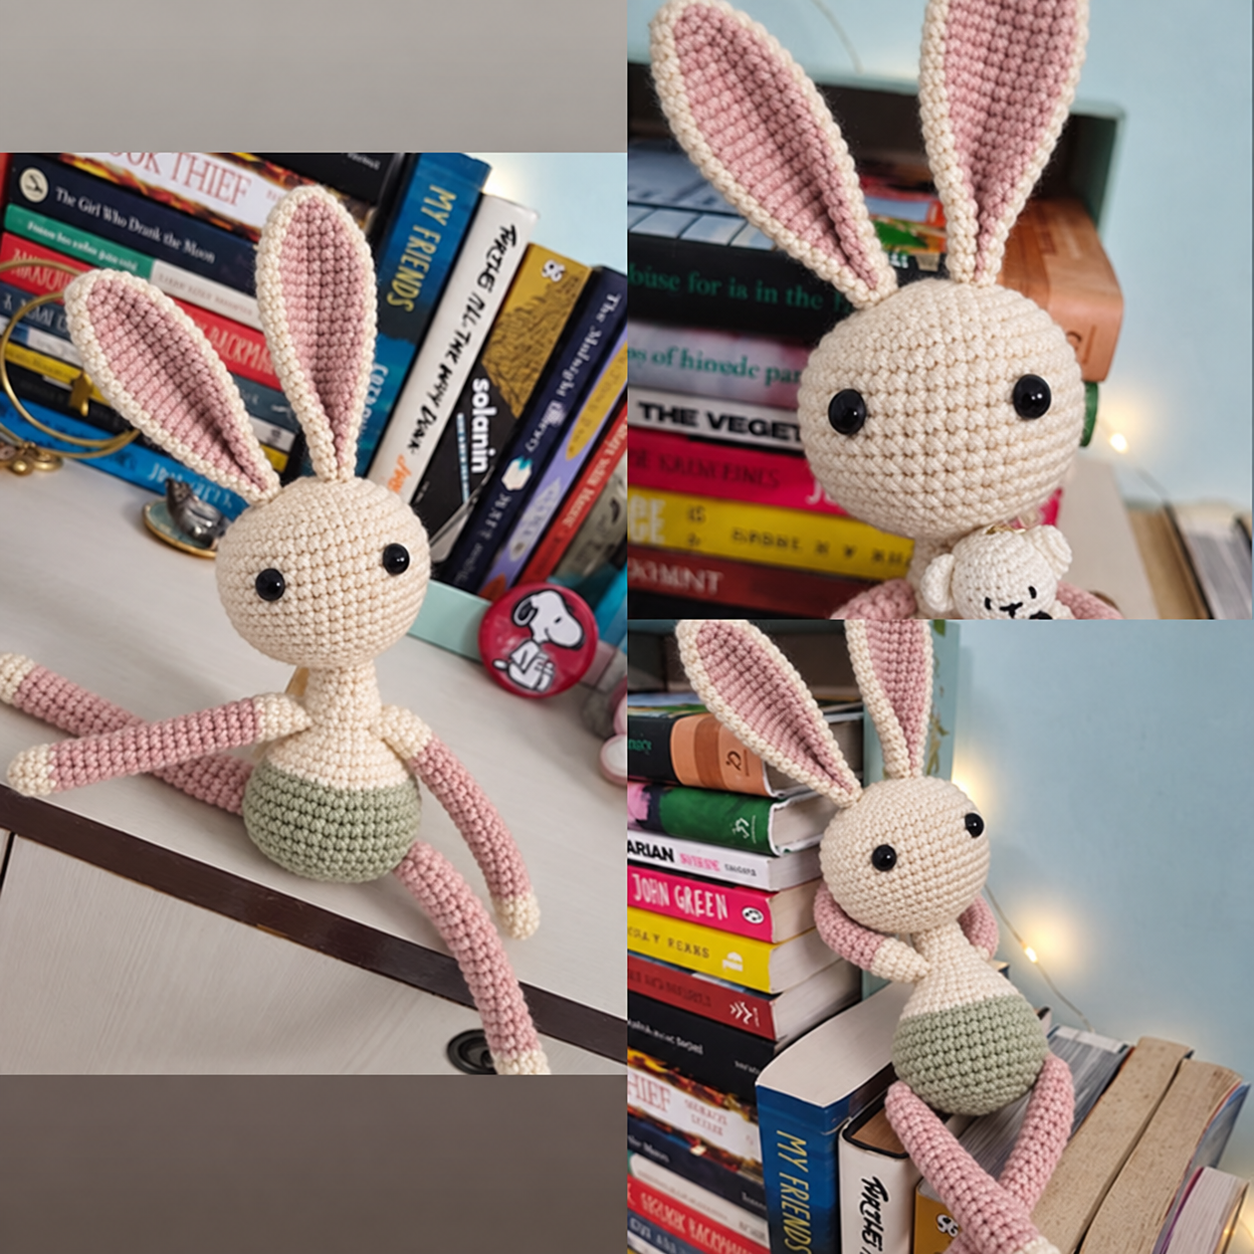
Why Choose a Low Sew Amigurumi Bunny Pattern?
Sewing is one of the parts of amigurumi that many beginners find surprisingly difficult. Crocheting a head or a leg can feel relaxing, but attaching four limbs at exactly the same height can quickly become frustrating.
A low sew amigurumi bunny pattern reduces some of that frustration by designing the construction so several pieces can be connected directly while crocheting the body.
The result is not necessarily a completely no-sew project. Depending on the design, you may still need to attach the ears or add small decorative details. However, removing even a few major sewing steps can make the project feel much more approachable.
Low-sew construction can also help improve symmetry. When limbs are joined through specific body stitches rather than sewn on later by eye, it is easier to keep both sides reasonably balanced.
Another advantage is durability. A limb that is crocheted directly into the surrounding stitches does not depend entirely on a hand-sewn seam. This can create a clean, integrated look.
For beginners, the biggest benefit is confidence. You can focus on mastering tension, increases, decreases and shaping before worrying about complicated assembly.
Materials for a Low Sew Amigurumi Bunny Pattern
One of the nicest things about amigurumi is that you do not need a huge collection of equipment. A small group of basic crochet supplies is enough to make a beautiful bunny.
The exact yarn weight, hook size and amount of fiberfill will depend on the size you want and the yarn you already have available.
- Yarn in your main bunny color
- Contrasting yarn for the body or clothing section
- A second accent color if desired
- Crochet hook suitable for your yarn
- Polyester fiberfill
- Yarn or tapestry needle
- Stitch markers
- Scissors
- Black embroidery thread for the sleepy eyes
- Optional doll shoes or small accessories
If you are unsure about the thickness of your yarn, the Craft Yarn Council yarn weight system provides a useful overview of standard yarn categories.
Remember that the recommended hook on a yarn label is designed for many types of crochet projects. Amigurumi often benefits from a slightly firmer fabric because large gaps between stitches can reveal the stuffing.
Completely new to crochet toys? Start with our beginner amigurumi guides to learn the basic stitches and techniques before beginning your bunny.
Choose Yarn and Colors Before You Crochet
Planning your colors first can make the entire project easier. When you start crocheting without deciding on a palette, it is easy to add random shades that do not feel connected.
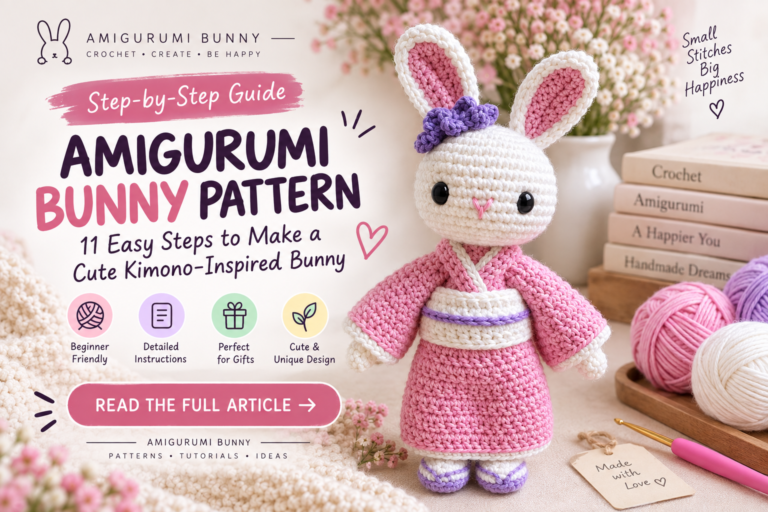
The bunny style shown here works beautifully with a soft combination of blush pink, cream and sage green. These colors create a gentle, cozy appearance that fits the handmade aesthetic.
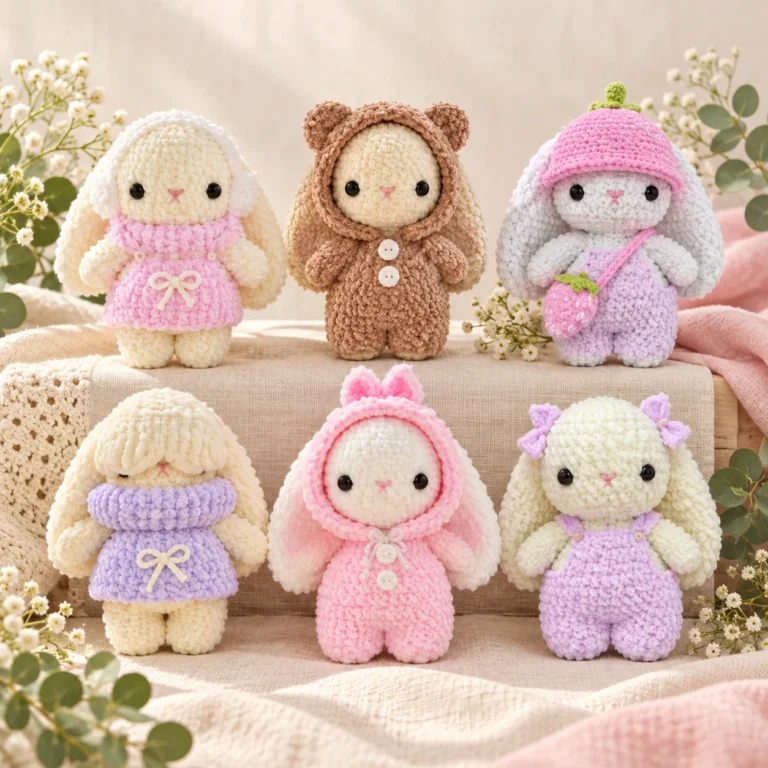
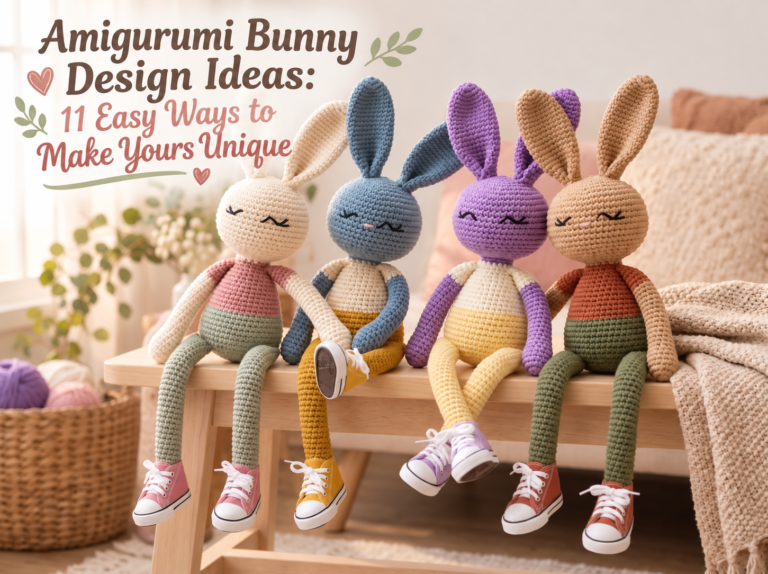
You can easily create a completely different personality by changing those colors. Lavender with cream feels dreamy. Beige with dusty rose feels warm and vintage. White with pale blue can create a clean, airy version.
A practical method is to choose three roles for your colors: one main color for the bunny, one secondary color for the body or clothing area and one accent color.
Repeating the same accent in two or three locations can make the design look intentionally coordinated.
Yarn fiber matters too. Cotton gives excellent stitch definition and can make counting easier. Acrylic can feel softer and is often available in a very wide range of colors.
There is no single perfect yarn for every low sew amigurumi bunny pattern. The best option is the yarn that gives you consistent stitches and feels comfortable while you work.
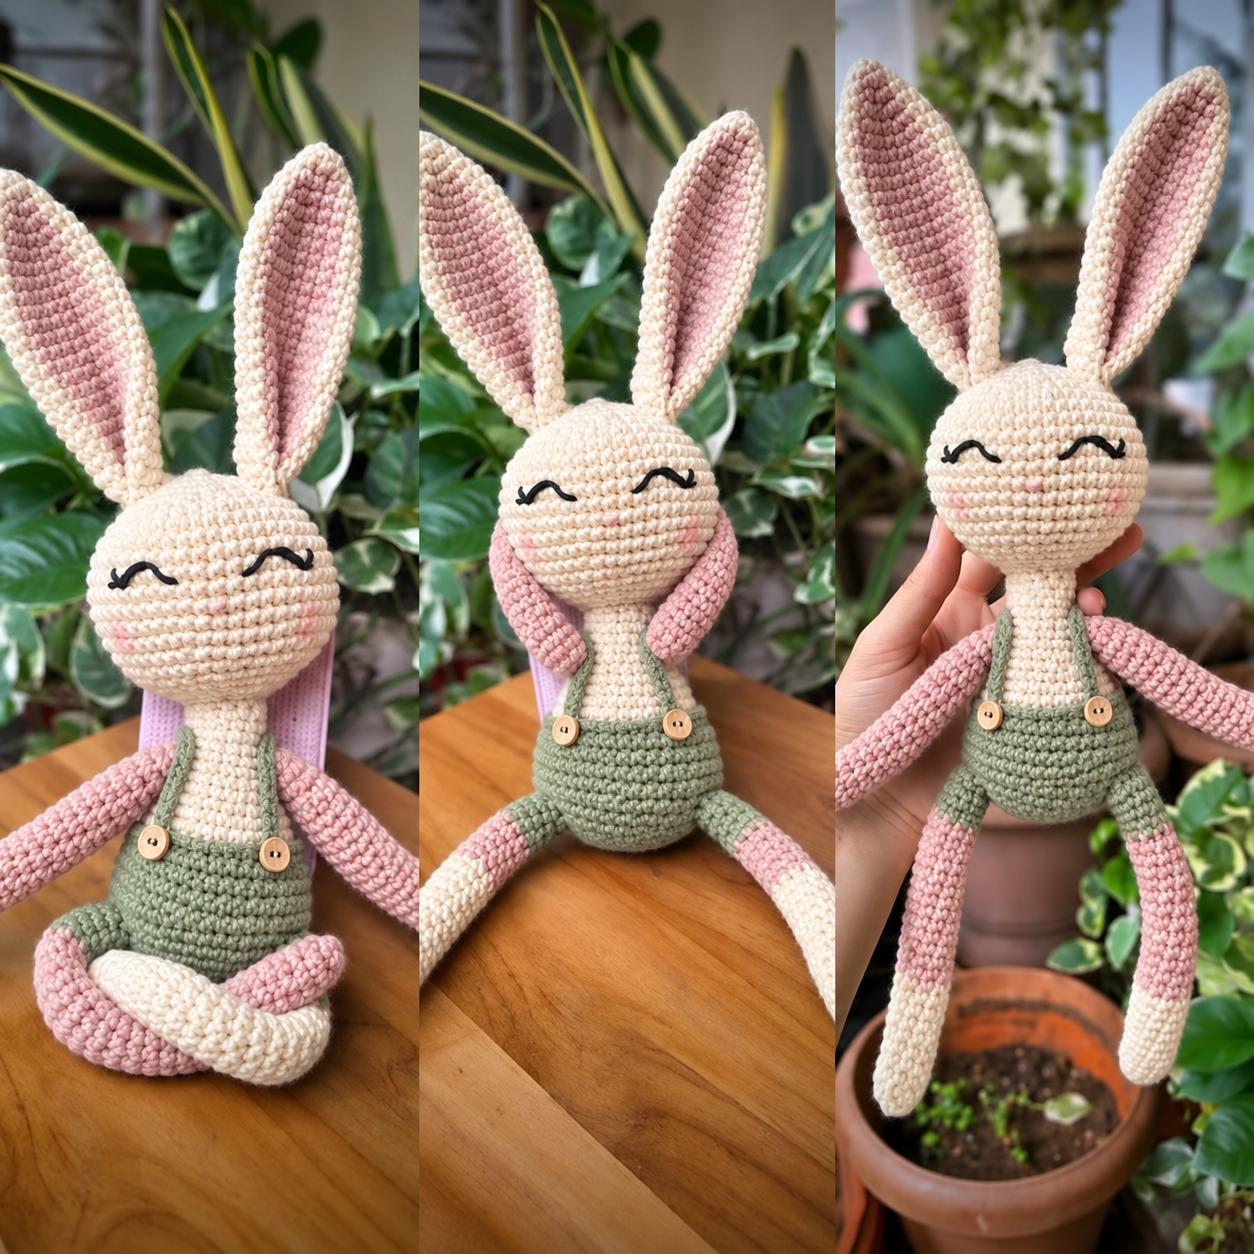
Crochet a Smooth Round Bunny Head
The head is usually the most visually important part of the project. Even if the body is simple, a nicely shaped head can make the finished bunny look polished.
Most amigurumi heads begin with a magic ring followed by a series of evenly spaced increases. These increases expand the circle until it becomes wide enough.
Several straight rounds usually follow, allowing the piece to develop depth. Controlled decreases then create the lower part of the head.
Consistent tension is important throughout this process. If your first few rounds are extremely tight and later rounds become loose, the head may develop an uneven surface.
Avoid pulling every stitch as tightly as possible. Your goal is firm, even crochet, not uncomfortable tension.
If you lose track of where a round begins, use a stitch marker. This simple tool prevents many counting mistakes.
Standard crochet abbreviations can sometimes be confusing for beginners. The Craft Yarn Council crochet abbreviation guide is a useful external reference for common crochet terms.
Stuff the Bunny Head Without Creating Lumps
Stuffing may look simple, but it has a major effect on the final shape of an amigurumi project.
Instead of waiting until the opening becomes tiny, begin adding fiberfill while you still have enough room to distribute it.
Use small pieces rather than pushing one large ball of stuffing into the head. Small amounts are easier to move and help create a smoother surface.
Rotate the head in your hands as you work. Look for flat areas and gently push more stuffing toward them.
At the same time, watch the crochet fabric. If large gaps begin appearing between stitches, the head may be overstuffed.
A properly stuffed head should feel supported and maintain its shape without becoming extremely hard.
This matters especially for a long-leg bunny because the head often becomes one of the largest visual areas of the finished toy.
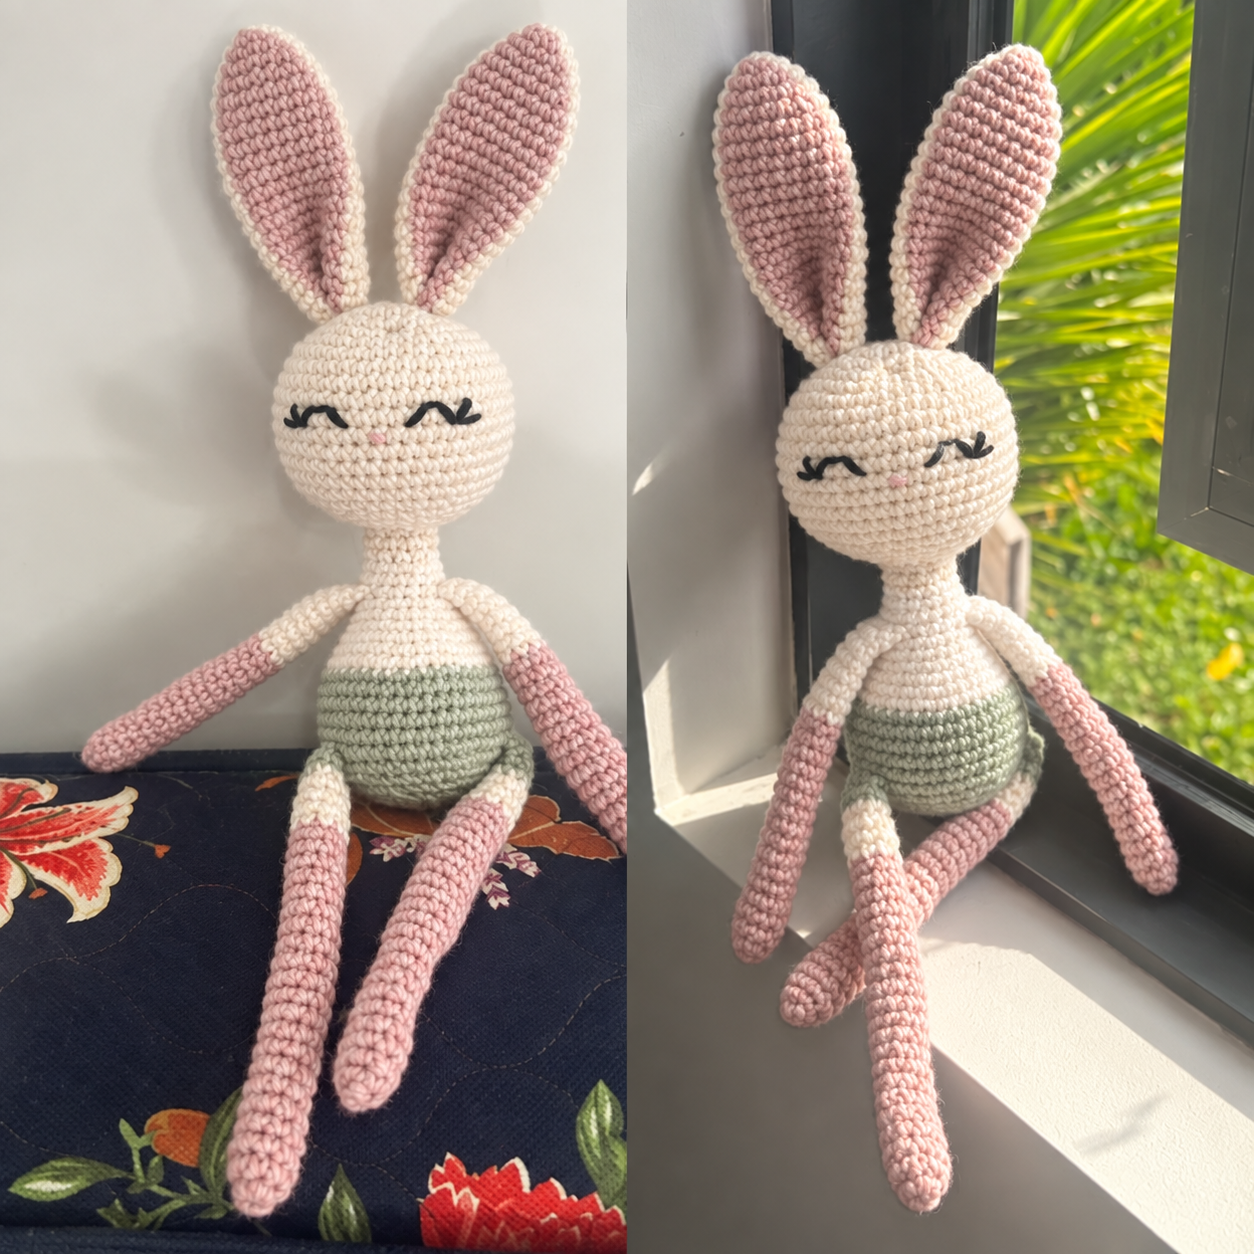
Make Two Matching Bunny Ears
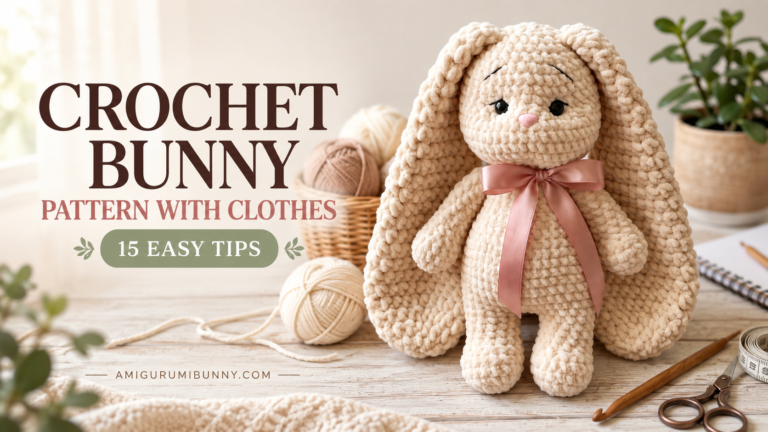
Long ears are one of the most recognizable features of a bunny, which means differences between the two ears are easy to notice.
The easiest way to improve consistency is to crochet both ears during the same session. Your tension is more likely to remain similar and the instructions will still be fresh in your mind.
Keep simple notes if necessary. If an ear contains many straight rounds, mark them as you finish each one.
When both ears are complete, place them side by side on a flat surface. Compare their total length, widest point and overall curve.
Handmade crochet will never be perfectly machine-identical, and it does not need to be. Small differences give handmade projects character.
However, an obvious difference in length is easier to correct before the ears are attached.
Pin both ears to the head before sewing either one permanently. Look at the bunny directly from the front, then rotate it to the side.
This lets you experiment with expression. More upright ears can create an alert look, while slightly relaxed placement can make the bunny feel softer and calmer.
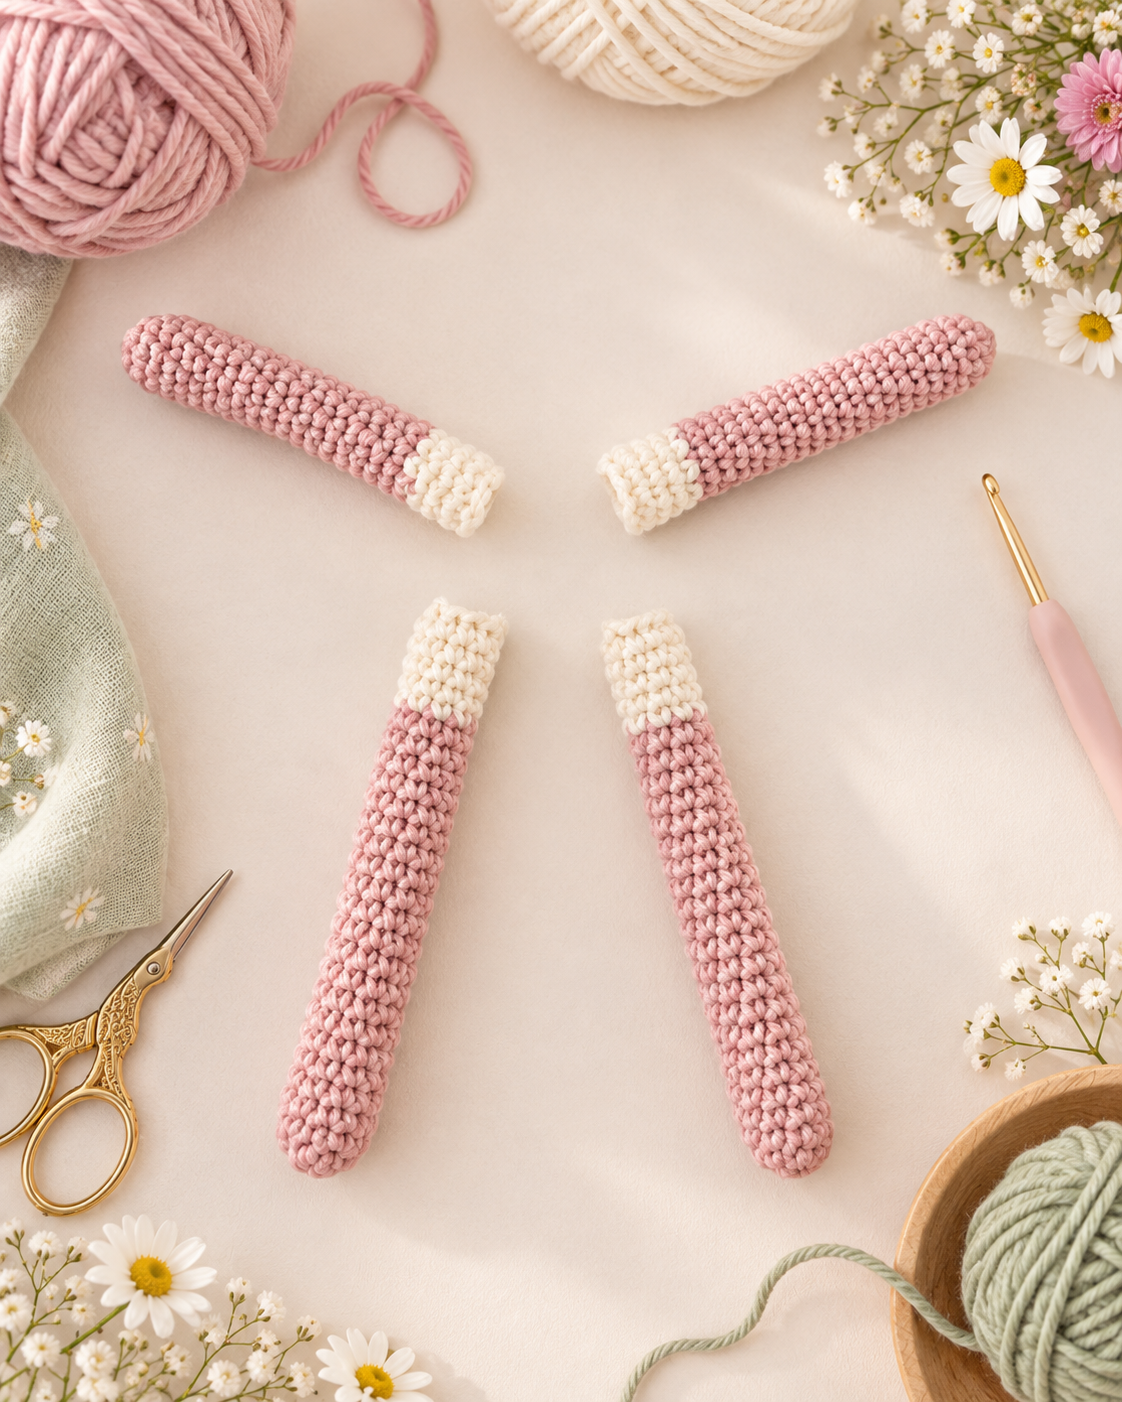
Create Long Floppy Arms and Legs
The long limbs are what make this design immediately different from a classic round amigurumi bunny.
Instead of short heavily stuffed arms and legs, the project uses long, narrow shapes that remain flexible.
This relaxed construction gives the bunny a playful seated pose and makes it easy to position on a shelf, chair or cushion.
When crocheting narrow tubes, counting is essential. It is easy to accidentally add or lose a stitch without noticing immediately.
Count periodically rather than waiting until the entire piece is finished.
The two arms should match each other, and the two legs should match each other.
Another important design choice is stuffing. Many long floppy amigurumi limbs look better with very little stuffing or no stuffing at all.
A firm, heavily stuffed leg may stick straight out instead of falling naturally.
The exact construction depends on your pattern, so follow your stitch counts carefully before joining the limbs.
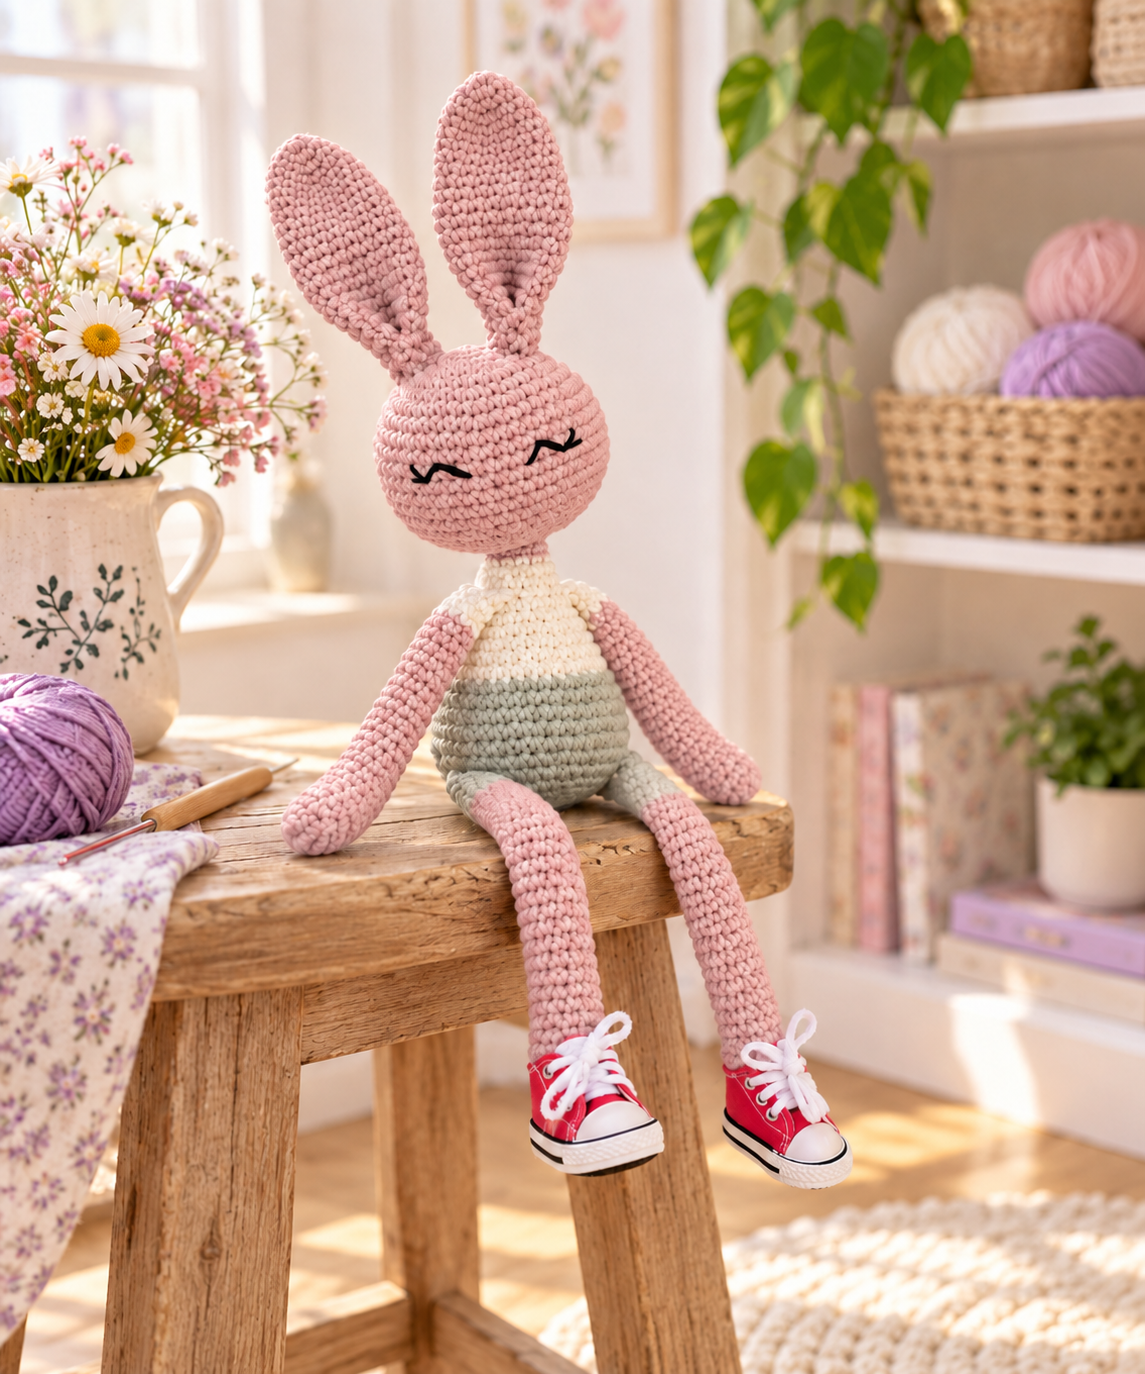
Use the Low-Sew Joining Method Carefully
This is the part that gives a low sew amigurumi bunny pattern its biggest advantage.
Instead of completing the body and later sewing each arm and leg onto the outside, selected limbs can be incorporated while crocheting the body rounds.
Placement is still important. Before reaching the joining round, decide where each limb should sit.
If the arms are joined too close together, the bunny may look narrow through the shoulders. If they are too far apart, the body can feel unusually wide.
The same applies to leg placement. Matching the left and right sides creates a more natural seated position.
Follow the specified stitch counts rather than estimating visually. Low-sew construction is easiest when the pattern tells you exactly how many body stitches to work before each limb.
When your hook passes through both the body and limb stitches, work slowly. Make sure you are entering the intended loops and that the limb is facing the correct direction.
After completing the joining round, stop and inspect the project. It is much easier to undo one round now than to discover incorrect placement after the entire body is finished.
Shape and Stuff the Bunny Body
Once the limbs are connected, the body begins to give the bunny its final proportions.
The body does not need to be extremely large. A relatively compact torso makes the long legs look even more playful.
Continue checking your stitch count as increases or decreases shape the belly.
Begin stuffing before the opening becomes too small. As with the head, add small amounts of fiberfill.
The upper body needs enough structure to support the head. If the neck area is extremely soft, the head can lean forward.
However, stuffing the body until it becomes hard can stretch the stitches and change the intended shape.
Hold the bunny upright several times during stuffing. This gives you a better idea of how the head, torso and legs work together.
Gently massage the fiberfill with your fingers to redistribute lumps and create an even silhouette.
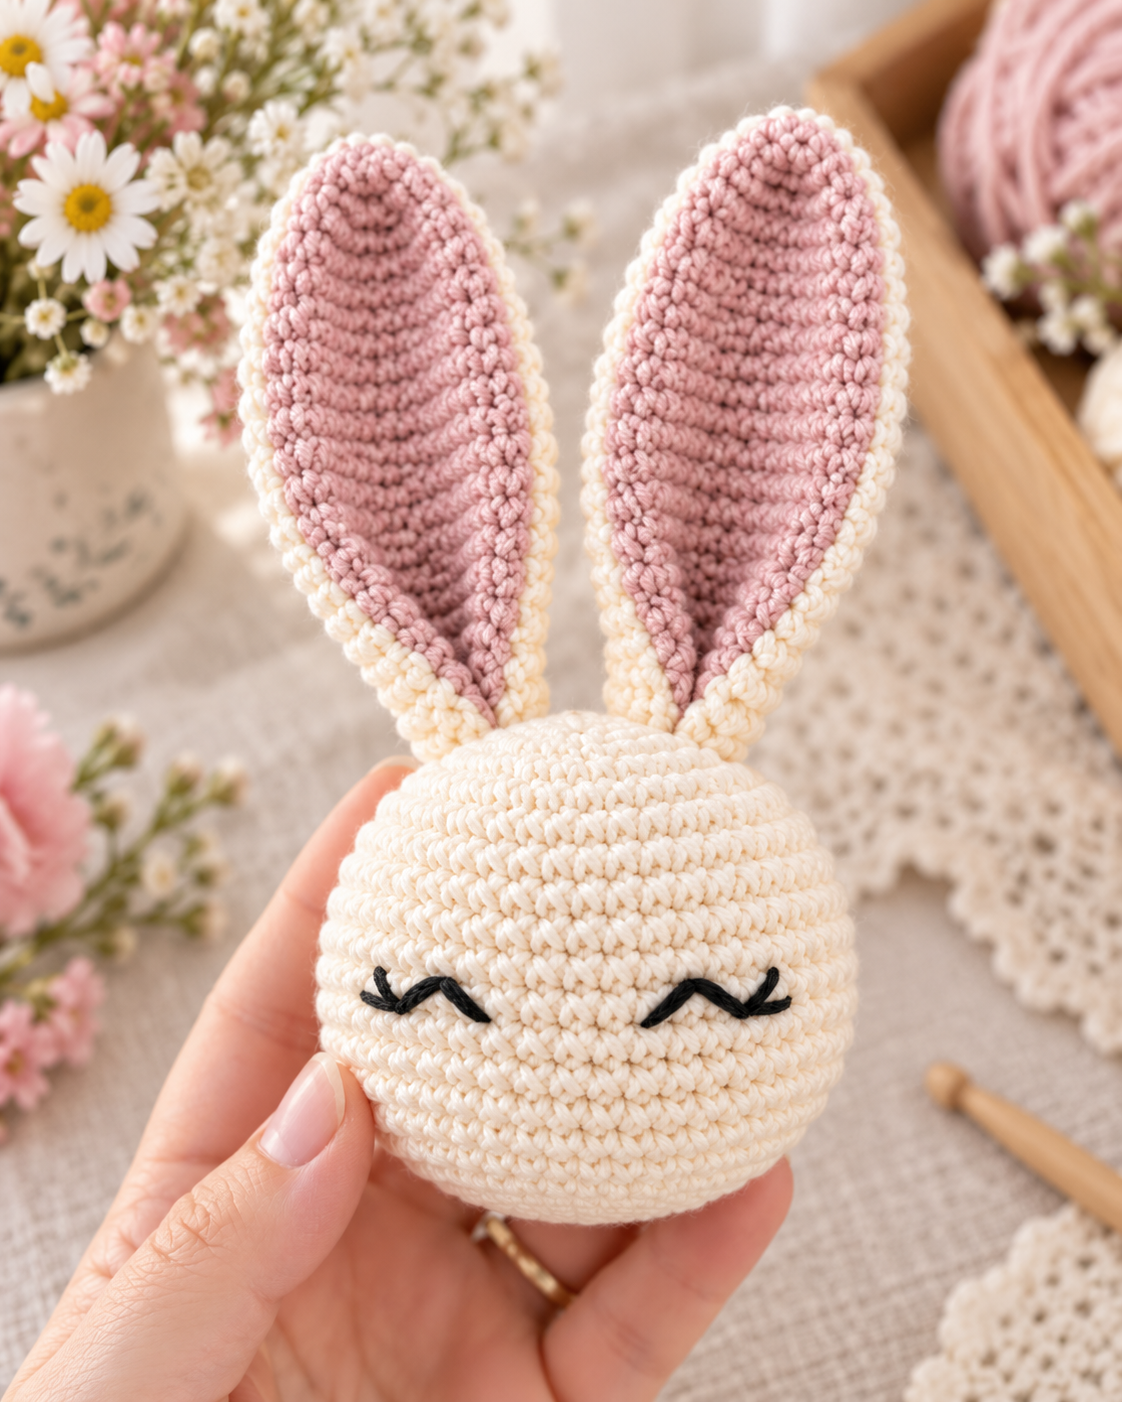
Embroider a Cute Sleepy Bunny Face
Facial expression can completely change the personality of the same crochet shape.
A sleepy embroidered face works particularly well with this relaxed long-leg bunny because the expression matches the soft pose.
Before adding permanent stitches, use pins or small removable markers to test the eye positions.
Measure the approximate distance from the center of the face so the left and right sides remain balanced.
Then place the head on a table and step back. Looking from a short distance often reveals uneven placement more clearly than holding the bunny directly in front of your eyes.
Use small controlled embroidery stitches. Avoid pulling so tightly that the yarn sinks deeply into the crochet fabric and distorts the face.
If your bunny will be used by a small child, embroidered facial features can also be an alternative to removable plastic details.
Always choose materials and finishing methods that suit the intended use of the finished toy.
Finish and Style Your Low Sew Amigurumi Bunny
Once the major crochet work is complete, spend a few extra minutes on finishing.
Hide loose yarn tails carefully. Check every joined limb and make sure the stitches are secure.
Gently reshape the head and body using your hands. Move stuffing slightly if you notice any flat areas.
Position the arms in a relaxed direction and allow the long legs to fall naturally.
You can leave the bunny completely soft or add small accessories. Tiny doll shoes, bows, scarves or miniature crochet details can give the character an entirely different personality.
Keep accessories proportional. A very large decorative item can distract from the clean silhouette of the bunny.
This is also the perfect stage to photograph your finished low sew amigurumi bunny pattern project.
Natural window light, a neutral background and a few yarn balls are often enough to create a beautiful handmade-style photo.
9 Common Low-Sew Amigurumi Bunny Mistakes
-
Using inconsistent tension
If your tension changes significantly between rounds, matching parts can become different sizes and rounded pieces may look uneven.
-
Skipping stitch markers
Amigurumi is often worked continuously. A stitch marker makes it much easier to identify where each round begins.
-
Overstuffing the head
Too much stuffing stretches the crochet fabric and can expose fiberfill between the stitches.
-
Making one ear longer than the other
Compare both ears while you work instead of waiting until they are completely finished.
-
Ignoring limb orientation
During a low-sew joining round, make sure each arm or leg is facing the intended direction before completing the stitches.
-
Stuffing long limbs too firmly
If your design is supposed to look floppy, heavy stuffing may make the limbs stiff and difficult to pose.
-
Rushing the face
Take time to test the eye position. A few millimeters can noticeably change the bunny’s expression.
-
Adding too many colors
A simple coordinated palette usually creates a cleaner and more recognizable handmade style.
-
Skipping the final inspection
Check all yarn tails, joins and shaping before considering your bunny completely finished.
Best Yarn for a Low Sew Amigurumi Bunny Pattern
There is no single yarn that every crocheter must use. Cotton and acrylic are both common options for amigurumi.
Cotton often provides very clear stitch definition. This can make it easier to identify individual stitches when increasing, decreasing or joining limbs.
Acrylic yarn is available in a huge range of colors and can be budget-friendly, making it useful when you want to experiment with several versions of the same bunny.
You can also use blended yarns. The important thing is consistency. If your head yarn is dramatically thinner than your body yarn, the proportions may change.
Try to use yarns of similar weight for the main parts of the project.
Light-colored yarn can be easier for beginners because individual stitches are more visible than they are with very dark yarn.
If this is your first low sew amigurumi bunny pattern, cream, blush, light gray, sage or lavender can all be beginner-friendly color choices.
How to Choose the Right Crochet Hook
Hook size affects both the final size of the bunny and the density of the crochet fabric.
A larger hook creates larger stitches and more flexibility. A smaller hook creates tighter stitches and a firmer surface.
For amigurumi, you generally want the stitches tight enough that fiberfill does not easily show through.
That does not mean you should force your hands to work with an uncomfortably tiny hook.
If your hands begin hurting, the project will quickly stop being enjoyable.
Test a small sample using the yarn and hook combination you plan to use. Stretch the sample lightly with your fingers.
If large gaps open immediately, you may want to adjust your tension or experiment with a slightly smaller hook.
How to Make Your Crochet Bunny Bigger or Smaller
You can often change the finished size without redesigning the entire construction.
Using thicker yarn with a suitable larger hook will generally create a larger bunny.
Using finer yarn and a smaller hook will create a more miniature version.
However, every part changes together. A larger bunny will require more fiberfill and more yarn.
Accessories may also need to be resized.
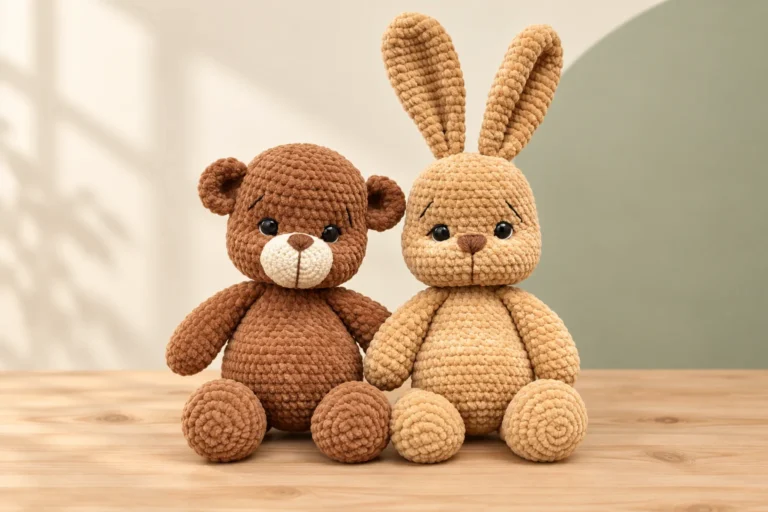
If you use doll shoes, for example, shoes that fit a small cotton bunny may be too small for the same pattern made with thick chenille yarn.
Keep the proportions consistent and let the yarn change the scale of the project naturally.
6 Cute Color Ideas for Your Bunny
Blush pink, cream and soft sage create a cozy botanical look.
Use lavender, ivory and dusty purple for a soft dreamy bunny.
Combine beige, dusty rose and muted burgundy for a warmer style.
Cream, pale blue and soft gray create a clean calm palette.
Use warm beige, olive green and cream for a natural woodland look.
Pair cream with pink and tiny red accents for a playful sweet design.
For more inspiration, browse our amigurumi bunny ideas and save your favorite color combinations for future projects.
How to Make Your Amigurumi Bunny Look Professional
Expensive materials are not what make amigurumi look professional. Small finishing habits make a much larger difference.
First, keep your tension as consistent as possible. An even crochet surface immediately looks cleaner.
Second, hide every yarn tail carefully. Do not simply cut ends close to the surface because they may eventually work their way out.
Third, check symmetry before making anything permanent. Pin ears, test the face and inspect the limbs.
Fourth, control your stuffing. Smooth shapes look more polished than overstuffed pieces with visible gaps.
Finally, stop before the design becomes too busy. A sleepy face, long legs and a simple color palette already give this bunny plenty of personality.
The strongest handmade designs often rely on a few memorable details rather than dozens of decorations.
How to Care for a Handmade Amigurumi Bunny
Always begin by checking the care instructions for the yarn used in your project.
Different fibers can react differently to water, heat and agitation.
For decorative amigurumi, gentle spot cleaning may often be enough.
Avoid pulling strongly on ears, arms, shoes or other accessories.
After cleaning, gently reshape the bunny with your hands and let it dry completely before storing or displaying it.
Keeping the yarn label with your project notes is a useful habit because you will always have the manufacturer’s recommended care information available.
Low Sew Amigurumi Bunny Pattern FAQ
Is a low-sew bunny suitable for complete beginners?
Yes, it can be a good beginner project if you already understand single crochet, increases, decreases and working in continuous rounds. The low-sew construction can actually make assembly easier.
Does low-sew mean absolutely no sewing?
Not necessarily. Low-sew means the construction reduces sewing. Some designs still require ears, accessories or facial details to be attached separately.
Why are my bunny’s stitches showing stuffing?
The hook may be too large, the tension may be too loose or the piece may be overstuffed. Adjust one factor at a time.
Why are my two ears different sizes?
Small differences in tension or round counts can create noticeable changes. Compare matching pieces while working and keep simple notes.
Should the long bunny legs be stuffed?
This depends on the specific pattern. For a relaxed floppy style, little or no stuffing often creates a softer result. Always follow the instructions for your exact design.
Can I use chenille yarn?
Yes, but the finished bunny may become much larger and stitch visibility may be different. Adjust your hook and accessories accordingly.
Can I change the colors?
Absolutely. Color changes are one of the easiest ways to personalize an amigurumi bunny while keeping the same basic construction.
How do I keep the arms symmetrical?
Carefully follow the body stitch count before each joining point. Inspect both sides immediately after completing the joining round.
Can I sell finished bunnies?
Check the terms included with the specific pattern you are using. Pattern permissions can differ from one designer to another.
Continue Learning Amigurumi
The best way to improve at amigurumi is to repeat the basic techniques across several different projects.
Explore our crochet tutorials for more help with shaping, stitches and finishing.
You can also read our long-legged amigurumi bunny tutorial for more advice on creating unusual bunny proportions.
If you want a different style of bunny project, visit our amigurumi bunny pattern guide for more shaping, clothing and color ideas.
Final Thoughts on This Low Sew Amigurumi Bunny Pattern
A beautiful crochet bunny does not need dozens of complicated stitches. The charm of this project comes from simple shapes used carefully.
A smooth round head creates the foundation. Long ears immediately give the character a bunny silhouette.
Narrow floppy arms and legs add personality while reducing the amount of stuffing required.
Thoughtful low-sew joining makes assembly less intimidating, and a simple embroidered sleepy face completes the relaxed look.
If you are a beginner, concentrate on one part at a time. Do not worry if your first bunny is not perfectly symmetrical.
Every project improves your understanding of tension, shaping, stuffing and construction.
If you are already comfortable with amigurumi, use this project as an opportunity to experiment with color, yarn weight and small accessories.
The same low sew amigurumi bunny pattern can become a completely different character simply by changing from blush pink to lavender, cream, sage or another favorite palette.
Most importantly, enjoy the process. Crochet is not only about reaching the final stitch. Choosing yarn, watching the shapes grow and seeing the bunny develop its own personality are all part of the handmade experience.
Get the Complete Low-Sew Bunny Pattern
You now know the important techniques behind the project: yarn selection, head shaping, stuffing, matching ears, long limbs, low-sew joining, facial embroidery and finishing.
If you want the exact rounds and stitch counts organized in one convenient guide, follow the complete PDF pattern while you crochet.