Crochet Bunny Pattern With Clothes: 15 Easy Tips
Plush Amigurumi Project • English US Terms
Crochet Bunny Pattern With Clothes: 15 Easy Tips for a Perfect Plush Rabbit
This crochet bunny pattern with clothes turns soft chenille yarn into a lovable rabbit with wonderfully long ears, a dusty-pink cardigan, matching bow and cozy burgundy pants. Every detail gives the bunny a warm personality while offering an enjoyable mix of amigurumi shaping, color and finishing techniques.
Below, you will find the design story, materials, progress photos and practical advice for cleaner stitches, balanced stuffing and a professional finish. Take your time, enjoy the texture of the plush yarn and let your own color choices make the bunny unique.
Meet the Plush Crochet Bunny With Clothes
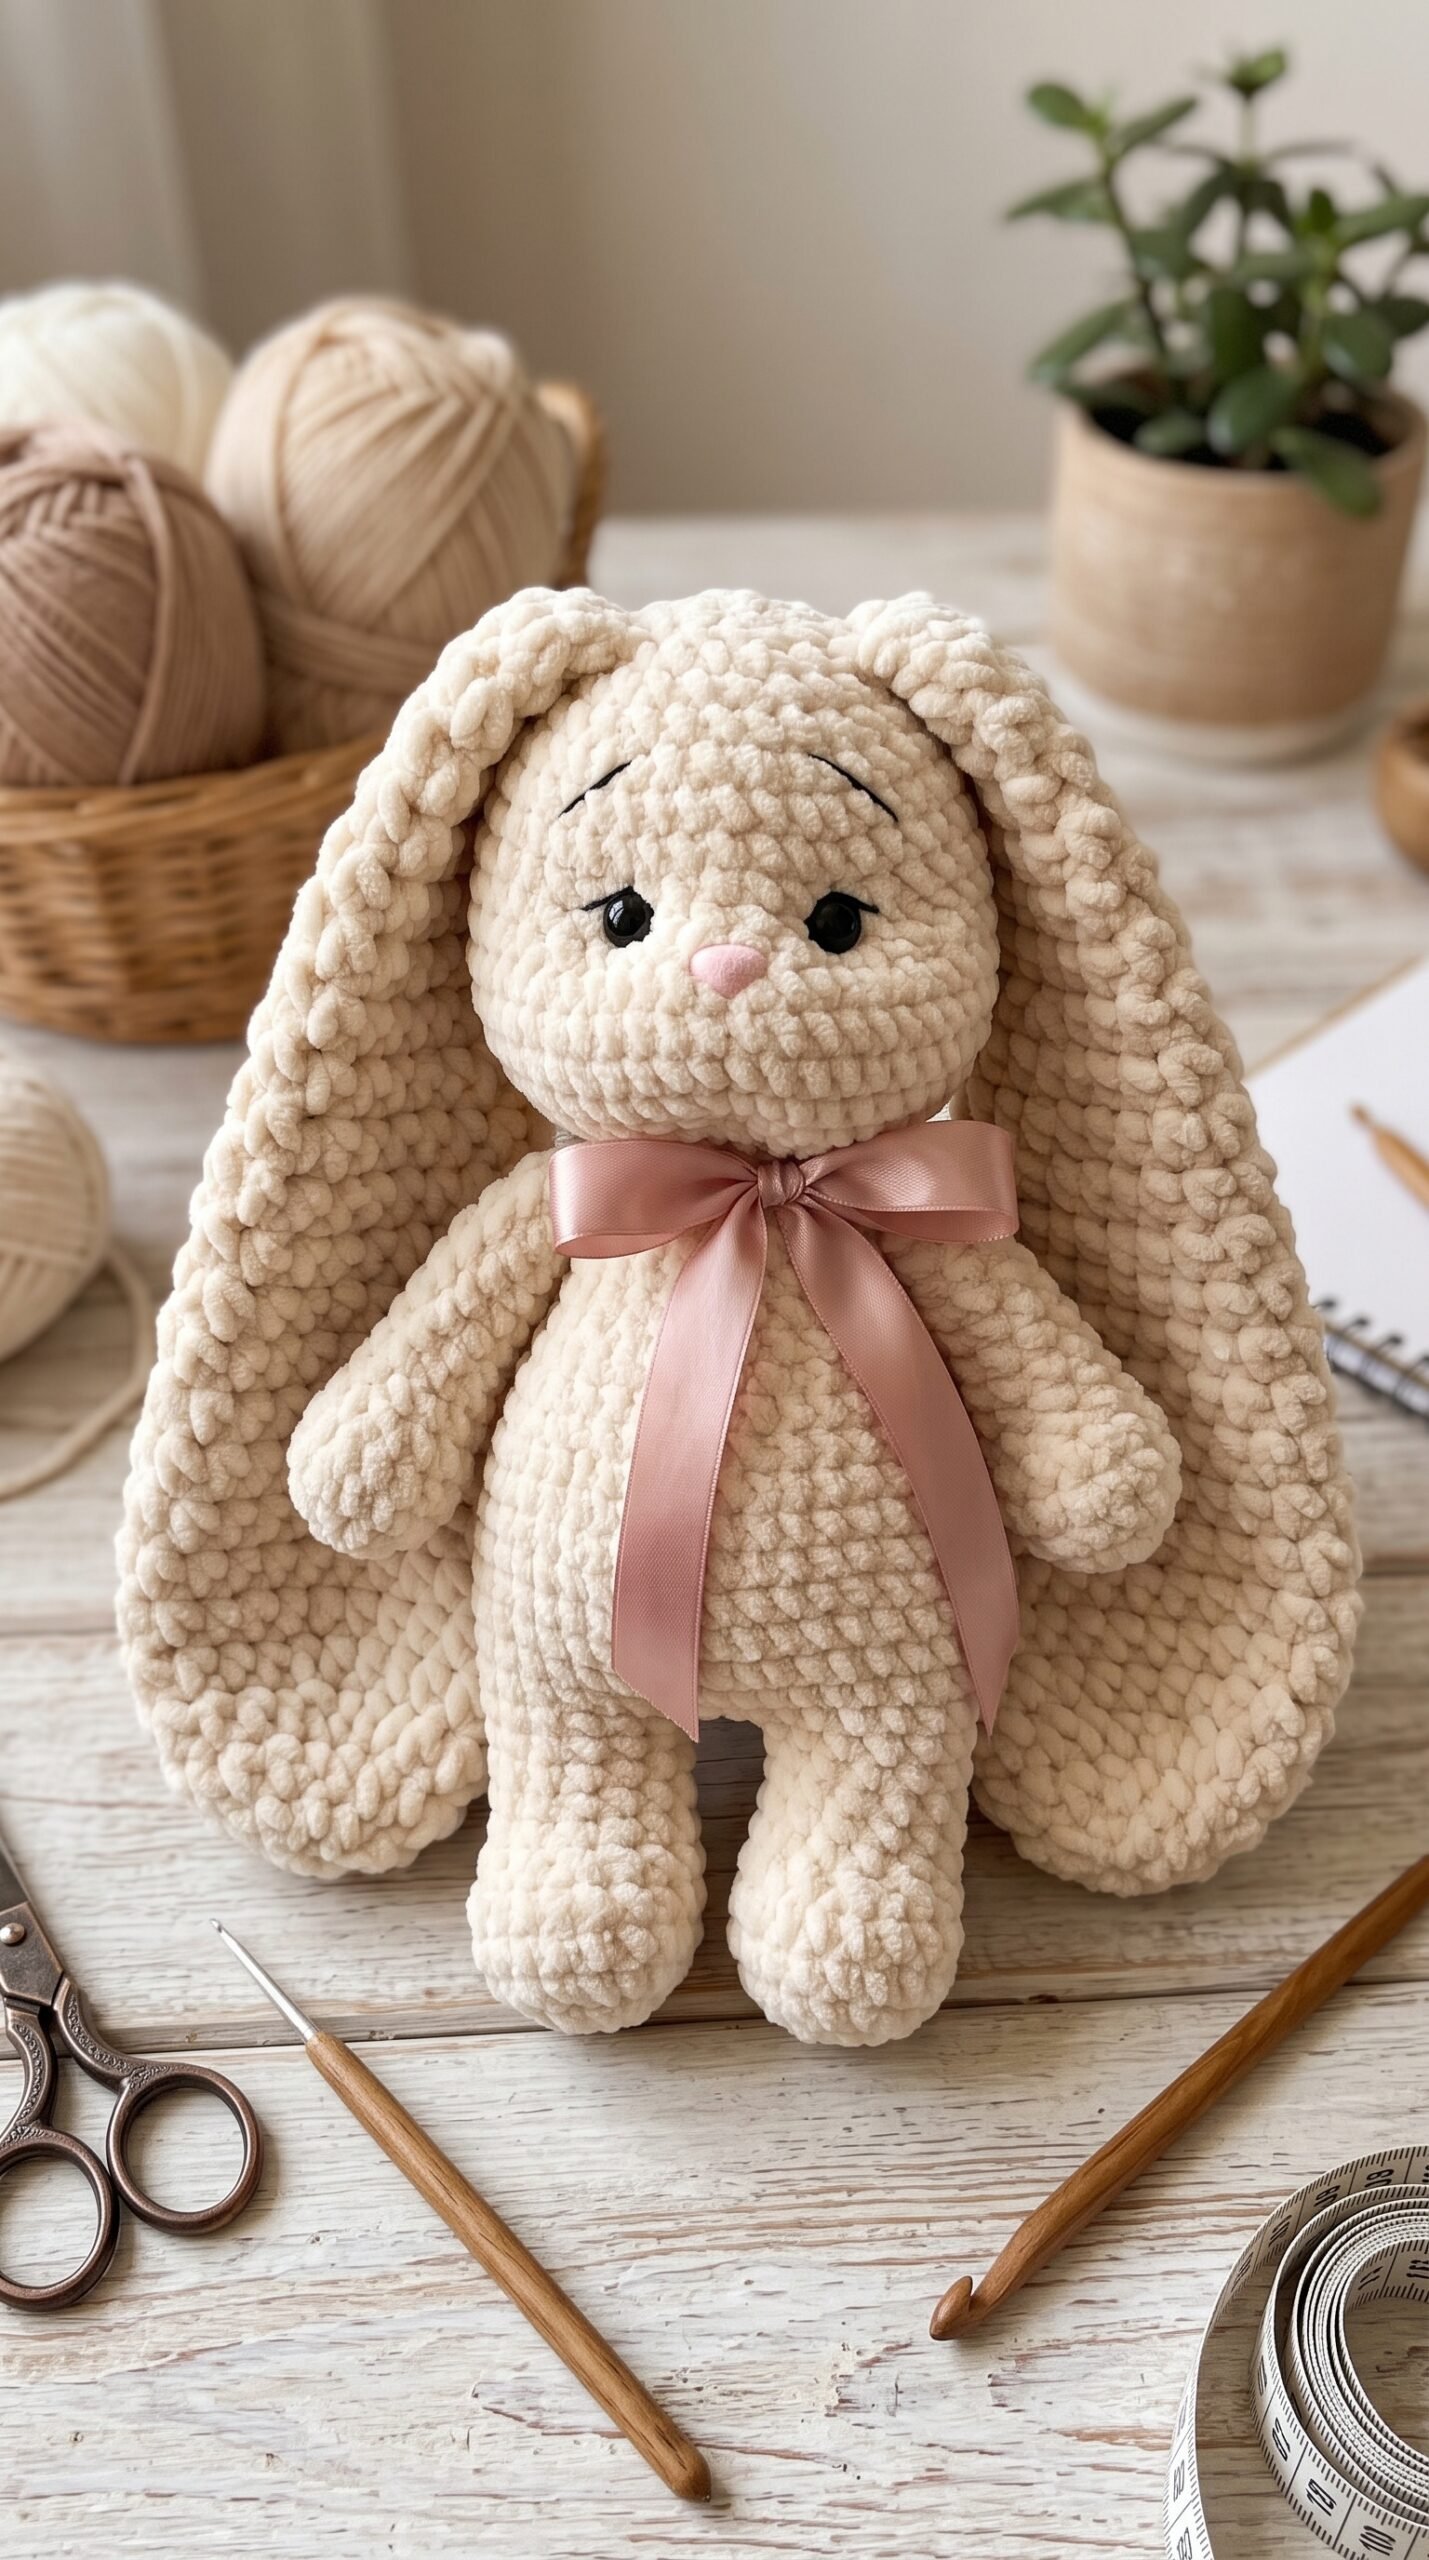
The personality of this bunny comes from a combination of soft shapes and carefully chosen details. Its white plush head has a rounded silhouette, while the extra-long ears frame the face and fall naturally on both sides of the body. Black eyes with small eyelashes create a gentle expression, and the bright pink nose adds a cheerful focal point.
The outfit gives the bunny an even more distinctive character. A crocheted dusty-pink cardigan covers the upper body and features a neat row of pale buttons. A matching bow sits near one ear, connecting the outfit to the face without making the design feel too busy. Deep burgundy pants provide contrast and help the soft white paws stand out.
What makes this crochet bunny pattern with clothes special is the way the soft rabbit and coordinated outfit feel like one complete character rather than separate pieces.
Because the colors are warm and coordinated, the bunny looks attractive in photographs and works beautifully as nursery decor, a handmade gift, or an addition to an amigurumi collection.
The crochet bunny pattern with clothes brings all of these character details together in one cohesive project.
Why You Will Love This Crochet Bunny Pattern With Clothes
A well-designed amigurumi project should be enjoyable to crochet and satisfying to display. This bunny offers both. The body uses soft, rounded shapes, while the outfit adds variety and lets you work with different yarn textures and colors.
This crochet bunny pattern with clothes is also a lovely choice when you want a project that combines classic amigurumi techniques with creative garment details.
- A complete character design: the bunny includes a coordinated bow, cardigan, pants, and paws.
- Beautiful long ears: the floppy ears create a recognizable bunny silhouette and make the finished toy especially cuddly.
- Plush texture: chenille-style yarn gives the bunny a soft, cozy finish.
- Color customization: you can easily adapt the outfit to match a nursery, holiday, or favorite palette.
- Photogenic details: the eyelashes, buttons, bow, and contrasting pants make the design stand out in photos.
Materials for This Crochet Bunny Pattern With Clothes
Always follow the material list included with your pattern, especially when choosing hook sizes and safety features. In general, a plush bunny of this style may require the following supplies:
Preparing every material before beginning the crochet bunny pattern with clothes will help you maintain consistent tension and avoid changing yarn weights halfway through the project.
- White or cream plush chenille yarn for the head, ears, arms, and paws
- Dusty-pink yarn for the cardigan and matching bow
- Burgundy or deep-rose yarn for the pants
- A crochet hook suitable for each yarn weight
- Black safety eyes or embroidered eyes
- Pink yarn or a suitable safety nose
- Light-colored buttons for the cardigan
- Polyester fiberfill
- Stitch markers
- Scissors and a tapestry needle
- Black embroidery thread for eyelashes and eyebrows
Plush yarn can vary significantly between brands. Two skeins labeled with the same weight may produce different stitch sizes or textures. Making a small test piece before beginning can help you choose a comfortable hook and maintain firm stitches that hold the stuffing securely.
What You Will Make With This Crochet Bunny Pattern
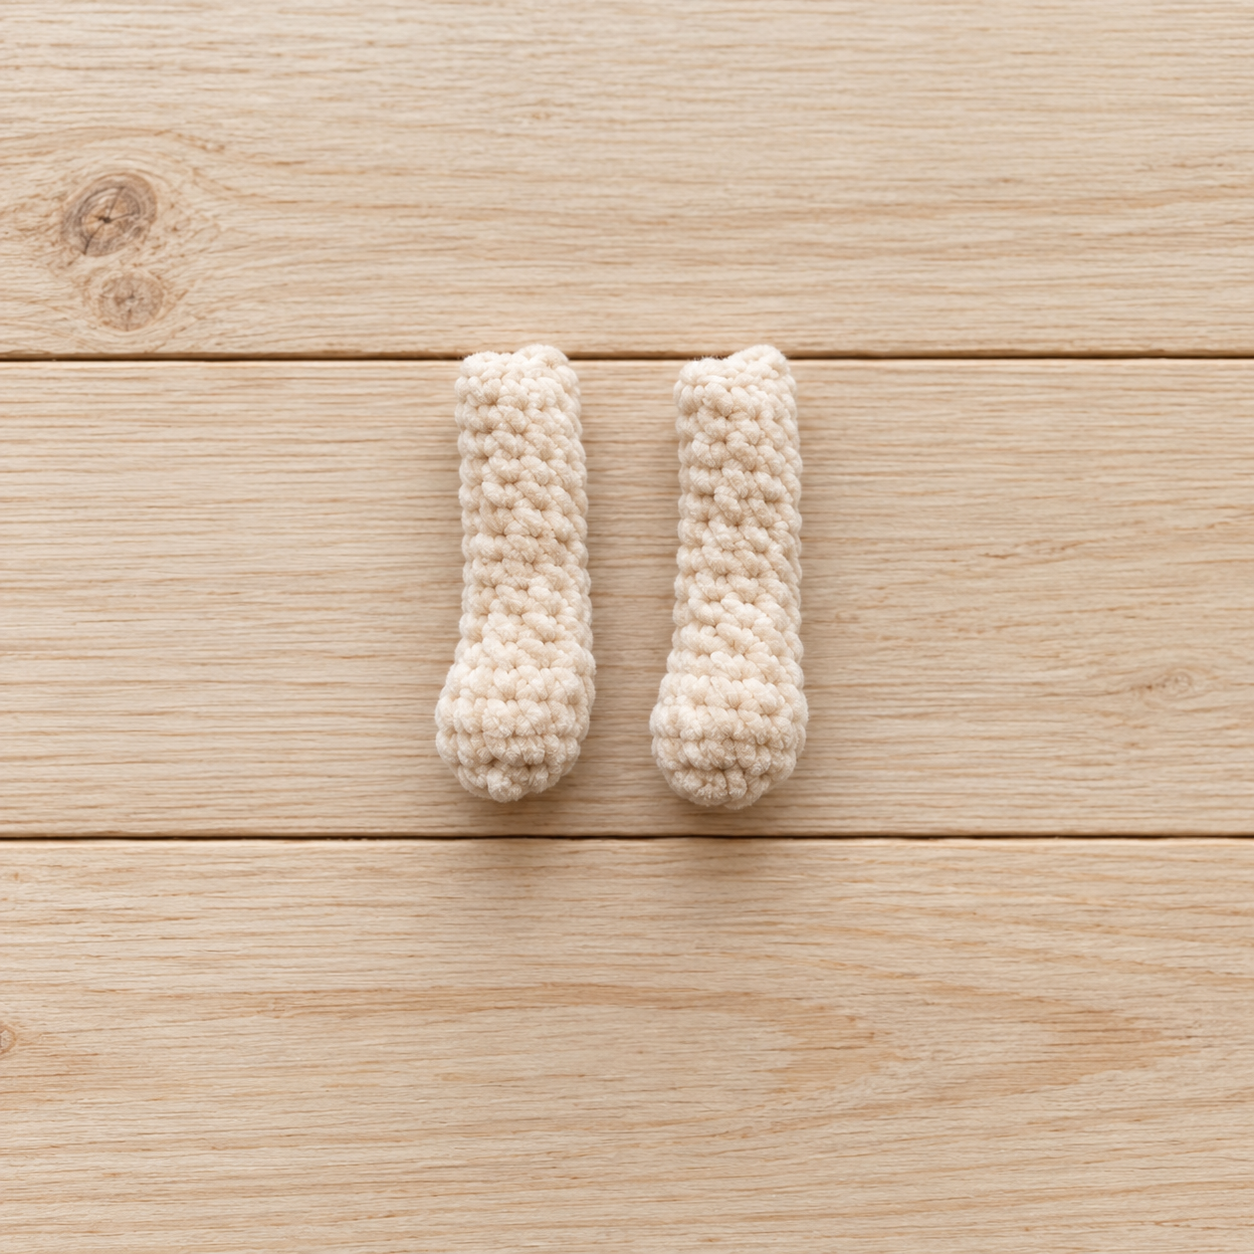
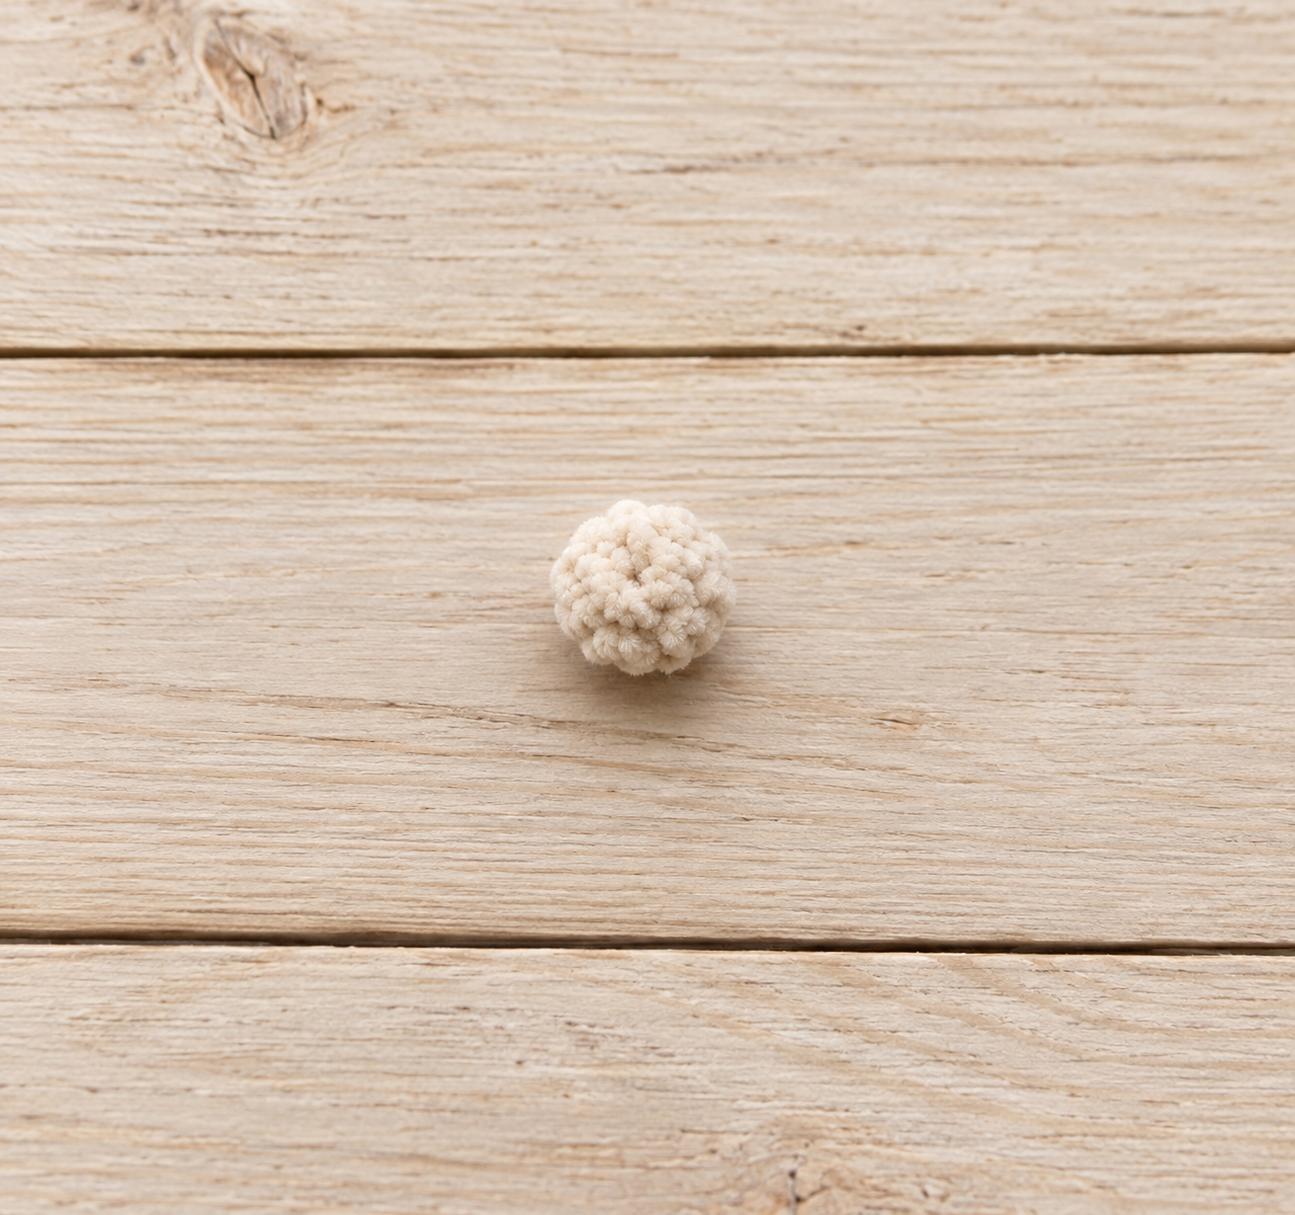
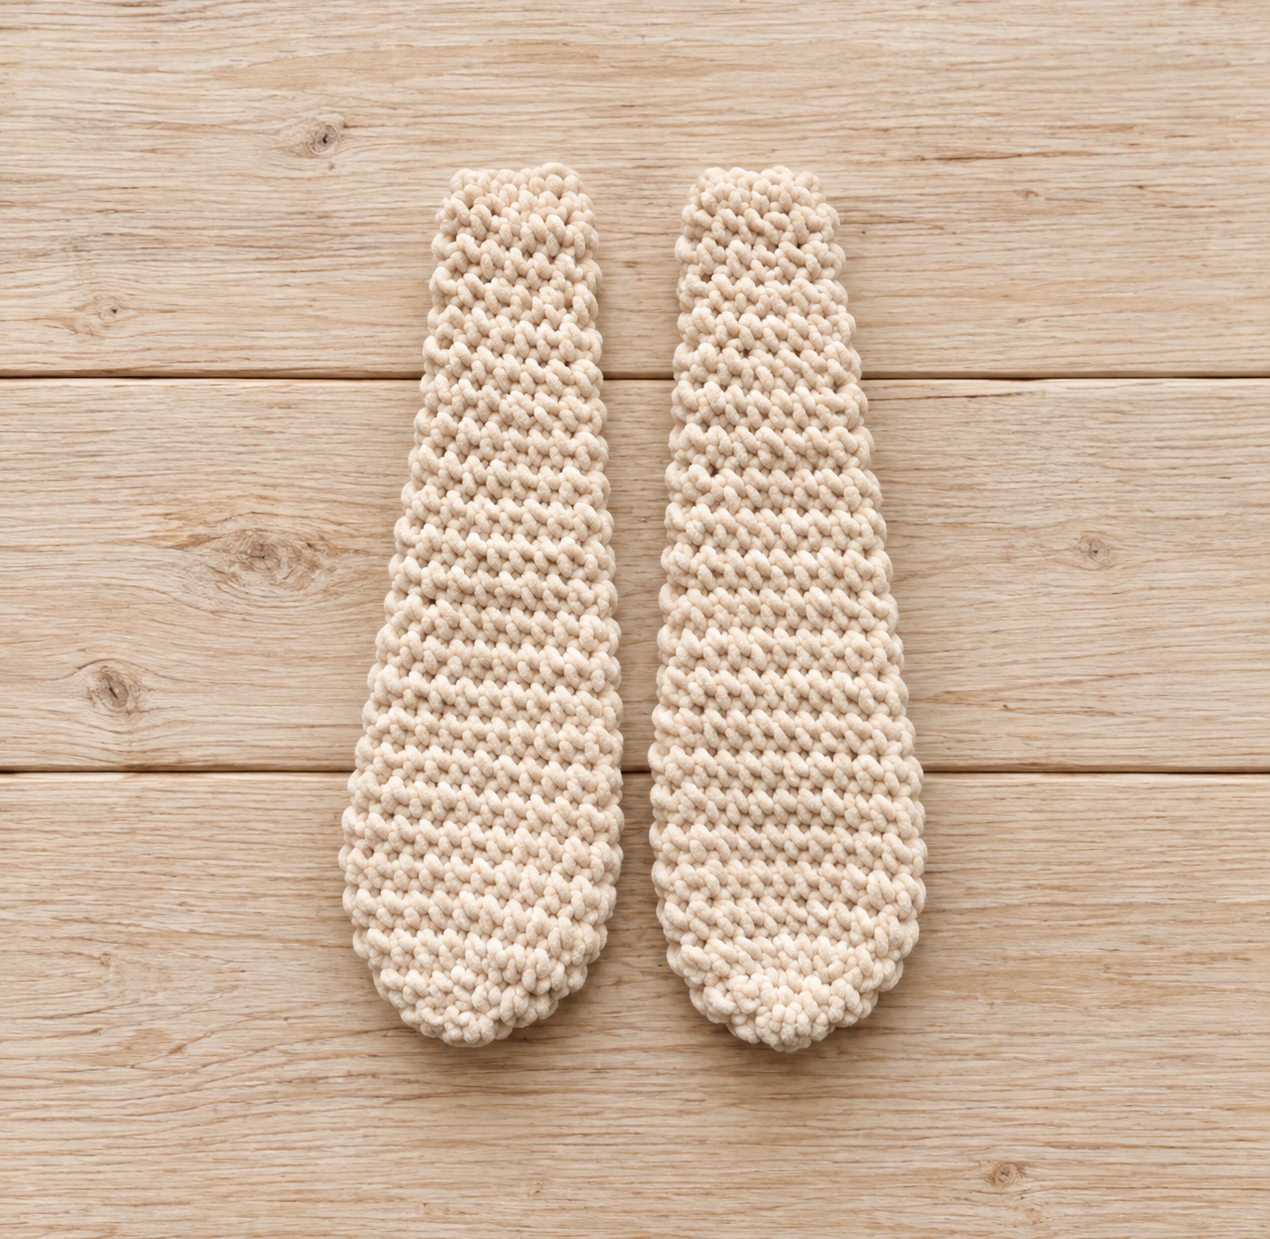
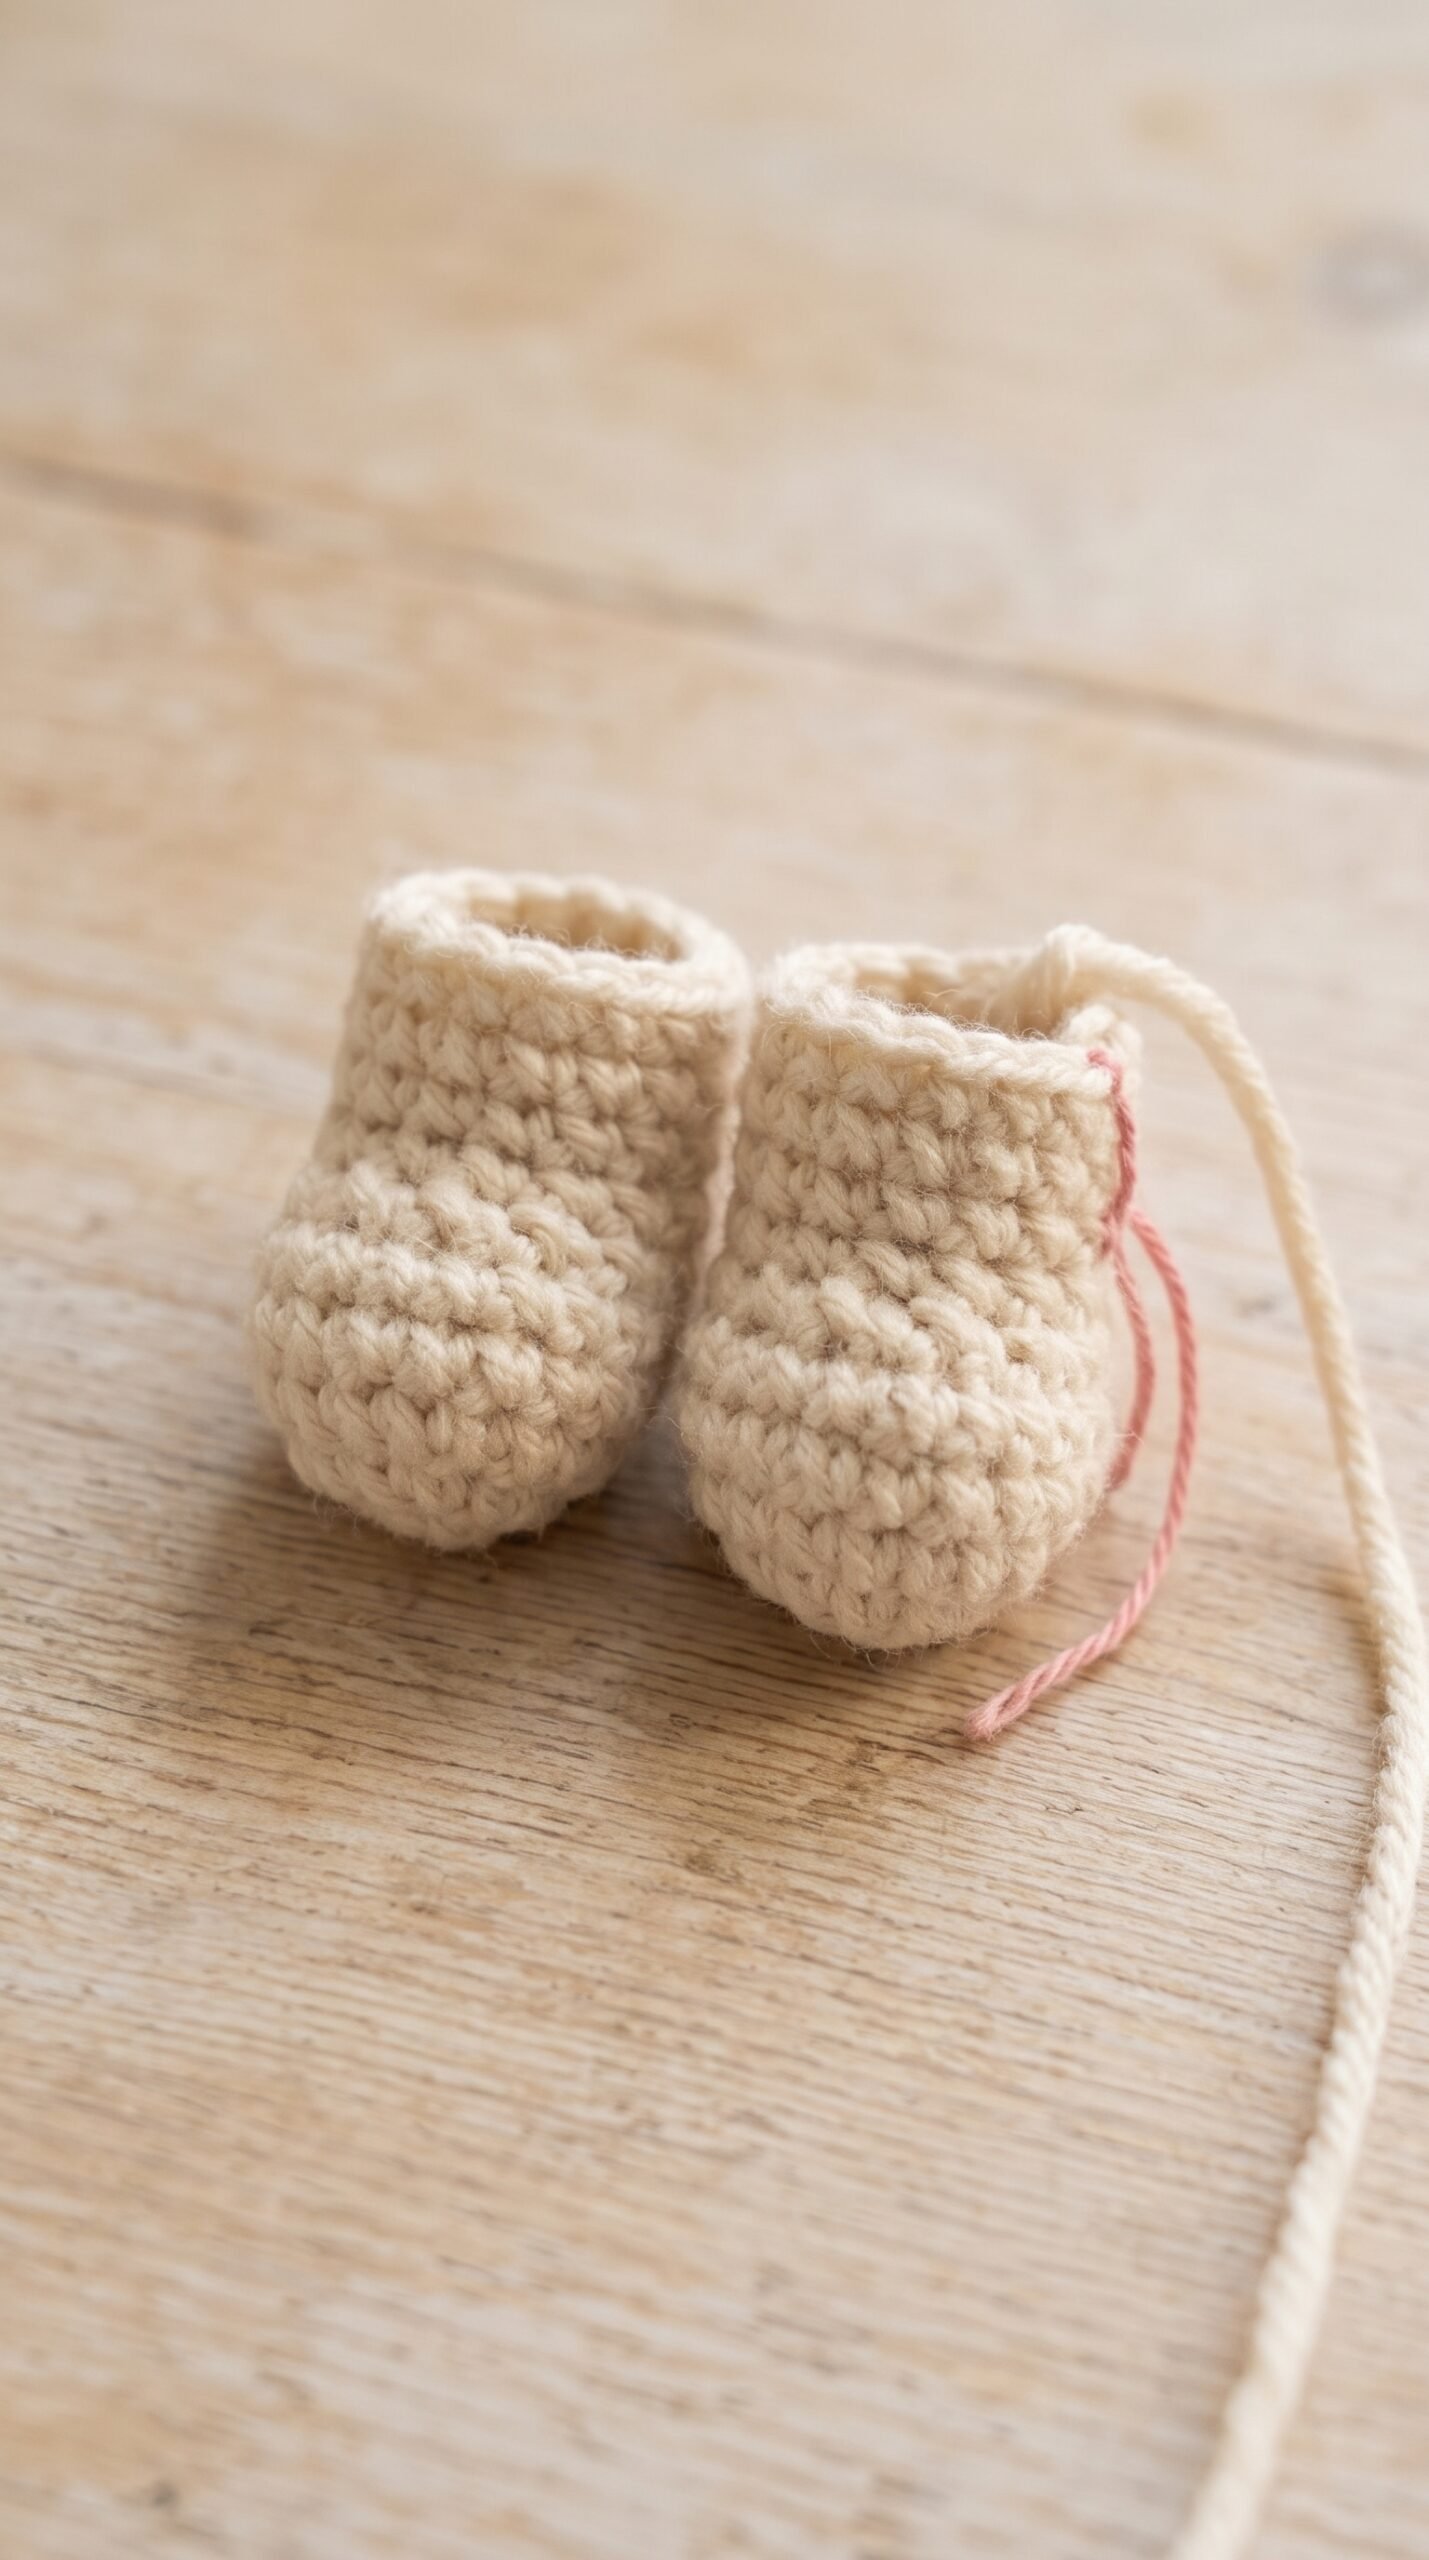
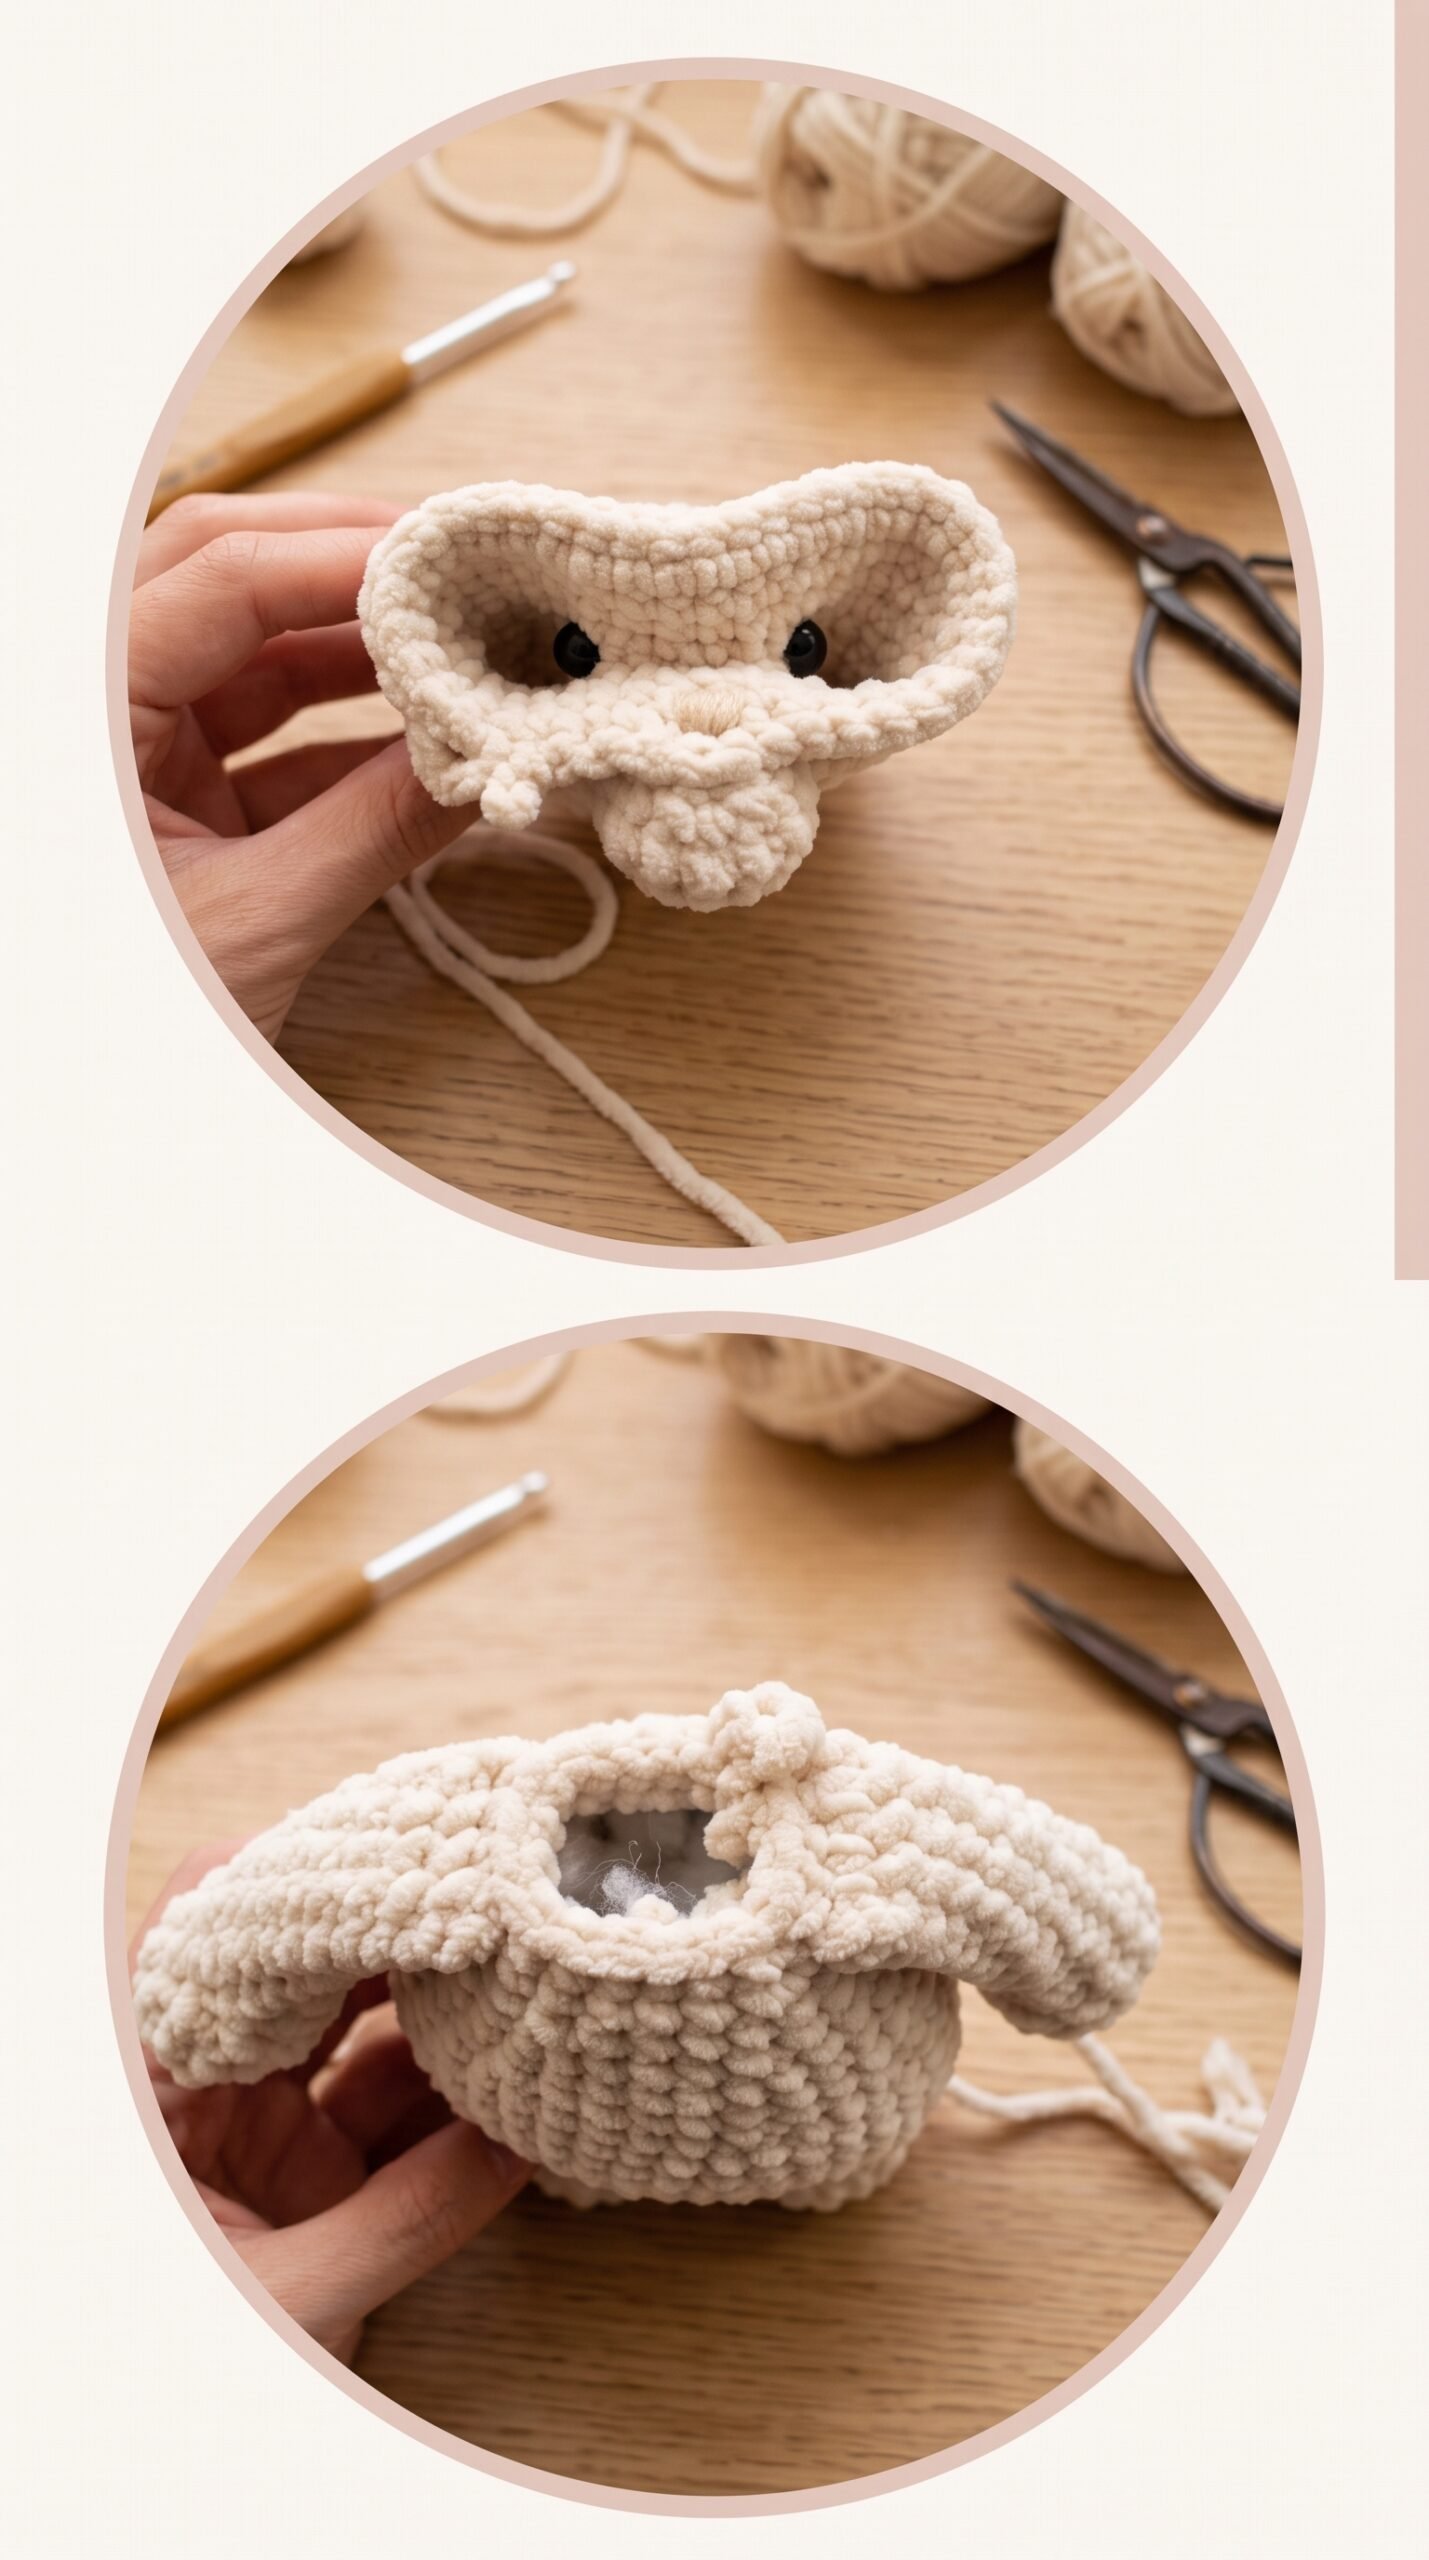
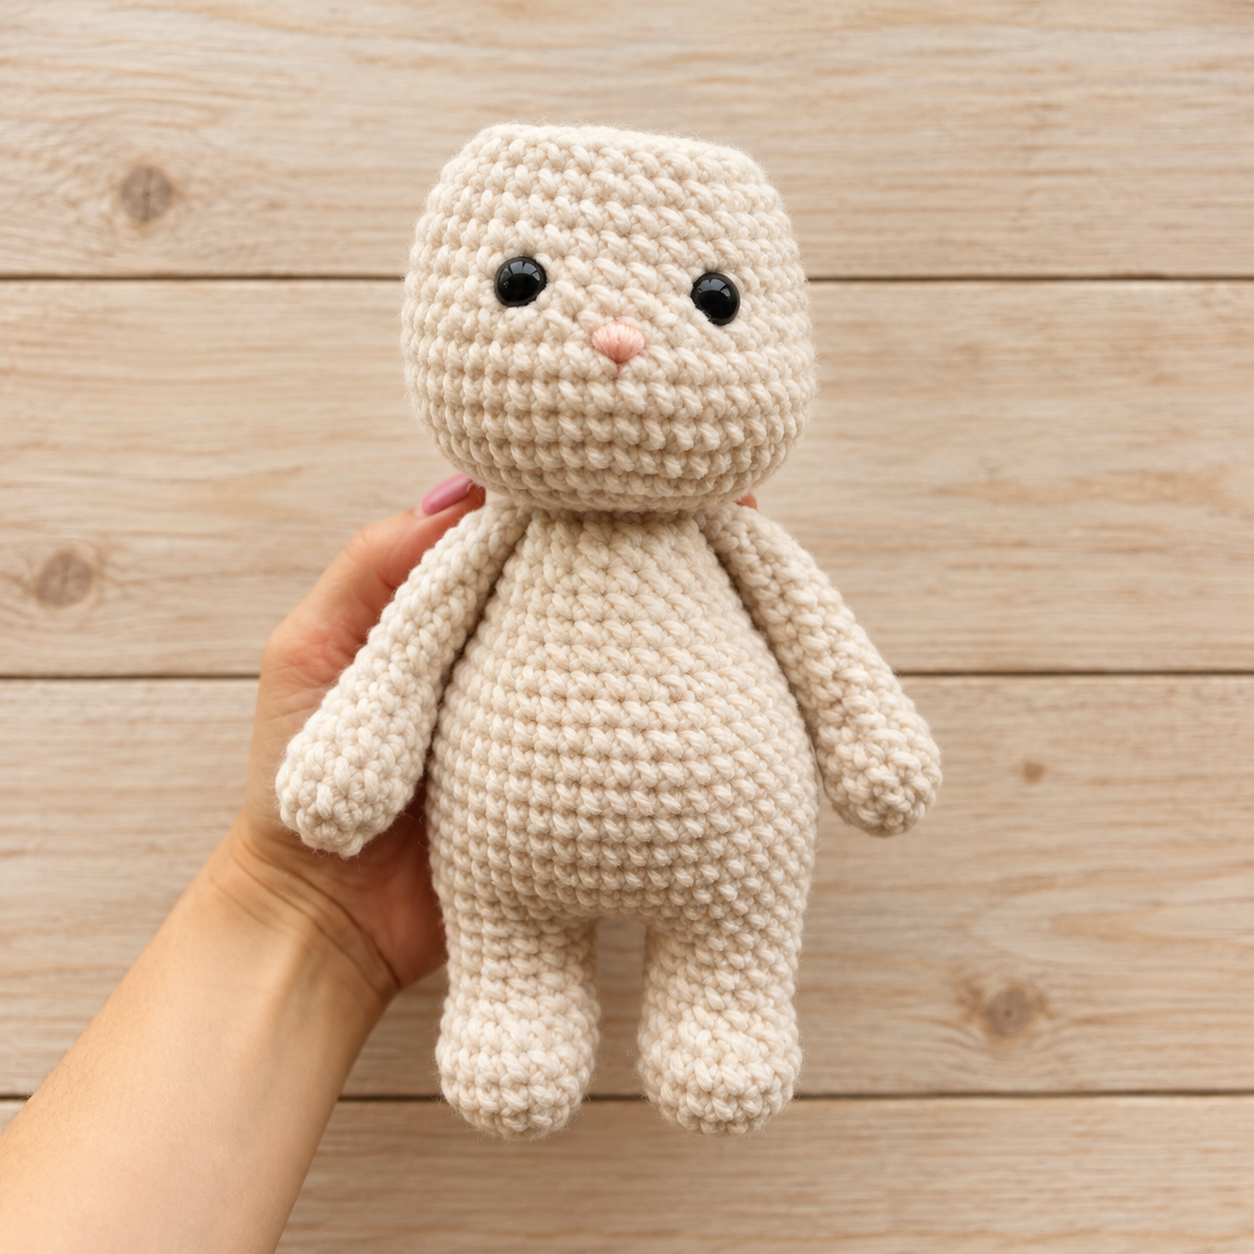
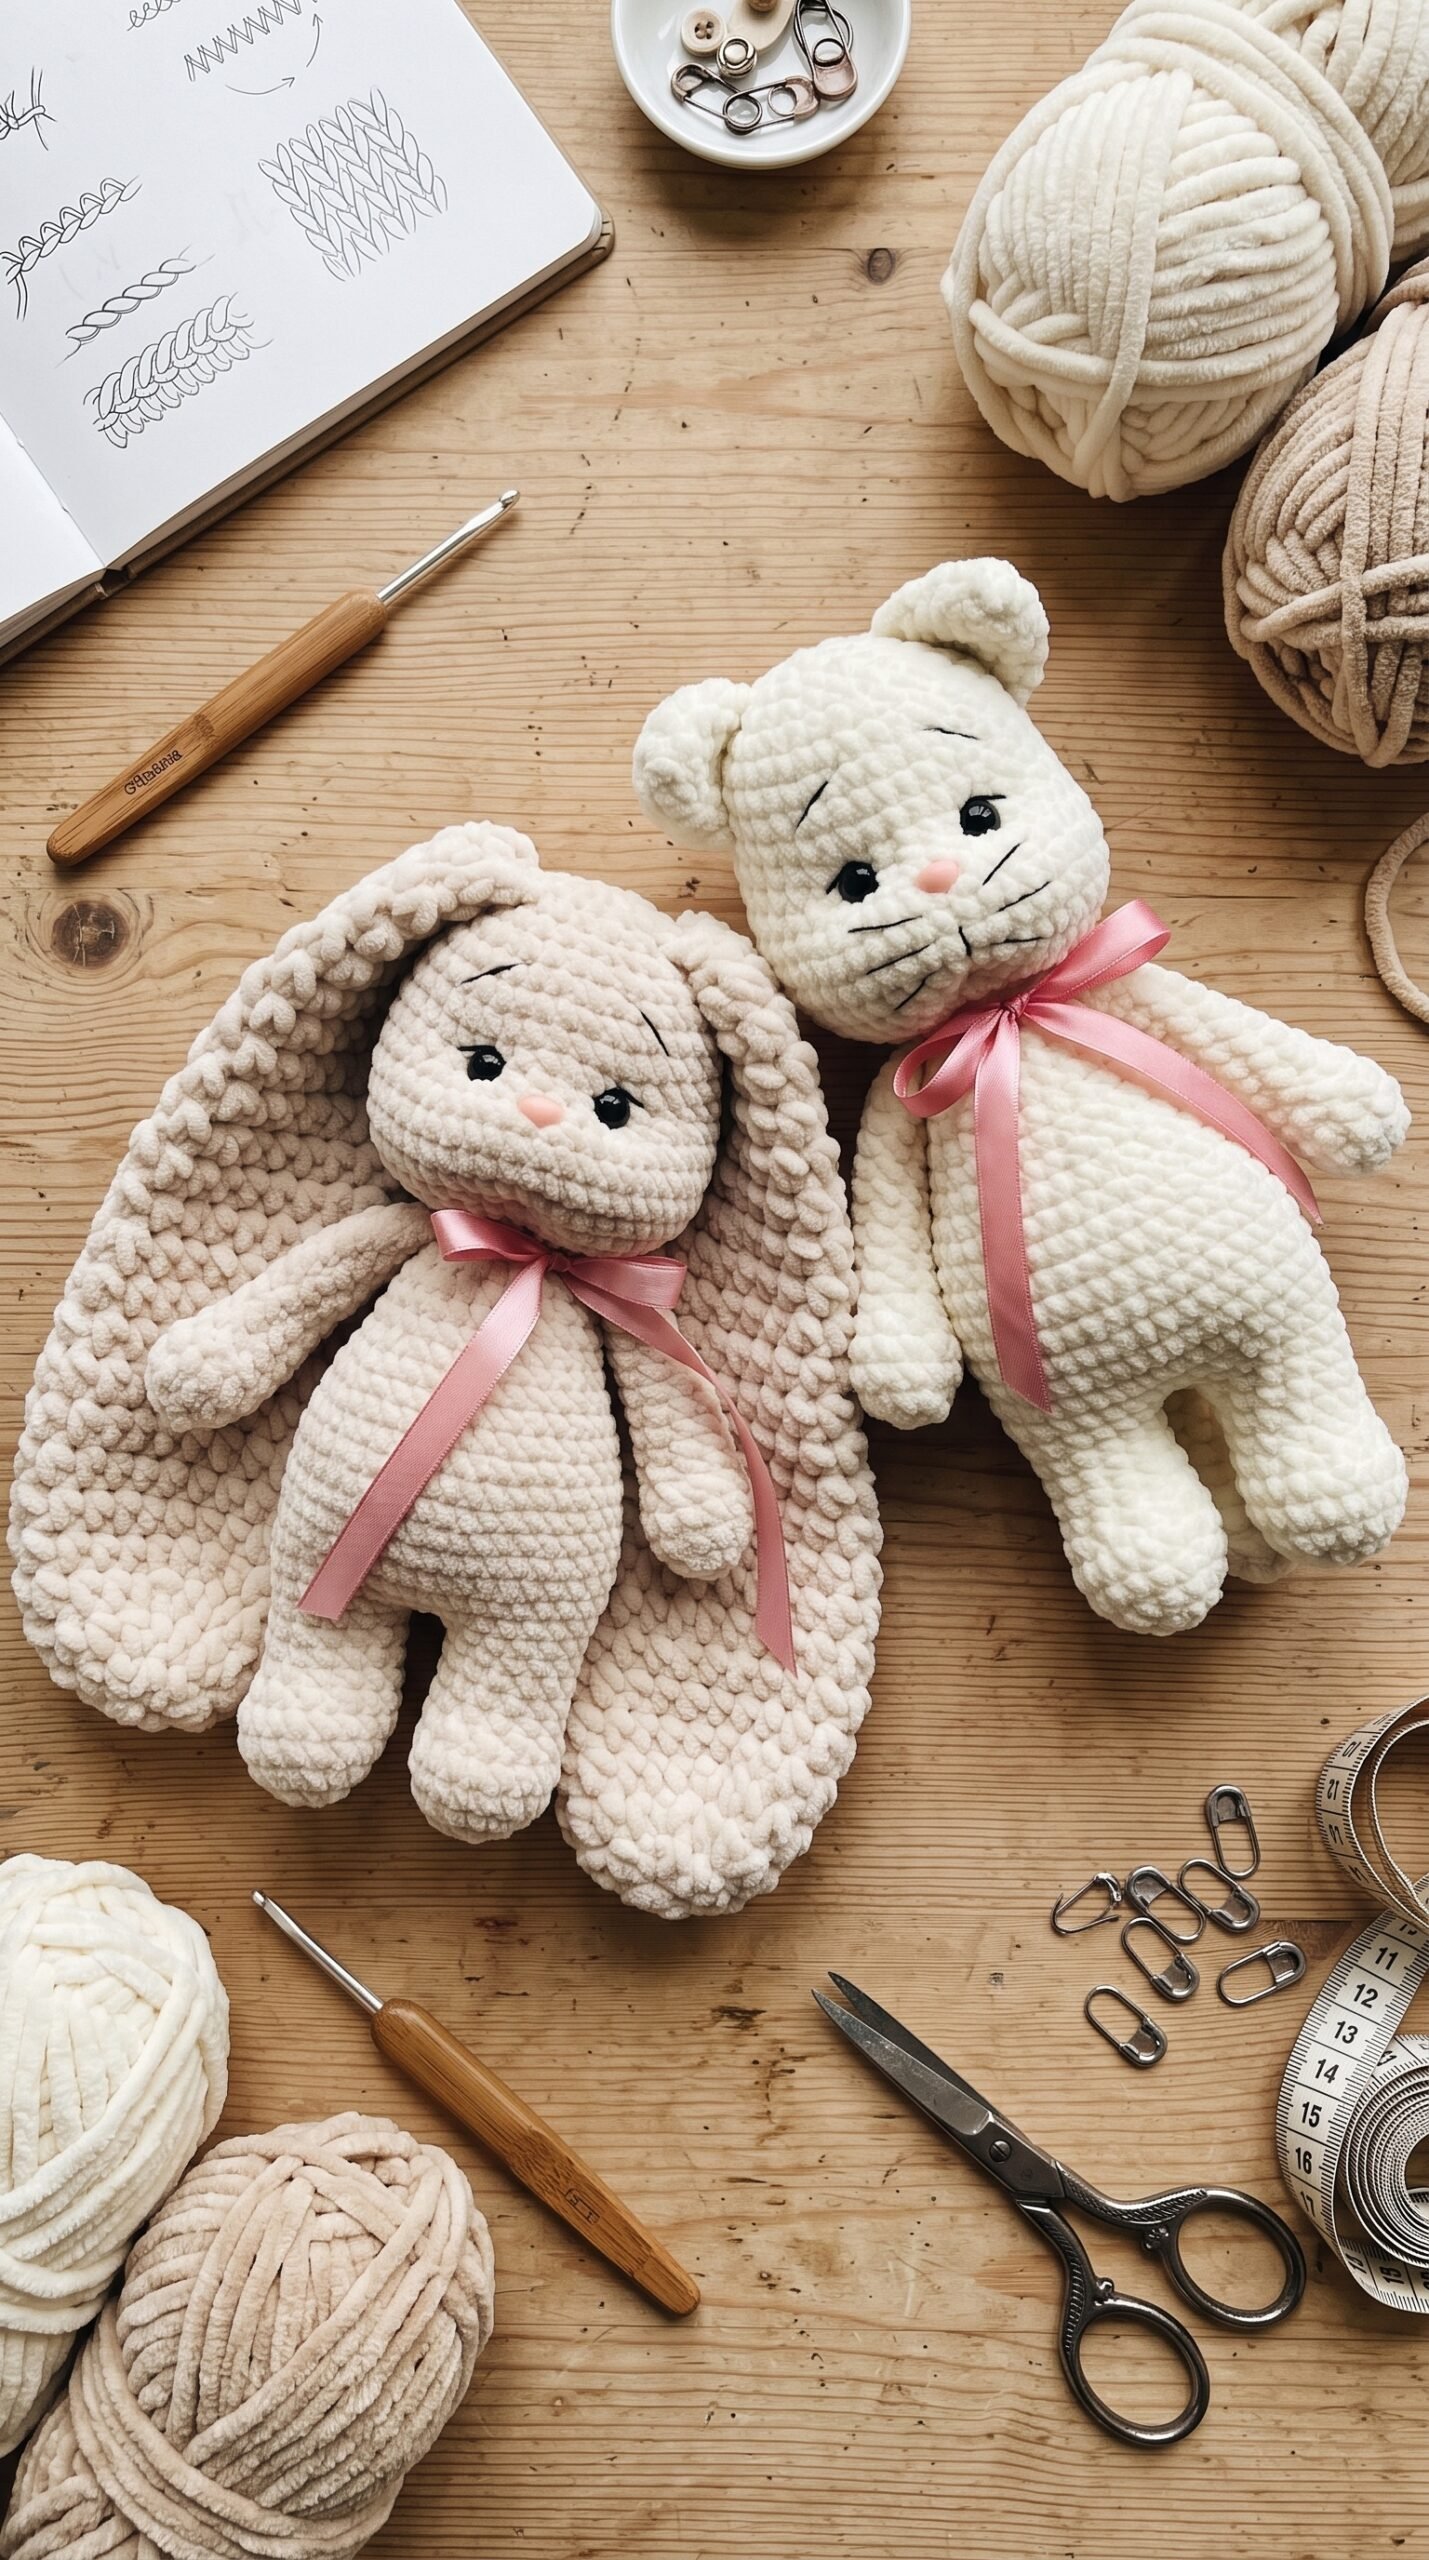
The pattern guides you through the individual bunny pieces before bringing them together into the finished character. These progress photos give you a closer look at the construction, proportions and plush texture you can expect while working through the project.
Use this visual preview to understand how the crochet bunny pattern with clothes develops from small separate pieces into a complete plush rabbit.
Choosing Colors for Your Amigurumi Bunny
The original palette uses white, dusty pink, and burgundy. This combination feels soft and romantic while still providing enough contrast to show every part of the outfit. However, your bunny can look completely different with a new color scheme.
The construction stays the same, so this crochet bunny pattern with clothes can become the foundation for an entire collection of personalized rabbits.
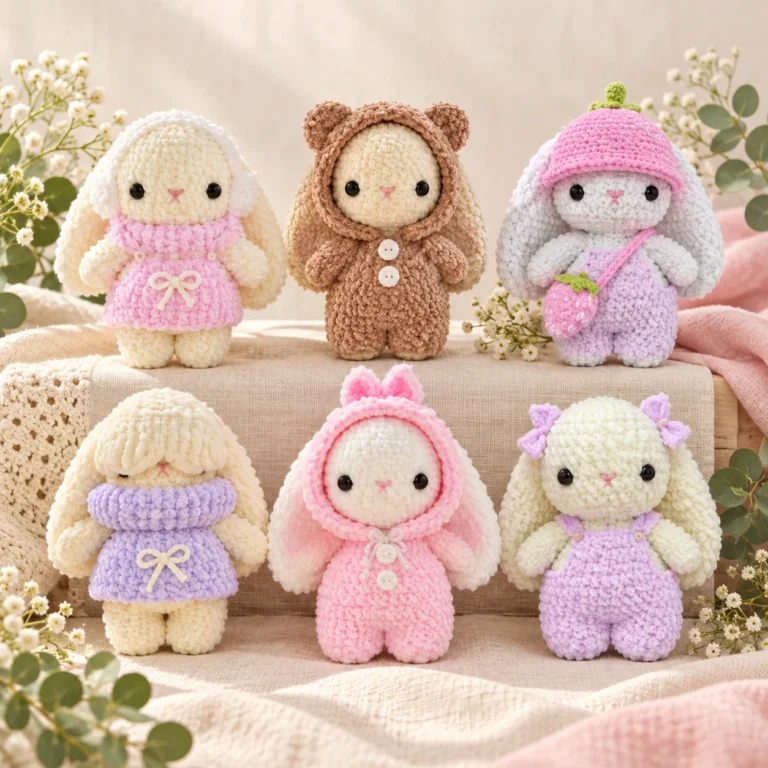
Soft Pastel Bunny
Pair a cream bunny with a pale-lilac cardigan and soft-yellow pants. This palette works beautifully for spring projects and gentle nursery decor.
Natural Woodland Bunny
Use warm beige for the bunny, muted sage for the cardigan, and deep brown for the pants. Wooden buttons can complete the natural handmade look.
Classic Pink Bunny
Keep the white bunny and dusty-pink cardigan, then choose a lighter blush shade for the pants. This creates a more monochromatic design while preserving the sweet character of the original.
Festive Bunny
Try cream, forest green, and dark red for a holiday-inspired bunny. Small gold or wooden buttons can add a subtle seasonal accent without changing the pattern itself.
Tips for Crocheting This Bunny With Plush Yarn
Plush yarn creates an incredibly soft finish, but its fuzzy texture can make individual stitches more difficult to see. A few simple habits can make the process much easier.
When working through the crochet bunny pattern with clothes, count every plush-yarn round carefully and compare matching pieces before fastening off.
Use a Stitch Marker
Place a stitch marker at the beginning of every round. When working with chenille yarn, it is easy to lose the first stitch or accidentally add an extra stitch. Moving the marker after each round will help protect your stitch count.
Count Stitches by Touch
If the loops are difficult to see, gently feel the top of each stitch with your fingers. With practice, you will recognize the two loops even when the yarn hides them.
Keep Your Tension Consistent
Aim for firm, even stitches without pulling the yarn too tightly. Very loose tension may reveal the stuffing, while extremely tight tension can make the next round uncomfortable to work.
Stuff Gradually
Add small amounts of fiberfill as the body grows. Gradual stuffing helps prevent lumps and makes it easier to shape the head, belly, arms, and legs evenly.
Avoid Excessive Frogging
Some chenille yarns can shed or weaken after being unraveled several times. Check your stitch count frequently so you can identify mistakes early.
New to the basic stitches? Visit our crochet tutorials for beginners before starting, then return to the pattern when you feel comfortable with the magic ring, single crochet, increases and decreases.
How the Bunny’s Outfit Creates Its Personality
The outfit is more than decoration. It gives the bunny a recognizable personality and makes the finished project feel complete. The cardigan adds structure to the upper body, while the buttons create a vertical detail that draws attention toward the bunny’s face. The burgundy pants balance the pink top and visually separate the lower body from the white paws.
The outfit section of this crochet bunny pattern with clothes is where you can experiment most freely with color while preserving the rabbit’s signature shape.
The matching bow is especially effective because it repeats the cardigan color near the face. This small design choice makes the palette feel intentional and connects all parts of the character.
You can also create several outfits using the same basic color placement. A blue cardigan and tan pants can produce a calm traditional look, while lilac and cream create a softer pastel bunny. If you plan to make several bunnies, changing only the outfit colors is an easy way to give each one an individual personality.
Important Details for a Professional Finish
Small finishing decisions can make a significant difference in amigurumi. Before securing the final knots, place the bunny on a flat surface and inspect it from the front, side, and back.
- Check that the eyes are level and evenly spaced.
- Place the nose in the center of the face.
- Shape the eyebrows and eyelashes symmetrically.
- Make sure both ears begin at the same height.
- Align the cardigan buttons in a straight row.
- Stuff the paws evenly so they match in size.
- Hide all yarn ends securely inside the bunny.
Take your time when adding the facial features. The position of the eyes, nose, eyelashes, and eyebrows determines the bunny’s expression. Pinning or marking each location before attaching anything permanently can help you achieve a balanced result.
Understanding Gauge and Finished Bunny Size
Amigurumi patterns do not always use gauge in the same way as garments, but tension still affects the final result. Two crocheters can follow the same crochet bunny pattern with clothes and produce bunnies with noticeably different sizes. The yarn thickness, hook size, stuffing method and personal tension all work together to determine the finished measurements.
If you use a thicker chenille yarn and a larger hook, your bunny will become taller, wider and heavier. A thinner plush yarn with a smaller hook creates a more compact rabbit. Neither result is wrong, but all the yarn used for the main bunny pieces should have a similar weight so the head, arms, body and legs remain proportional.
Before starting the full project, crochet a small round sample using the same yarn and hook. Add a little stuffing and check whether the fabric remains dense. If you can easily see the fiberfill through the stitches, try a smaller hook. If it is difficult to insert the hook or complete decreases, move up one hook size or relax your tension slightly.
The outfit yarn also affects the overall fit. When substituting yarn for the cardigan or pants, choose a weight close to the one recommended in the pattern. A much thicker yarn may make the clothing bulky, while a very thin yarn may leave the outfit too loose. Keeping notes about the hook sizes and yarn brands you use will help if you want to make a matching second bunny later.
Consistent tension is especially important in a crochet bunny pattern with clothes because both the bunny and its outfit need to remain in proportion.
How to Stuff a Plush Crochet Bunny Evenly
Stuffing gives an amigurumi bunny its shape, but adding too much or too little can change the character of the design. For the smoothest finish, separate the fiberfill into small pieces before placing it inside the crochet work. Small pieces blend together more evenly than one large handful and are less likely to create visible lumps.
Shape the Head Carefully
Begin by filling the outer edges of the head, then add stuffing toward the center. Check the face frequently from several angles. The head should feel firm enough to support the long ears without becoming stretched or distorted. Add extra fiberfill around the cheeks if you want a softly rounded expression, but keep the eye area smooth.
Keep the Body Soft but Supported
The body should hold its rounded shape while remaining cuddly. Fill the lower belly first and gradually work upward. Use the handle of a crochet hook or a blunt stuffing tool to reach narrow areas, taking care not to push through the stitches.
Match the Arms and Legs
Add similar amounts of stuffing to each matching limb. Place both arms or both legs side by side before closing them and compare their length, width and firmness. Small differences are part of the handmade charm, but checking them early prevents one limb from becoming noticeably larger than the other.
Do Not Overstuff the Ears
Long bunny ears look most natural when they can drape softly. If the pattern calls for unstuffed or lightly stuffed ears, avoid filling them until they become rigid. Flatten each ear gently and shape it with your fingers before attaching it to the head.
Placing the Eyes, Nose and Facial Embroidery
The face is often the first thing people notice about a crochet rabbit. A change of only one stitch can make the expression look sleepy, curious, cheerful or serious. Follow the recommended placement in the pattern, but inspect the face carefully before securing each feature.
Insert temporary pins where you plan to position the eyes. View the head from the front and make sure the pins are level. Moving the eyes slightly farther apart often creates a younger, sweeter expression, while placing them closer can make the face look more focused. The nose should sit centrally between the eyes and align with the lower facial shaping.
For the eyelashes and eyebrows, use a manageable length of black embroidery thread. Very long thread can twist, knot or lose tension as it passes through the plush fabric. Make one controlled stitch at a time and avoid pulling so tightly that the yarn surface becomes indented.
If the bunny will be given to a baby or young child, embroidered facial features are generally a more appropriate choice than removable plastic components. Product and toy-safety requirements differ by location, so always check the rules that apply where the finished item will be used or sold.
Attaching the Bunny Pieces Neatly
Good assembly helps the finished amigurumi bunny sit naturally and keeps the long ears and limbs secure. Before sewing, use stitch markers or pins to hold every piece in place. Set the bunny upright and check the arrangement from all sides.
Careful assembly is especially important for a crochet bunny pattern with clothes, because the limbs must remain balanced underneath the finished garments.
Thread a tapestry needle with matching yarn and use small, consistent stitches. Pass the needle through both the body fabric and the edge of the piece you are attaching. After every few stitches, pause to confirm that the piece has not rotated or shifted. The attachment should feel secure without creating a tight ridge around the seam.
When attaching the ears, match their starting positions and angles. One ear can fall slightly differently from the other for a natural handmade look, but the bases should remain balanced. After sewing, gently comb the plush fibers around the seam with your fingers to help the join blend into the surrounding fabric.
Making the Pink Cardigan and Burgundy Pants Stand Out
The clothes transform the simple plush rabbit into a complete amigurumi character. To keep the outfit looking polished, weave in color-matched yarn ends as you finish each garment. Avoid carrying dark yarn behind pale stitches where it might show through the fabric.
Place the cardigan on the bunny before attaching the buttons. Mark the button positions first so the row remains straight and evenly spaced. If the buttons are decorative rather than functional, sew each one firmly through several stitches. Choose buttons that complement the yarn without overwhelming the small garment.
The pants should sit comfortably around the lower body without compressing the stuffing. If your personal tension makes the waistband slightly tight or loose, check your stitch count and compare your yarn thickness with the suggested material. Small fit adjustments are easier to make before finishing the final rounds.
You can also add subtle personal details while keeping the original design recognizable. Consider a tiny embroidered initial, a contrasting cardigan edge, a removable scarf, or a different bow color. Keep embellishments lightweight so the bunny can still sit and the long ears remain the visual focus.
The most memorable handmade bunnies are not perfectly identical. Small differences in tension, expression and color are what give each rabbit its own personality.
Common Plush Yarn Problems and Easy Solutions
The Magic Ring Will Not Close
Chenille fibers can grip against each other and prevent the yarn tail from sliding smoothly. Instead of pulling hard, hold the tail securely and gently move the stitches around the ring a little at a time. If your yarn repeatedly snaps, use a chain-two start or make the adjustable ring with a stronger matching yarn, depending on the pattern instructions.
You Cannot See the Stitches
Use bright lighting and count each stitch by touch. Place a marker in the first stitch of every round, and add temporary markers at regular intervals during longer rounds. These checkpoints make it easier to locate a missing increase or decrease before it changes the shape.
The Plush Yarn Is Shedding
Cut chenille ends may lose fibers. Leave slightly longer tails, handle them gently and secure them inside the work with a tapestry needle. Avoid repeatedly pulling the same section through tight stitches.
Stuffing Shows Through the Fabric
Visible gaps usually mean the hook is too large, the tension is too loose, or the piece is overstuffed. Try a smaller hook for the next section and add fiberfill gradually. White stuffing is less noticeable inside a cream bunny than colored filling.
The Bunny Does Not Sit Straight
Check whether the legs contain equal amounts of stuffing and are attached at matching positions. Redistribute the lower-body filling with your fingers before closing the final opening. The outfit can also affect balance, so arrange the pants evenly around the body.
How to Photograph Your Finished Amigurumi Bunny
After spending time on the crochet and finishing details, a simple photo setup can help you capture the bunny beautifully. Place it near a window with indirect daylight and turn off harsh overhead lighting. A light wooden surface or plain cream background complements the soft yarn without distracting from the outfit.
Take one full front view, one three-quarter view and several close-ups of the face, bow, buttons and stitches. Keep the camera level with the bunny’s face rather than pointing sharply downward. If you share the project on Pinterest or social media, vertical photographs provide extra space for the long ears and work well on mobile screens.
Small props such as a yarn ball, crochet hook or sprig of greenery can create a cozy craft atmosphere, but the bunny should remain the main subject. Avoid placing busy objects directly behind the ears or using colors that compete with the pink cardigan and burgundy pants.
A clear photograph also helps other crocheters immediately recognize the finished result of the crochet bunny pattern with clothes.
Caring for a Handmade Plush Crochet Bunny
Check the yarn label before washing the finished bunny. Many plush yarns respond best to gentle spot cleaning with cool water and mild soap. Blot the area rather than rubbing it, because friction can flatten or loosen the chenille fibers.
If a deeper clean is necessary and the yarn label permits it, place the bunny inside a protective laundry bag and use a gentle cycle. Air drying is usually safer than high heat. Reshape the ears, body and outfit while the bunny is damp, then allow every section to dry completely.
Store the bunny away from direct sunlight to reduce fading, especially in the dusty-pink and burgundy garments. Check the buttons and embroidered details periodically, particularly if the bunny is handled frequently.
Is This Crochet Rabbit Pattern Right for You?
This project is a good choice for crocheters who already understand common amigurumi skills such as working in continuous rounds, making a magic ring, increasing, decreasing, stuffing pieces, and assembling crochet components. The clothing also gives you an opportunity to practice clean color changes and decorative finishing.
For a confident beginner, the crochet bunny pattern with clothes offers a satisfying next step beyond a basic one-color amigurumi animal.
If you are newer to amigurumi, read the pattern before starting and become familiar with every abbreviation. Work slowly, count each round, and use the progress photos as visual references. Completing one section at a time will make the project feel much more manageable.
Ideas for Using Your Finished Crochet Bunny
A handmade bunny can become a meaningful keepsake or decorative character. Here are a few ideas for enjoying your finished project:
- Create a personalized handmade gift using the recipient’s favorite colors.
- Display the bunny on a nursery shelf or in a craft room.
- Make a pair of bunnies with coordinating outfits.
- Use seasonal colors for spring, autumn, or holiday decor.
- Photograph the bunny for your crochet portfolio or Pinterest boards.
Safety note: If the finished bunny is intended for a baby or very young child, consider embroidering the eyes and nose instead of using removable safety components. Always secure every part carefully and follow appropriate toy-safety guidance for your location.
Get the Complete Crochet Bunny Pattern
Ready to make this sweet bunny with its long ears, pink cardigan, bow, and burgundy pants? The complete pattern will guide you through the bunny and its outfit so you can recreate the full design at your own pace.
Keep the crochet bunny pattern with clothes nearby as you work so you can check the progress photographs, stitch counts and finishing details at every stage.
The pattern is written in English using US crochet terminology. Before beginning, review the materials and abbreviations, prepare your yarn colors, and save the progress images for easy reference while you work.
What Is Included?
- The complete plush bunny construction
- Long ears, arms, legs, tail, body and head
- Guidance for facial shaping and embroidery
- Clear progress photographs
- English instructions using US crochet terms
View the Bunny Pattern on Gumroad
Bunnies Made From This Crochet Bunny Pattern With Clothes
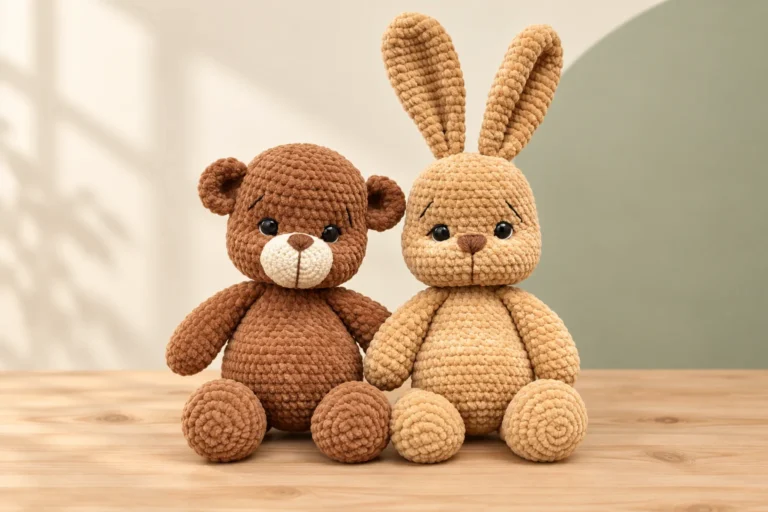
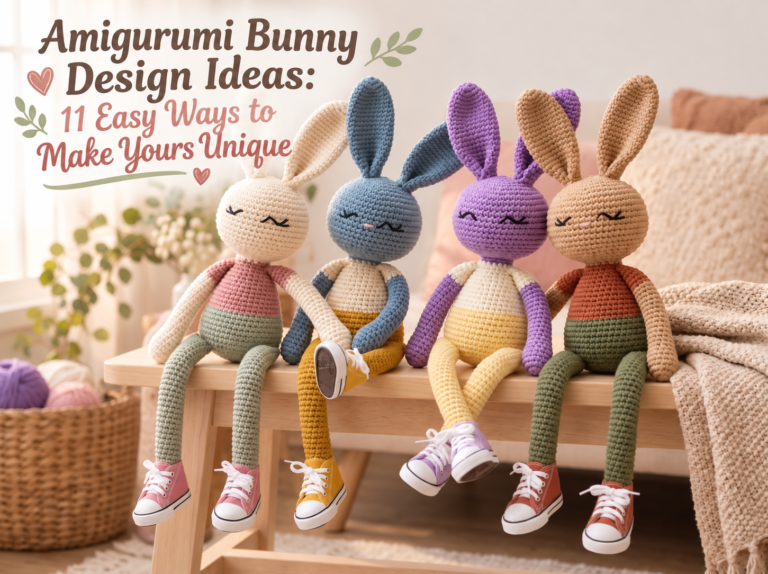
One of the most inspiring parts of crochet is seeing how different makers personalize the same design. These finished bunnies were created from the pattern using different yarn colors, facial details and creative styling. Your bunny can be just as unique.
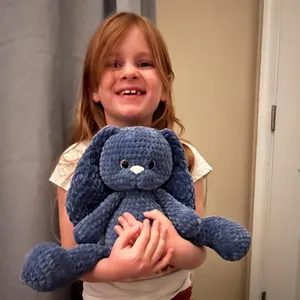
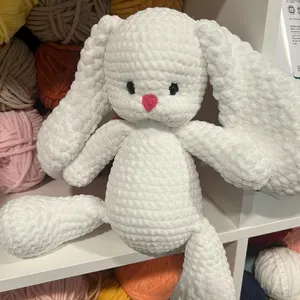
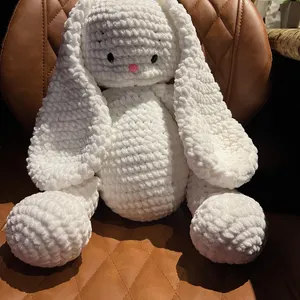
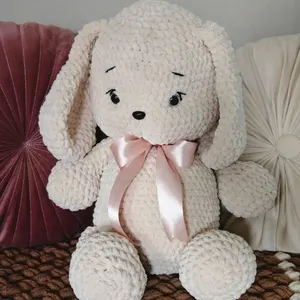
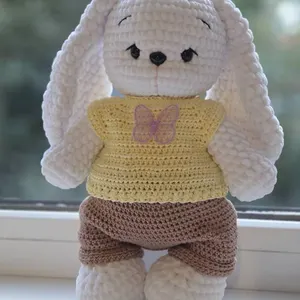
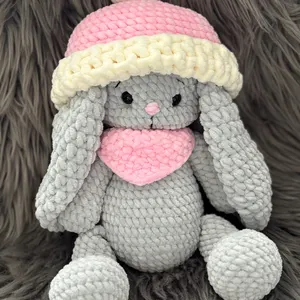
Your finished bunny will reflect your own yarn choices, tension and handmade style.
Frequently Asked Questions
What yarn works best for this crochet bunny?
Soft plush or chenille yarn creates the cuddly texture shown in the design. Use a yarn and hook combination that produces firm stitches without visible gaps.
Can I change the outfit colors?
Yes. The cardigan, bow, and pants can be customized using your favorite colors. Choose shades with enough contrast to make each garment easy to see.
Does the pattern use US crochet terms?
Yes, the instructions use standard US crochet terminology.
Is this a finished bunny?
No. The linked Gumroad product is a crochet pattern that teaches you how to make the bunny; it is not a finished physical toy.
Can beginners make this plush bunny?
Confident beginners who understand basic amigurumi techniques can work through the project carefully. Familiarity with magic rings, increases, decreases, continuous rounds, stuffing, and simple assembly is helpful.
What is included in the crochet bunny pattern with clothes?
The pattern covers the plush bunny’s body pieces, long ears, facial details and finishing guidance, with progress photographs and English instructions written using US crochet terminology.
Where can I find more amigurumi bunny inspiration?
Explore more patterns, design ideas and beginner-friendly guidance on the Amigurumi Bunny homepage and our growing crochet tutorials library.
Final Thoughts
This crochet bunny pattern with clothes offers a lovely balance of soft amigurumi shaping and creative outfit details. The long ears make the bunny instantly recognizable, while the pink cardigan, matching bow, and burgundy pants give it a warm, memorable personality.
Choose your yarn colors, prepare your hook and stitch markers, and enjoy bringing this plush rabbit to life one round at a time.
Helpful Video: Magic Ring With Plush Yarn
The magic ring can be more difficult with chenille yarn because the fibers grip and may break when pulled too firmly. The video below demonstrates a plush-yarn magic ring and shares practical tips that can help you begin your amigurumi pieces more confidently.
One Comment
Comments are closed.