How to Crochet for Beginners: 9 Easy Steps + Pictures
How to Crochet for Beginners: 9 Easy Steps From Your First Loop to Your First Project
If you have never held a crochet hook before, you are exactly where you need to be. This how to crochet for beginners guide starts at absolute zero and walks you through each basic skill slowly and clearly.
You will learn what supplies you actually need, how to hold your hook and yarn, how to make a slip knot, crochet a chain, work your first single crochet stitches, turn your work, control your tension and finish your first practice piece.
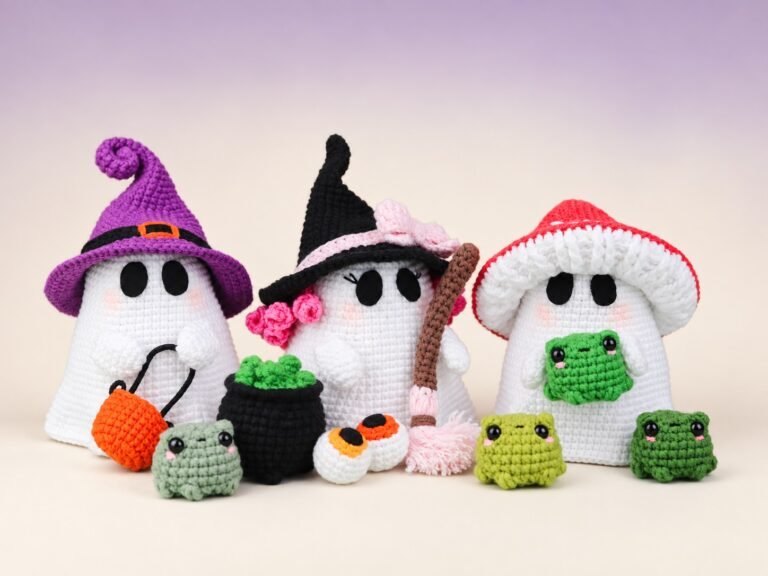
More importantly, you will understand what your hands are doing and why each step matters. That foundation will make it much easier when you move on to adorable amigurumi animals and your first crochet bunny.
Can You Really Learn Crochet as a Complete Beginner?
Absolutely. Crochet can look much more complicated when you watch an experienced crocheter moving quickly than it actually feels once the movements are broken into small steps.
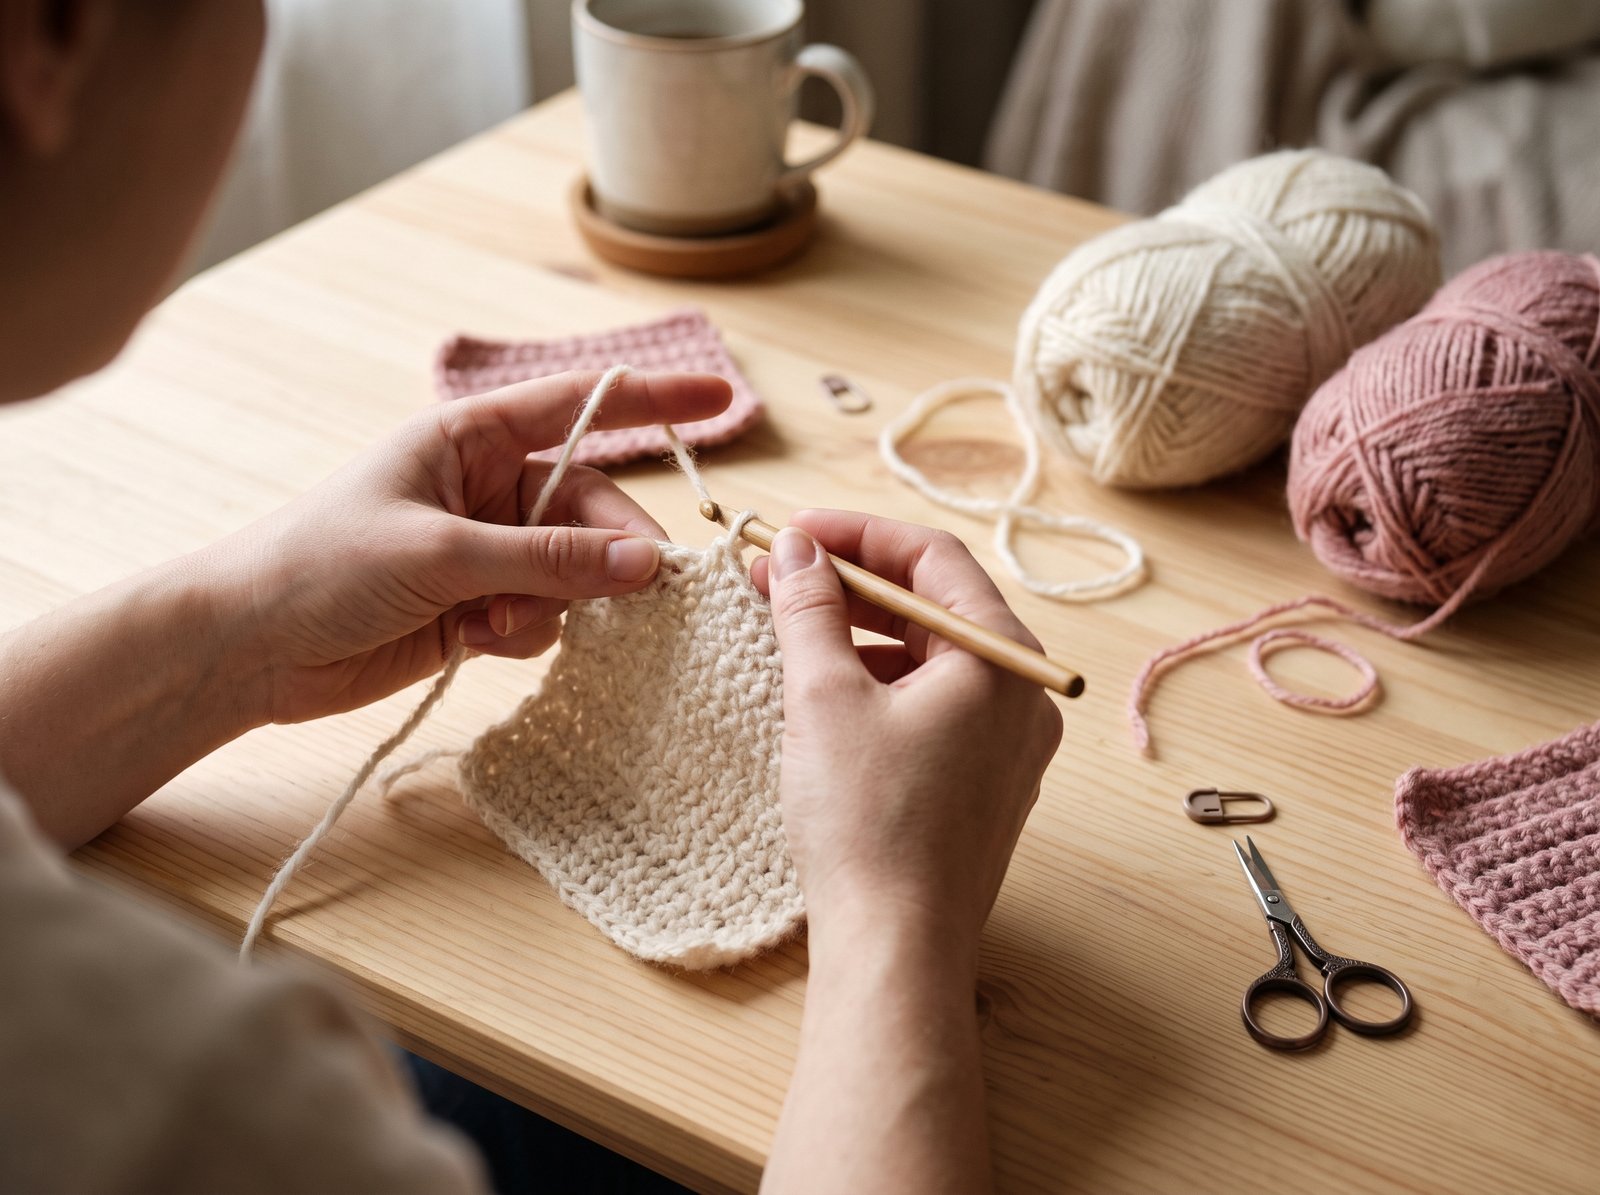
At the beginning, the difficult part is usually not memorizing dozens of stitches. It is simply teaching both hands to work together. One hand holds and moves the crochet hook while the other controls the yarn and supports your work.
That coordination can feel awkward during your first few minutes. This is completely normal. Your fingers are learning a movement they have probably never had to make before.
Do not measure your progress by speed. A beginner who slowly forms twenty clear stitches is learning more than someone rushing through a row without understanding where the hook should go.
In this tutorial, we are going to build your crochet skills in a logical order. First you will become comfortable with your tools. Then you will create a slip knot and chain. After that you will learn the single crochet stitch and use it to make a small practice piece.
These basic skills are especially useful if your goal is eventually to crochet amigurumi. Single crochet is one of the stitches you will see repeatedly in crochet toy patterns.
What Do You Need to Start Crocheting?
One of the best things about learning crochet is that you do not need an expensive collection of supplies.
For your first practice session, keep everything simple. Too many tools and yarn choices can actually make learning feel more confusing.
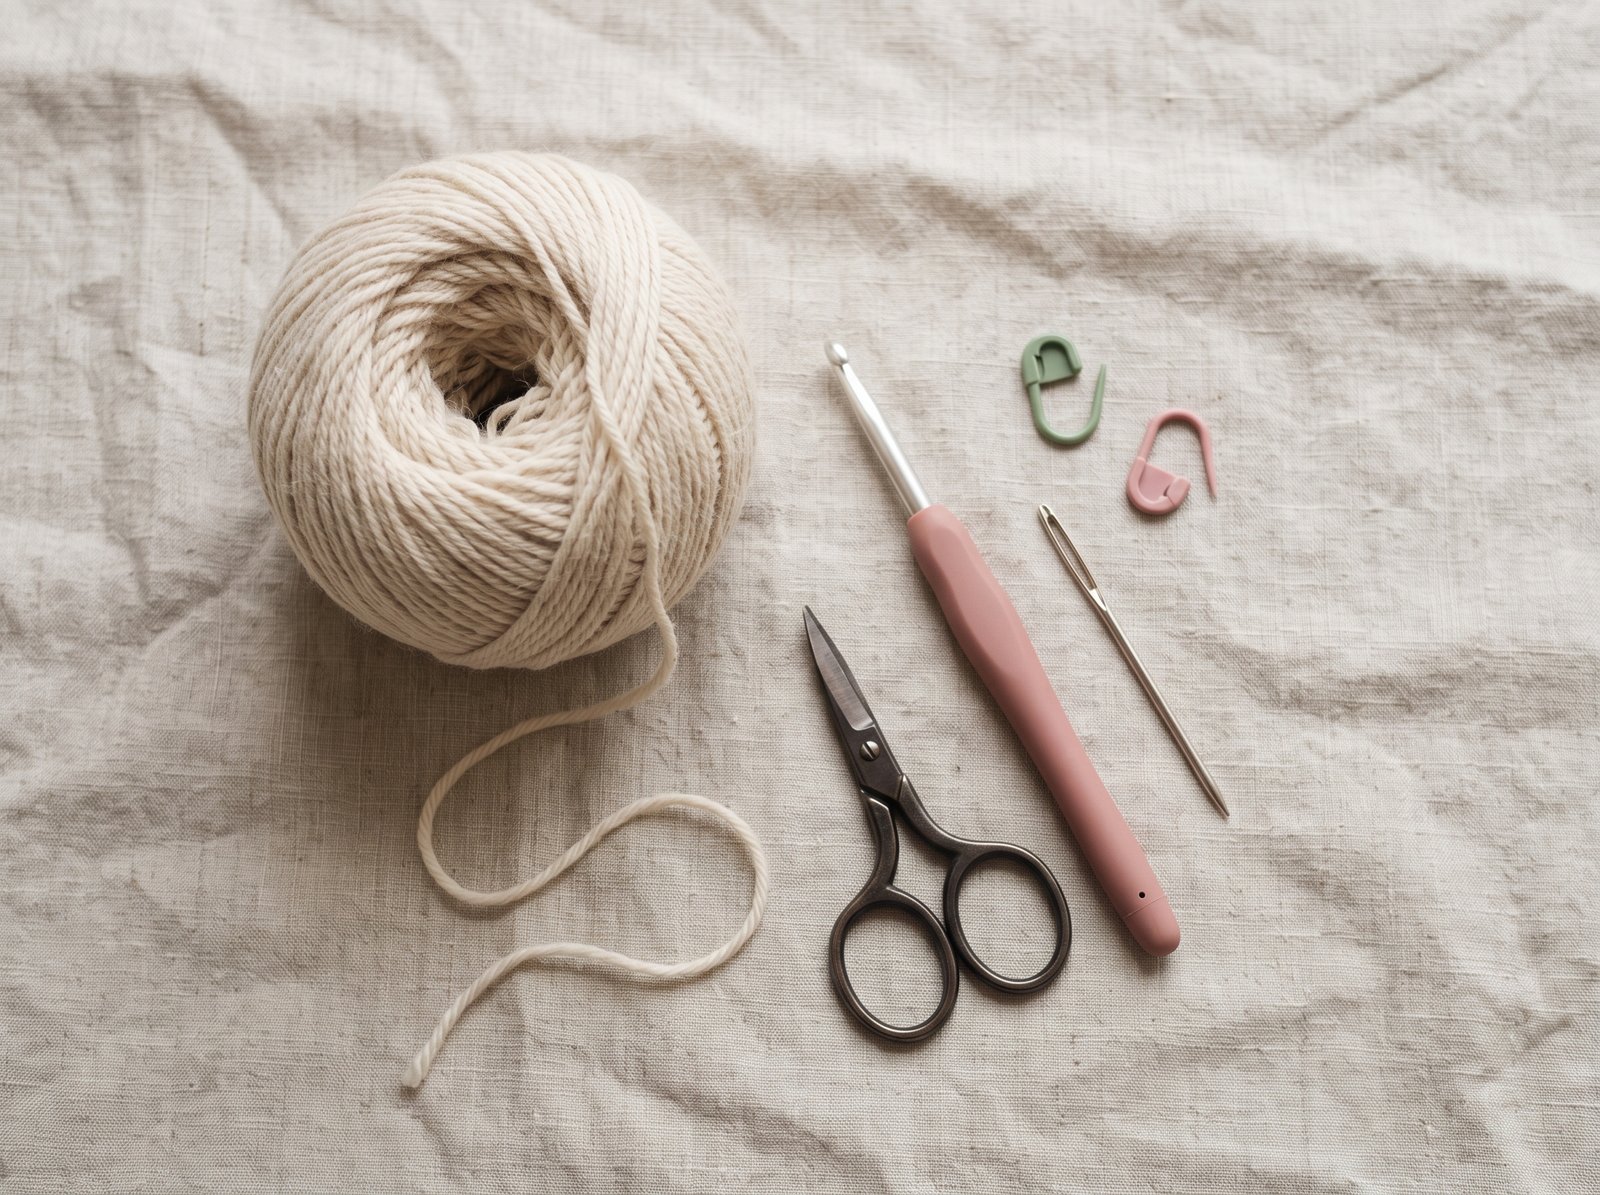
- One ball of smooth, light-colored yarn
- One crochet hook suitable for your yarn
- A pair of scissors
- A yarn or tapestry needle
- One or two stitch markers if available
What Yarn Should a Beginner Use?
Choose yarn that makes individual stitches easy to see. Cream, light pink, sage, light blue or another solid light color is usually easier to learn with than black or very dark yarn.
I would also avoid very fuzzy or novelty yarn during your first lesson. Beautiful fluffy yarn can hide the loops you are trying to identify.
A smooth medium-weight yarn is a comfortable starting point for many beginners. Yarn labels normally provide useful information about yarn weight and suggested hook sizes.
If you want to understand the numbers and categories printed on yarn labels, the Craft Yarn Council yarn weight system is a useful reference.
Which Crochet Hook Should You Choose?
Start with the hook size suggested on your yarn label rather than worrying about buying several hooks immediately.
The hook should feel comfortable in your hand and move through the yarn without constantly splitting the strands.
Later, when you begin making amigurumi, you may intentionally use a hook that creates a firmer fabric. For now, your goal is simply to learn the motions comfortably.
Learn How to Hold a Crochet Hook
Before making your first stitch, spend a minute simply holding the hook.
There is no reason to force your hand into an uncomfortable position. Two common crochet hook grips are often described as the knife grip and the pencil grip.
The Knife Grip
Hold the hook similarly to how you might hold a table knife. Your hand rests over the hook while your thumb and fingers control its movement.
The Pencil Grip
Hold the hook closer to the way you would hold a pencil or pen.
Neither grip is automatically better. Try both and choose the one that feels most natural to your hand.
Your grip may even change as you gain experience. What matters most is avoiding unnecessary tension.
If your fingers or wrist feel extremely tight, loosen your grip. You do not need to squeeze the hook to control it.
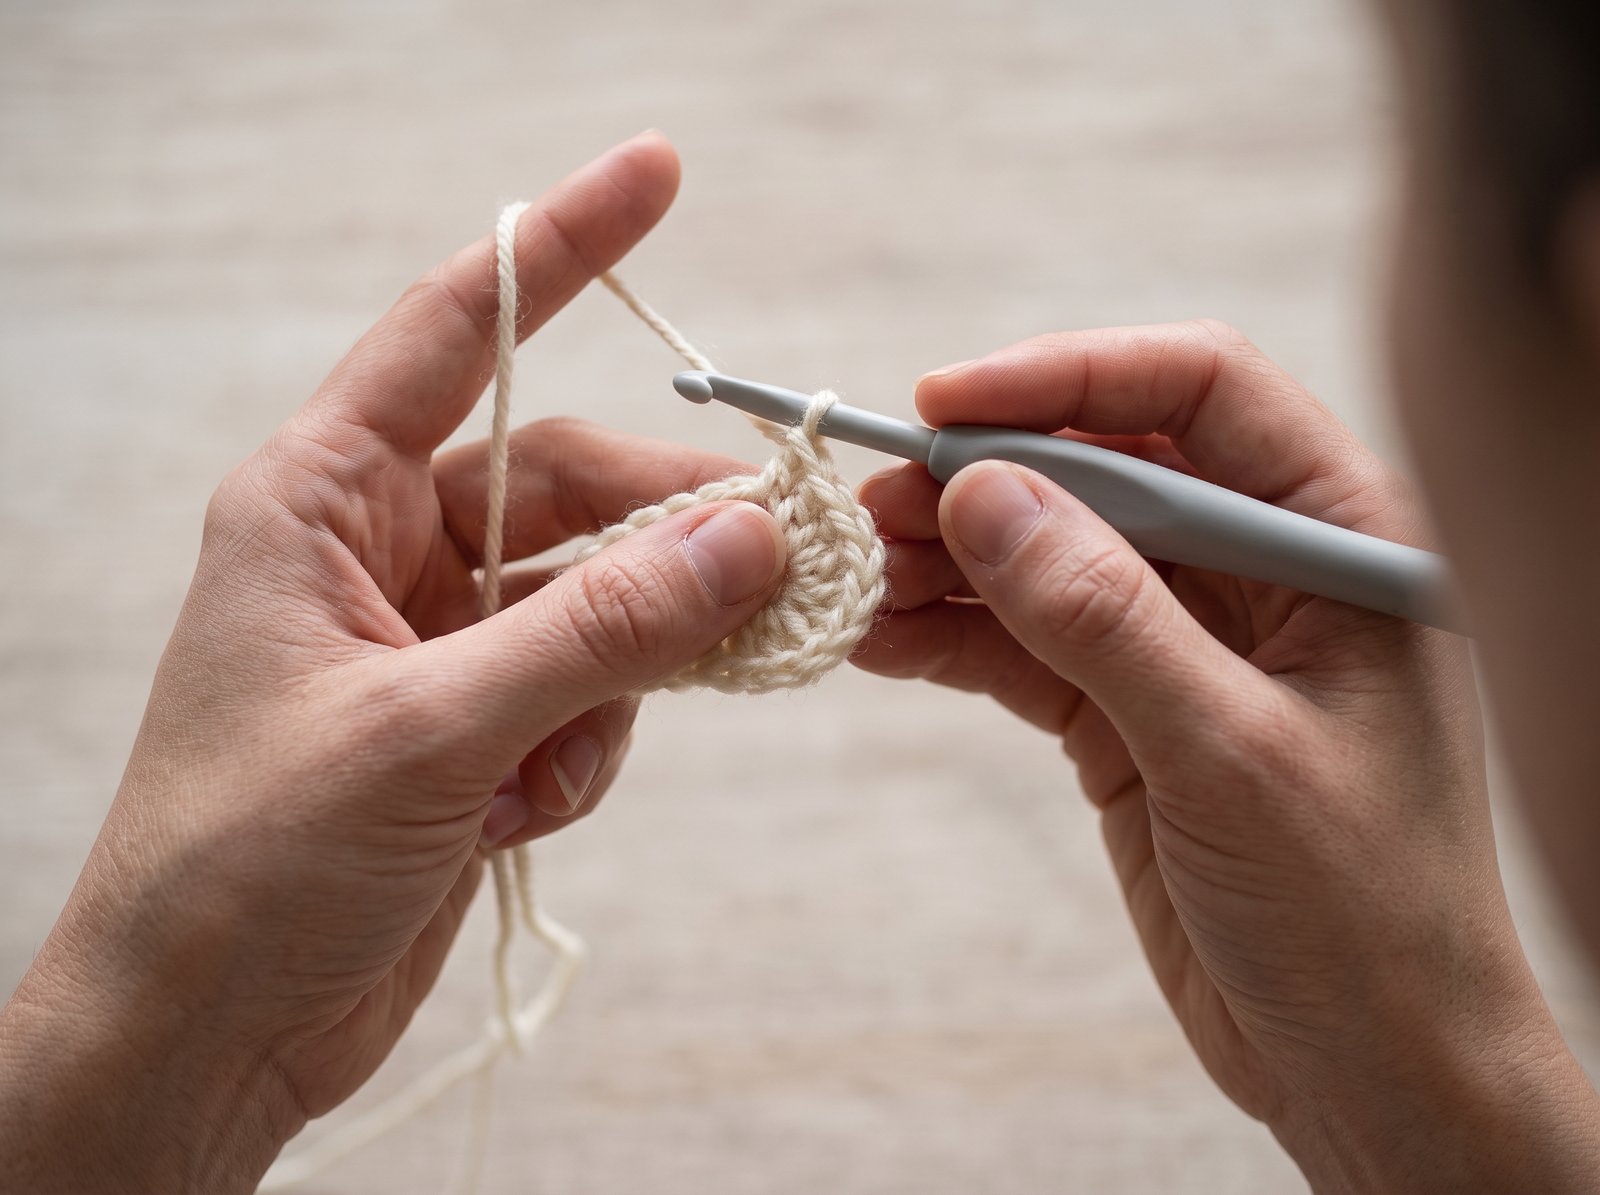
Learn How to Hold the Yarn and Control Tension
Your hook hand creates the stitches, but your other hand has an equally important job.
It controls how the working yarn feeds toward the hook. This is what crocheters mean when they talk about tension.
If you pull the yarn extremely tightly, the stitches can become difficult to work into.
If the yarn is extremely loose, the stitches may become large and uneven.
There are several ways to guide yarn through your fingers. Do not worry about copying another crocheter’s hand position exactly.
Your goal is to create a small amount of resistance while still allowing the yarn to move smoothly when the hook pulls it.
Hold your developing crochet piece with your thumb and another finger close to the stitch you are currently working.
This gives your hook a stable area to work against and usually makes the movement easier for beginners.
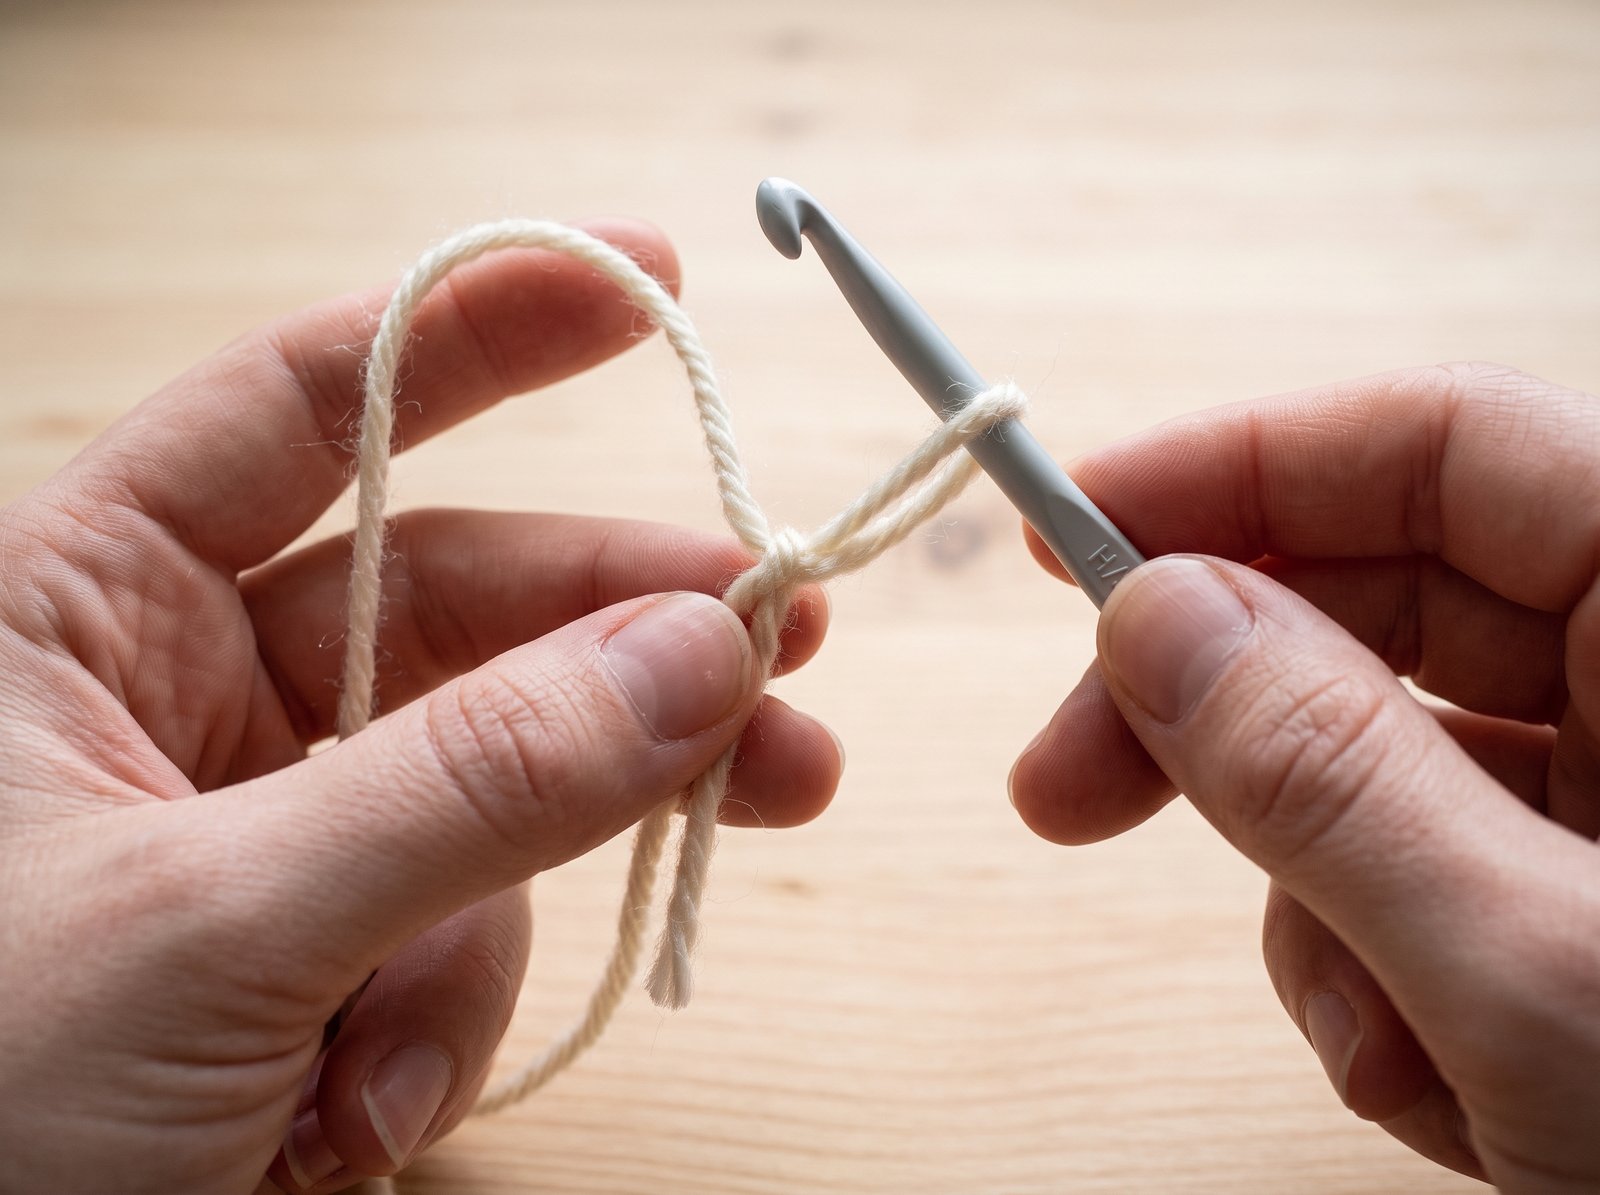
Make Your First Crochet Slip Knot
Now we can put the first loop on your crochet hook.
A slip knot creates an adjustable loop that tightens around the hook without locking permanently.
There are several ways to make one, so do not worry if another tutorial uses a slightly different finger movement.
-
Create a loop with the yarn.
Leave a short tail and cross the working yarn over itself to form a loop.
-
Pull a section of working yarn through the loop.
Do not pull the entire strand through. You want another loop to form.
-
Gently tighten the knot.
Pull the yarn until the loop becomes neat but still adjustable.
-
Insert your crochet hook.
Place the hook inside the loop and tighten it lightly around the hook shaft.
The loop should move along the hook without becoming so tight that the hook cannot rotate.
Learn How to Crochet a Chain
The chain stitch is one of the first movements every beginner should become comfortable with.
Your slip knot is already on the hook. Hold the base of that knot gently with the fingers of your yarn hand.
How to Make One Chain Stitch
Bring the working yarn over the crochet hook. This movement is called a yarn over.
Use the hook to catch the yarn and pull it completely through the loop currently on your hook.
You have now made one chain.
Repeat the same movement:
Yarn over → pull through the loop.
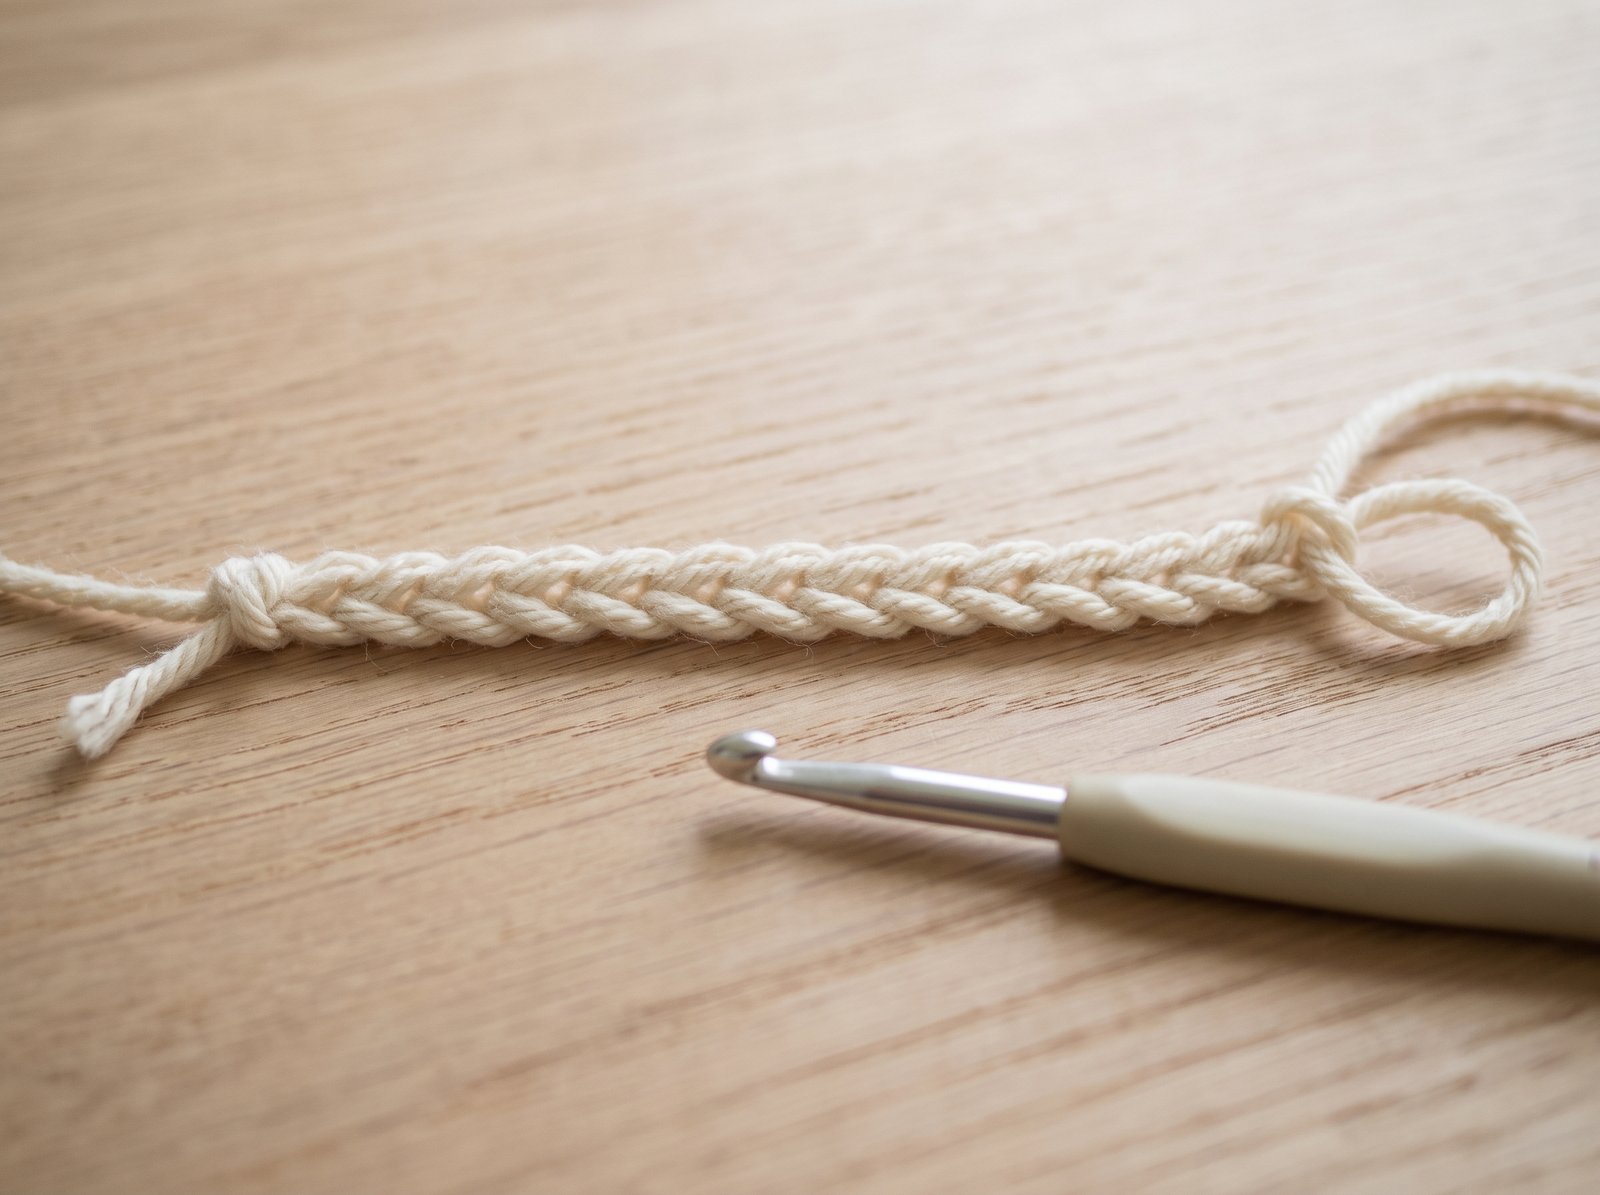
Make around 20 to 25 chains for your first practice piece. Do not rush.
Try to make each loop roughly similar in size.
How Do You Count Crochet Chains?
Look closely at your chain and you will notice small V-shaped stitches. Each V represents one chain stitch.
The active loop currently sitting on your crochet hook is not counted as a finished chain stitch.
Learning to recognize these shapes is important because crochet patterns depend heavily on stitch counting.
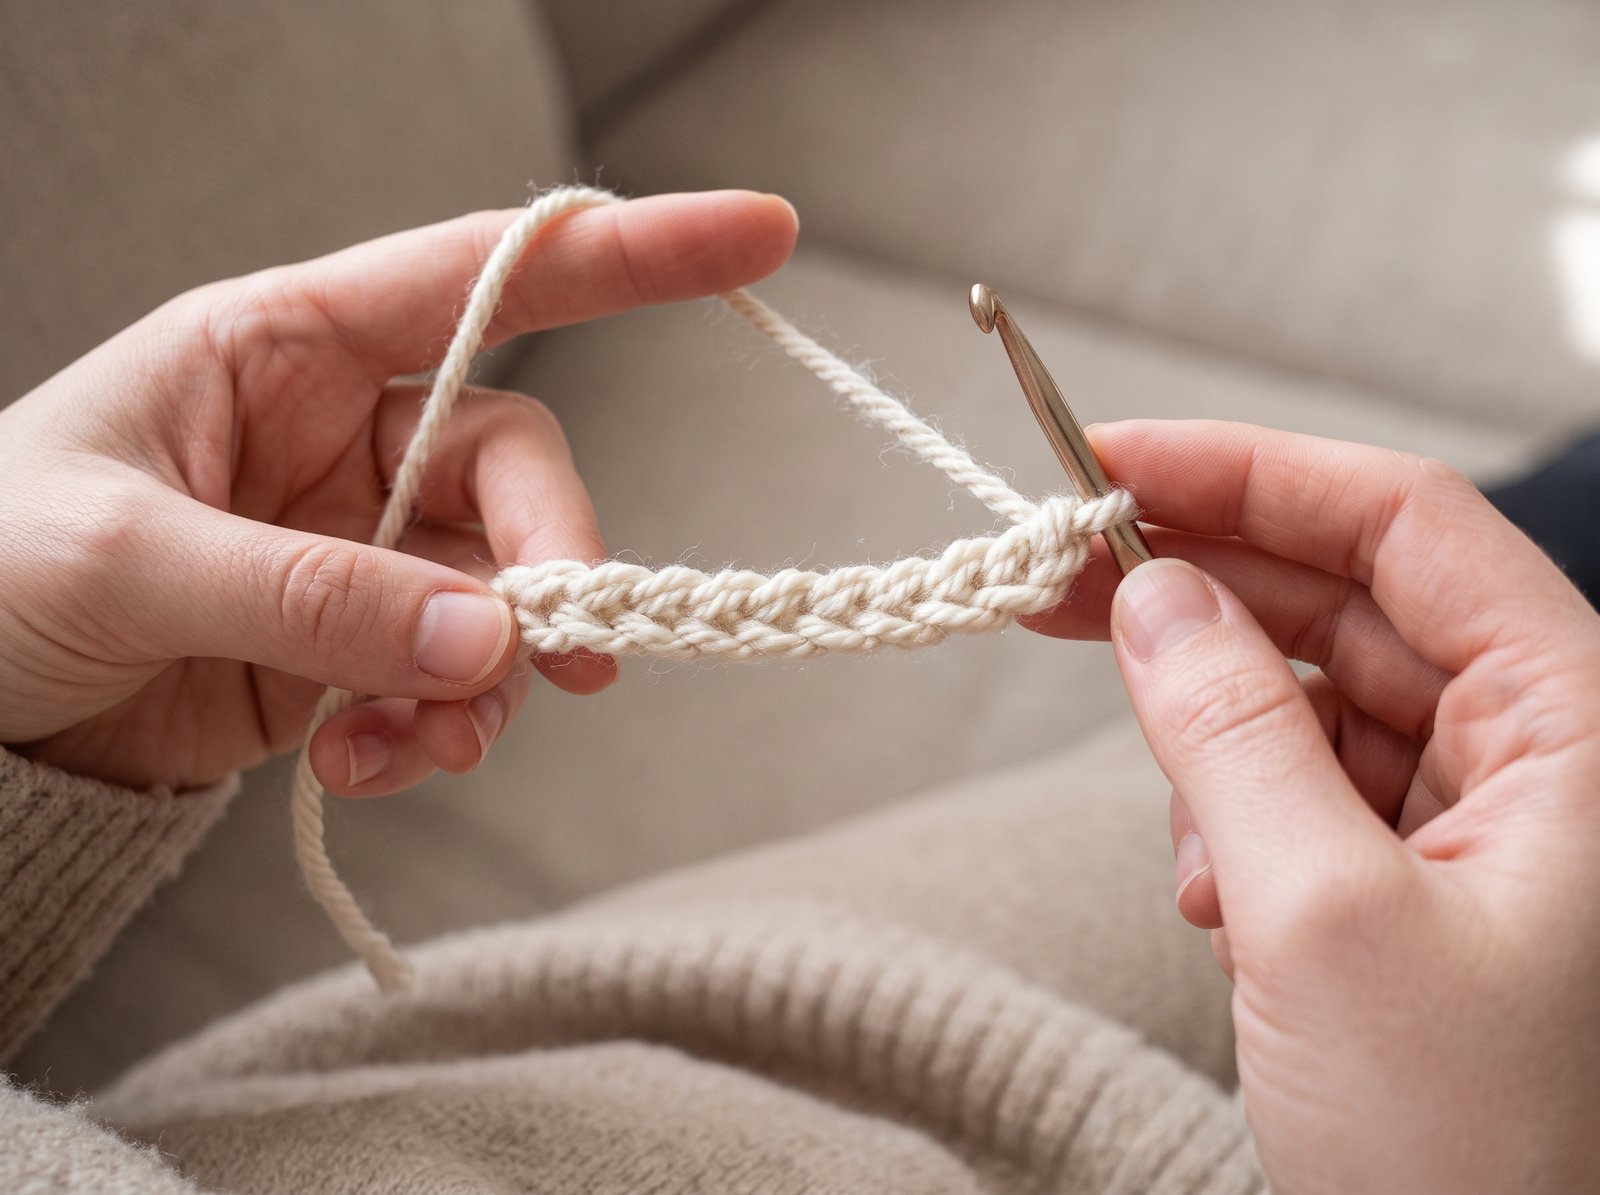
Learn to Recognize and Count Crochet Stitches
Before adding another type of stitch, look carefully at your chain.
Being able to recognize the structure of crochet is one of the most useful skills you can develop.
New crocheters sometimes concentrate so much on moving the hook that they forget to look at the fabric they are creating.
Your chain should show a row of V-shaped stitches from the front.
Count them slowly with your finger. Touch each V as you count instead of simply looking across the entire chain.
If the chain is twisting, place it on a table and gently straighten it.
If some chains are extremely tiny and others very large, do not restart immediately. This is a practice piece.
Continue working with it. The difference will actually help you feel how tension affects the next row.
Learn the Single Crochet Stitch
Now you are ready for your first basic crochet stitch: single crochet.
In US crochet terminology, single crochet is commonly abbreviated as sc.
Crochet patterns use many abbreviations, so becoming familiar with them early will make patterns much easier to read.
You can consult the Craft Yarn Council crochet abbreviations list whenever you encounter unfamiliar terminology.
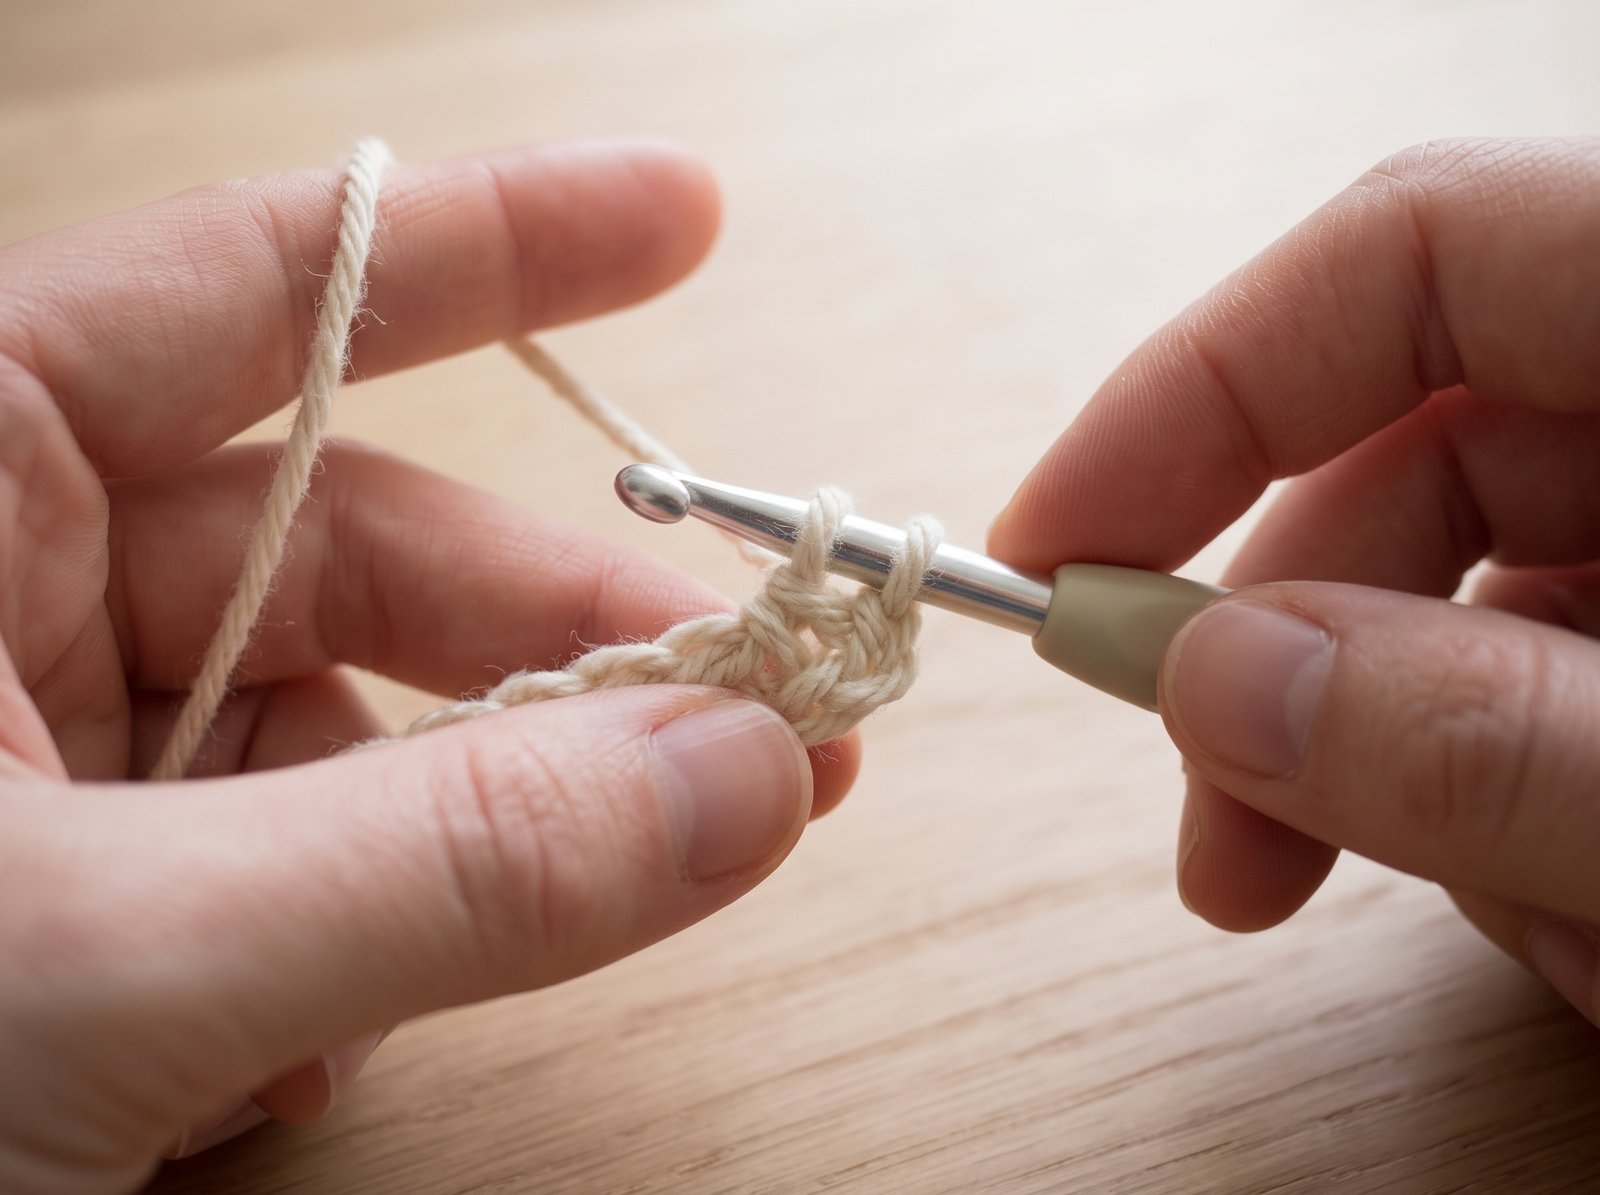
How to Single Crochet
-
Insert the hook.
Skip the first chain closest to your hook and insert your hook into the next chain.
-
Yarn over.
Bring the working yarn over the crochet hook.
-
Pull the yarn through the chain.
You should now have two loops sitting on your crochet hook.
-
Yarn over again.
Catch the working yarn with your hook one more time.
-
Pull through both loops.
Pull the yarn through both loops currently on your hook.
One loop remains on your hook. You have completed your first single crochet stitch.
Repeat this process in every chain across the row.
Keep your movements slow enough that you can identify the two loops before pulling yarn through them.
Turn Your Work and Crochet the Second Row
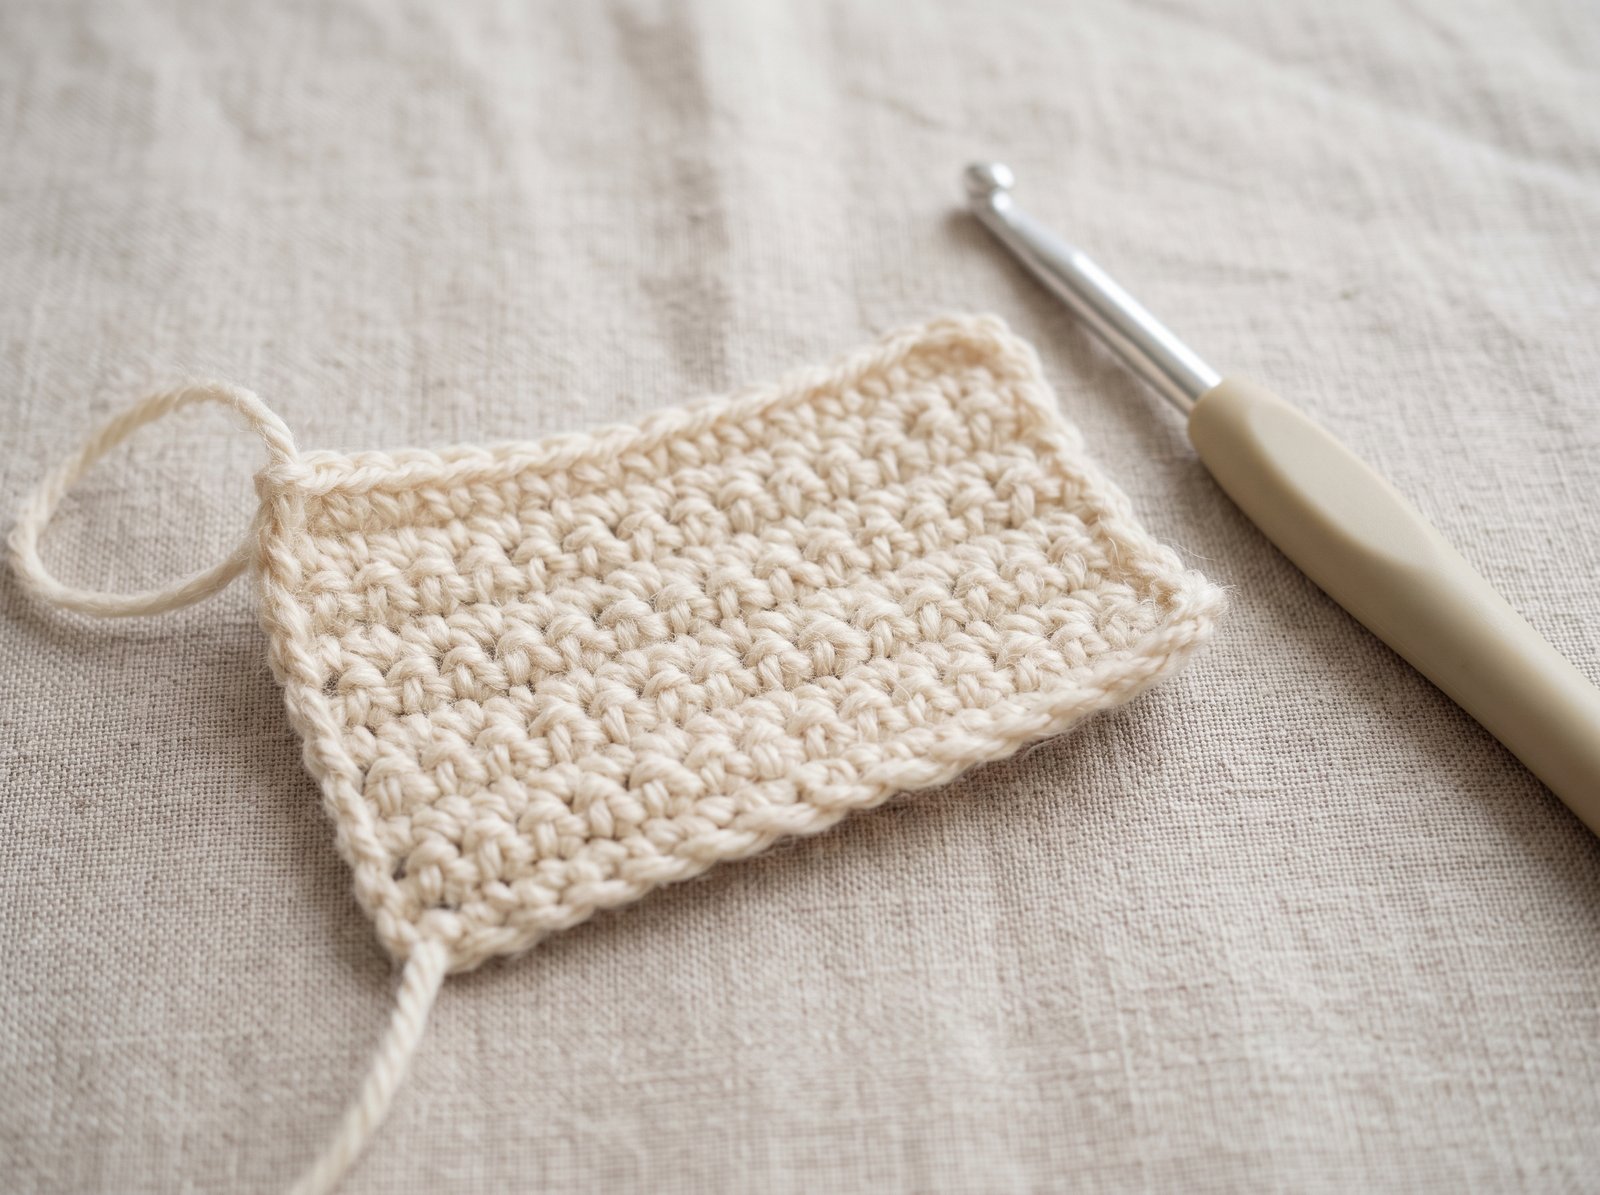
Reaching the end of your first row is a big milestone. Now you need to turn around and crochet back in the opposite direction.
Make one chain stitch. This is commonly called a turning chain.
Then physically turn your crochet piece so the row you just completed faces the other direction.
Look across the top edge. Each single crochet stitch forms a small V.
Insert your hook underneath the top loops of the first stitch, unless the specific pattern you are following tells you otherwise.
Work another single crochet: insert hook, yarn over, pull up a loop, yarn over again and pull through both loops.
Continue all the way across.
Why Is My Crochet Getting Wider or Narrower?
This is one of the most common beginner problems.
If your rectangle slowly becomes narrower, you are probably missing a stitch near one of the edges.
If it becomes wider, you may be accidentally placing extra stitches at the beginning or end of a row.
Count your stitches after every row.
You can also place a stitch marker in the first and last stitch of each row while learning.
Practice Crochet Tension Without Trying to Be Perfect
If there is one thing beginners worry about too much, it is tension.
Crochet tension simply describes how tightly or loosely you form your stitches.
Your first few rows may not look identical. One row may feel tight while another feels loose.
This usually improves naturally as your hands repeat the same movements.
Signs Your Tension May Be Too Tight
- You struggle to insert the hook into stitches.
- Your chain feels stiff.
- Your hands become tired quickly.
- The hook repeatedly gets stuck.
Signs Your Tension May Be Too Loose
- Your stitches look unusually large.
- The fabric has very large gaps.
- Your stitch sizes change dramatically.
Do not try to correct every stitch individually. Concentrate instead on relaxing your hands and feeding the yarn consistently.
A small practice swatch is valuable because you can make mistakes without worrying about ruining an important project.
7 Common Beginner Crochet Problems and How to Fix Them
-
My chain is too tight.
Relax your yarn hand and avoid pulling each new chain closed. You can also practice with a slightly larger hook.
-
I keep losing stitches.
Count every row and use markers in the first and last stitch.
-
My rectangle looks like a triangle.
You are probably adding or skipping stitches near the row edges.
-
The yarn keeps splitting.
Slow down and watch where the tip of your hook enters the stitch. Smooth yarn can also be easier while learning.
-
My hand hurts.
Loosen your grip and take regular breaks. Crochet should not require you to squeeze the hook tightly.
-
I cannot tell which stitch comes next.
Stop and look for the V shapes along the top of your work.
-
My stitches do not look like the tutorial photo.
Your first stitches do not need to look perfect. Continue practicing before judging the final appearance.
Finish Off and Weave In Your Yarn Ends
After several rows, you have made your first crochet fabric. Now you can learn how to finish it neatly.
How to Finish Off Crochet
Cut your working yarn while leaving a short tail.
Pull that yarn tail completely through the active loop on your hook. Gently tighten it.
Your crochet piece is now secured.
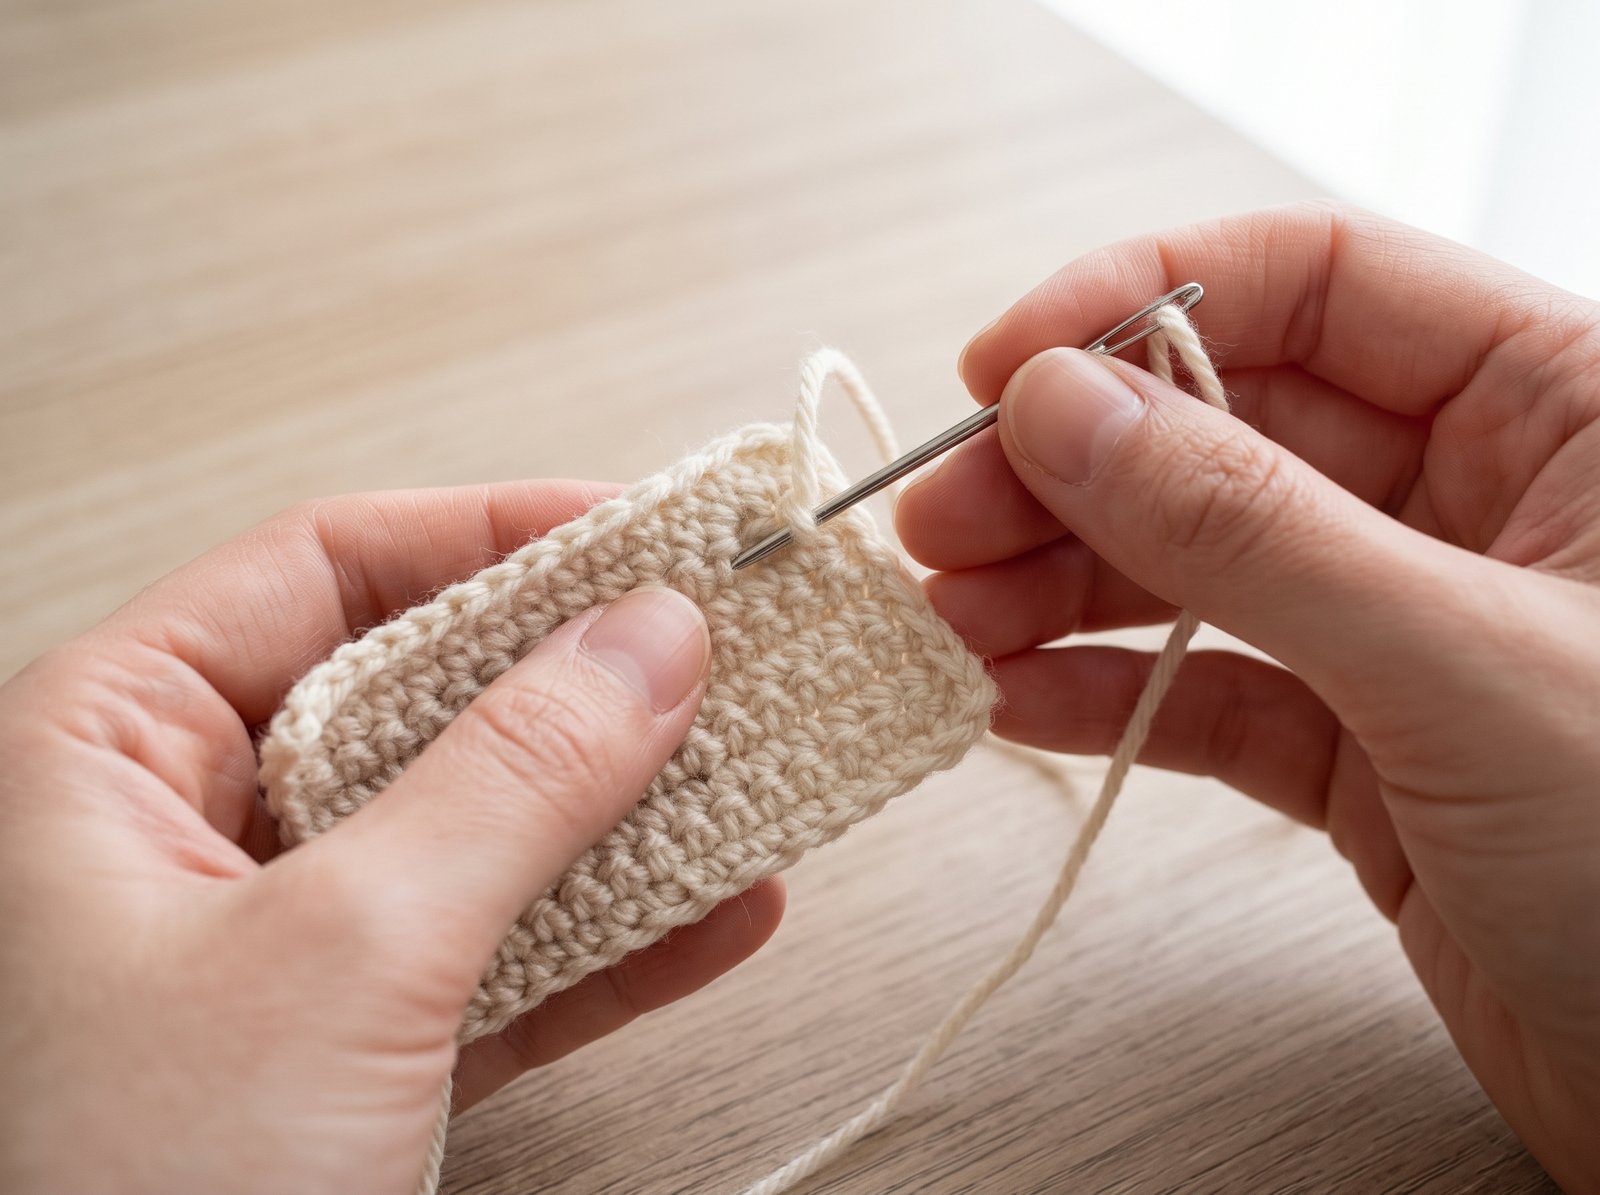
How to Weave In the End
Thread the yarn tail through a yarn needle.
On the back of your crochet fabric, guide the needle underneath several nearby stitches.
Pull the yarn through gently. Do not pull so tightly that the fabric puckers.
Change direction once or twice to help secure the yarn before trimming the remaining excess.
Finishing neatly may feel unimportant on a practice swatch, but it is worth learning now because you will use the same skill repeatedly in future projects.
What Should a Crochet Beginner Make First?
Now that you understand the basic movements, resist the temptation to choose the most complicated project you can find.
Your first project should let you repeat the skills you just learned.
Good beginner choices include:
- A simple crochet coaster
- A small washcloth
- A basic scarf
- A practice square
- A simple crochet ball after learning to work in rounds
Since Amigurumi Bunny focuses on crochet toys, our next goal is to move from flat crochet into working in the round.
That means learning a few additional techniques: the magic ring, increases, decreases, continuous rounds and stuffing.
Once these make sense, your first amigurumi bunny suddenly becomes much less intimidating.
From Beginner Crochet to Your First Amigurumi Bunny
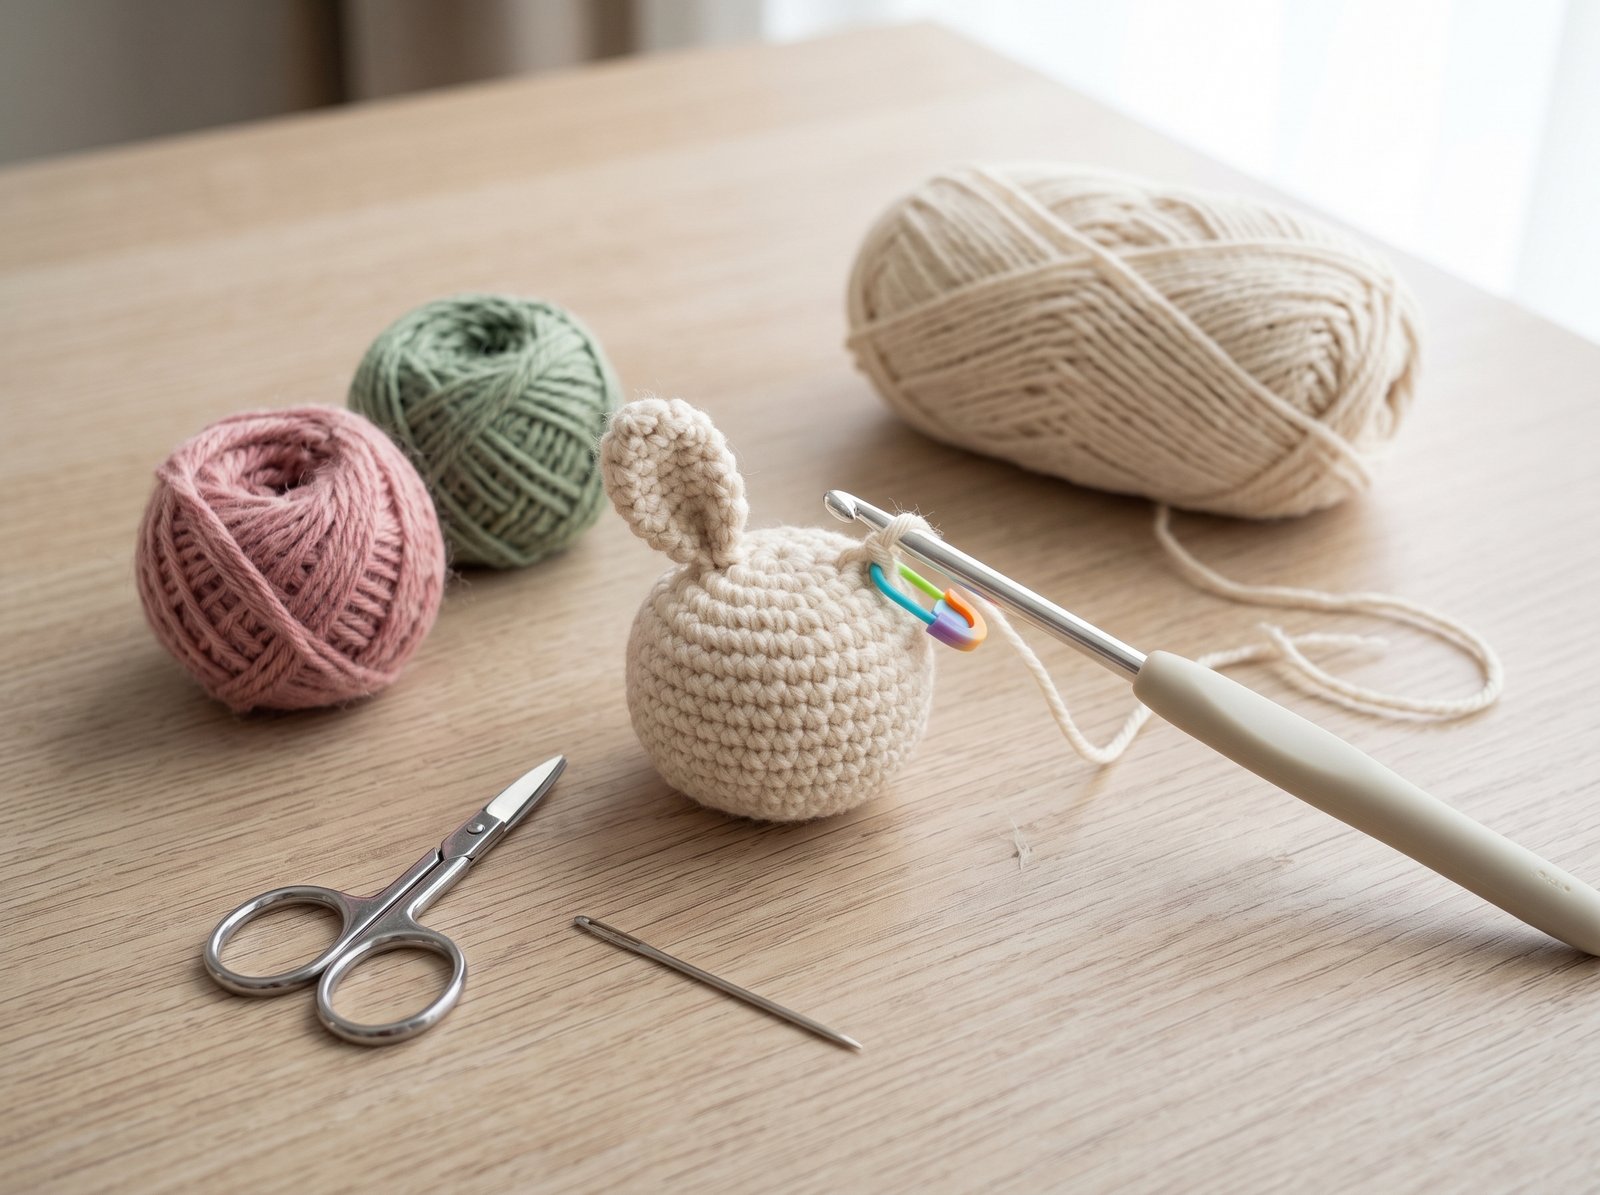
If your real reason for learning crochet is to make cute stuffed animals, you are already building the right foundation.
Amigurumi does not require you to learn every crochet stitch first.
In fact, many beginner amigurumi projects rely heavily on the same basic single crochet stitch you just practiced.
The biggest difference is that instead of working back and forth across flat rows, you often crochet around a circular shape.
Your next skills should therefore be:
- How to make a magic ring
- How to crochet in continuous rounds
- How to increase
- How to decrease
- How to count rounds
- How to stuff crochet shapes
- How to attach or join amigurumi pieces
You do not need to master all of them today. Learn one technique at a time in the same way you learned the chain and single crochet.
When you are ready, explore our beginner amigurumi guides or browse our amigurumi tutorials .
Turn Your New Crochet Skills Into Your First Bunny
You now understand the hook, yarn tension, slip knot, foundation chain, single crochet, turning rows and finishing your work.
Your next step is learning the few simple techniques used to transform those stitches into three-dimensional amigurumi.
How to Crochet for Beginners FAQ
Is crochet difficult to learn?
The first movements can feel unfamiliar, but beginners only need to learn a small number of basic techniques before they can begin making simple projects. Repetition usually makes the movements feel much more natural.
What crochet stitch should I learn first?
After learning the chain stitch, single crochet is an excellent first basic stitch because it teaches you how to recognize stitches, insert the hook and control multiple loops.
What yarn color is easiest for beginners?
A light, solid color generally makes the structure of the stitches easier to see than very dark, heavily textured or fuzzy yarn.
Why is my crochet chain so tight?
You may be pulling each new loop too tightly or holding the working yarn with excessive tension. Relax your hands and allow each chain to remain large enough for the hook to enter comfortably.
Why does my crochet keep getting narrower?
Beginners often accidentally skip the first or last stitch of a row. Count your stitches and use markers at the edges while you practice.
Do I need to learn double crochet before making amigurumi?
Not necessarily. Many beginner amigurumi projects are built primarily with single crochet, increases and decreases.
What should I learn after single crochet?
If your goal is amigurumi, learn the magic ring, continuous rounds, increases and decreases next.
Are US and UK crochet terms different?
Yes. Always check which terminology a pattern uses before starting. This tutorial uses US crochet terminology.
4 Comments
Comments are closed.