Amigurumi Bunny Pattern: 11 Easy Steps for a Kimono Bunny
Amigurumi Bunny Pattern: 11 Easy Steps to Make a Cute Kimono-Inspired Bunny
This amigurumi bunny pattern is perfect if you love adorable crochet animals, soft pastel colors and handmade projects with beautiful little details.
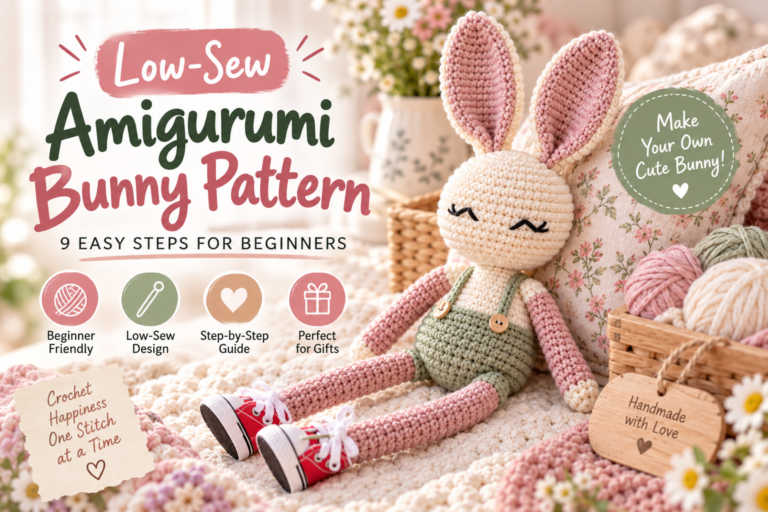
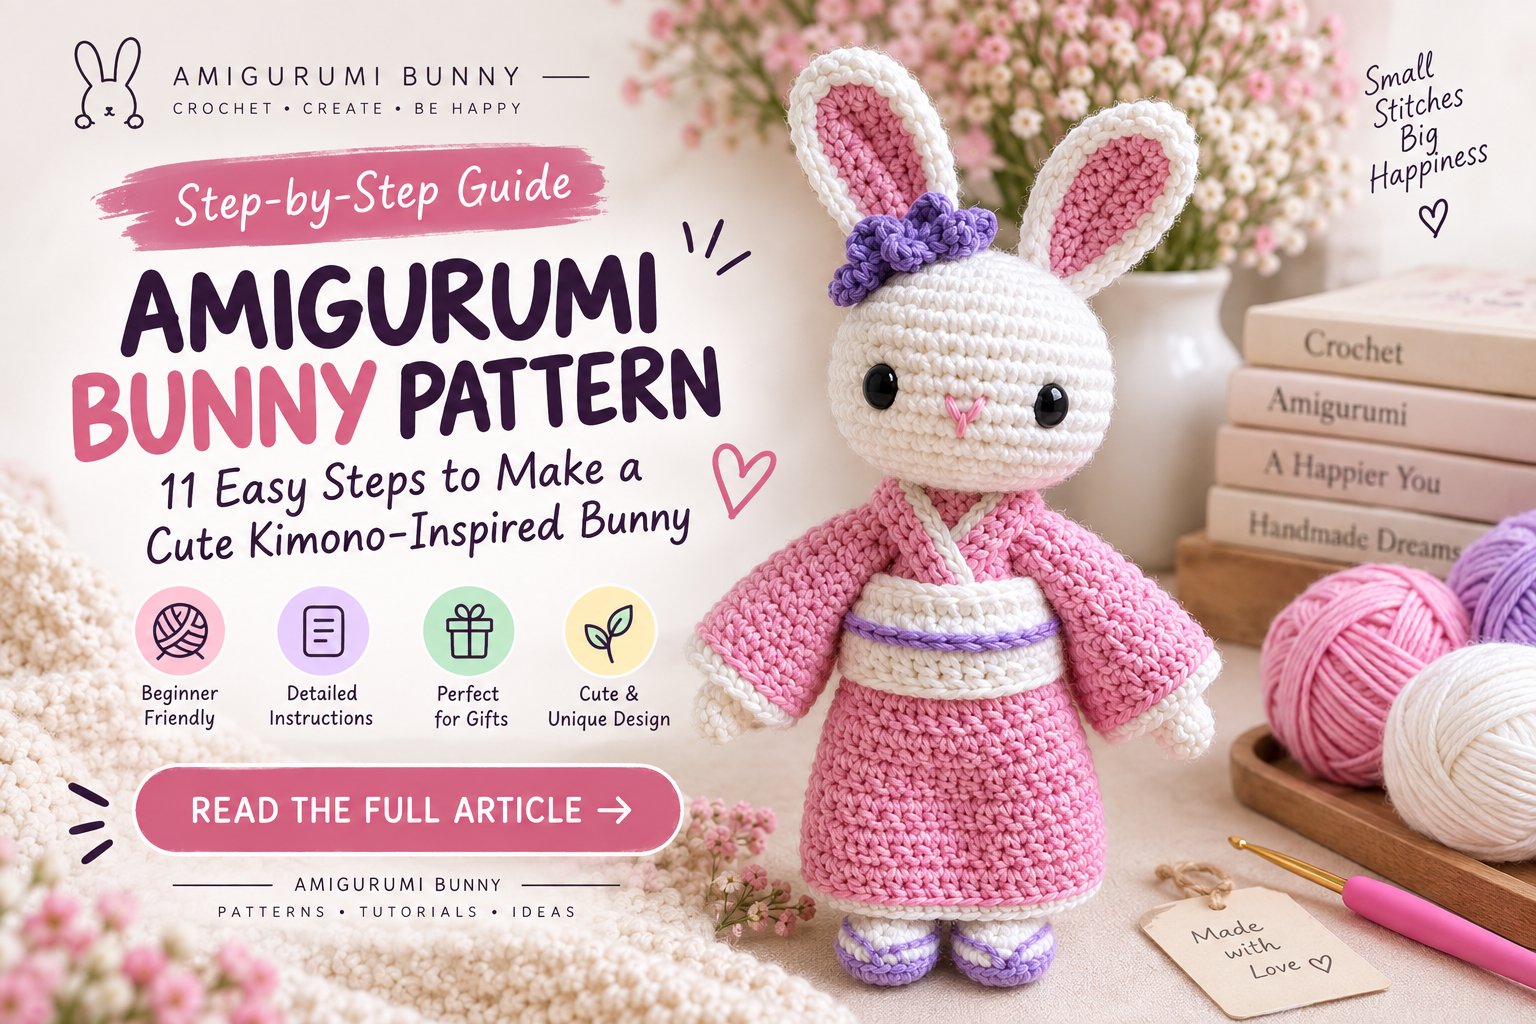
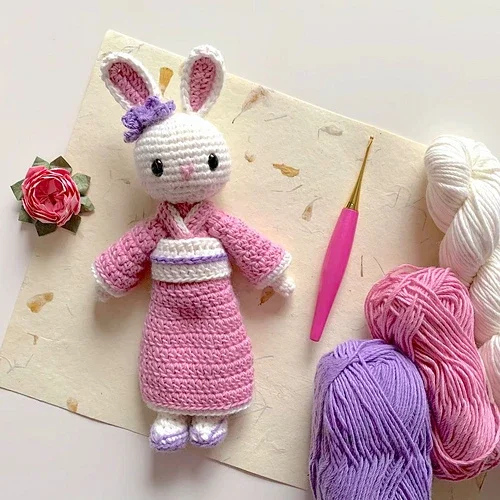
Inspired by a sweet white bunny wearing a pink kimono-style outfit, this guide walks you through the construction, shaping, yarn choices, assembly and finishing techniques that help create a polished crochet bunny.
Whether you’re improving your amigurumi skills or looking for inspiration for your next bunny project, you’ll find practical tips throughout this tutorial to make the process easier and more enjoyable.
Why You’ll Love This Amigurumi Bunny Pattern
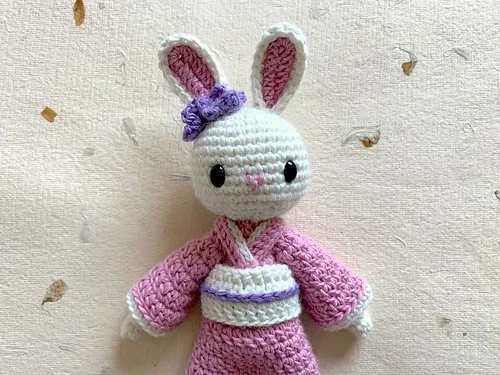
There are hundreds of crochet bunny ideas, but small design decisions can make one project feel completely different from another. This bunny combines a simple rounded head with tall ears, a soft pink outfit and small purple accents.
The result feels detailed without becoming overwhelming. The white head keeps the face clean and expressive, while the pink outfit creates the strongest area of color.
Purple is used sparingly around the waist and near the ear. Repeating the same accent color in two different places helps the design feel coordinated rather than random.
This idea is useful for almost any amigurumi bunny pattern. You don’t need dozens of decorations to create a memorable crochet toy. A simple color palette, balanced proportions and careful finishing can often produce a much more polished result.
The project is also easy to customize. You could replace pink with sage green, lavender, baby blue or dusty rose. You could remove the flower, create a tiny bow or give the bunny a completely different outfit.
Materials You’ll Need for Your Crochet Bunny
You don’t need a huge collection of crochet supplies. Most amigurumi projects can be made with a few basic tools and several coordinating yarn colors.
- White yarn for the bunny head, ears and hands
- Soft pink yarn for the main outfit
- Light purple yarn for decorative accents
- Small amount of pink yarn for inner-ear details
- Crochet hook appropriate for your yarn
- Polyester fiberfill
- Stitch markers
- Yarn or tapestry needle
- Scissors
- Black embroidery thread or suitable eyes
- Straight pins for assembly
Yarn thickness will influence the finished size of your bunny. A thicker yarn normally creates a larger project, while a finer yarn produces a smaller and more delicate result.
If you’re unsure which yarn category you’re using, you can check the Craft Yarn Council yarn weight system for a useful overview of standard yarn weights.
New to crochet toys? Visit our beginner amigurumi guides first to practice the basic techniques used in bunny projects.
Essential Skills Before Starting an Amigurumi Bunny
You don’t need to know dozens of stitches before beginning. Most amigurumi pieces rely on a small group of techniques repeated in different combinations.
It helps to understand how to create a starting ring, work single crochet stitches, increase, decrease and crochet in continuous rounds.
Counting stitches is equally important. Missing a single increase may not look dramatic immediately, but several small mistakes can gradually distort a round head or create uneven ears.
A stitch marker can save a lot of frustration. Place it at the beginning of each round and move it as you work.
If crochet abbreviations sometimes confuse you, the standard crochet abbreviations guide can be a helpful reference.
Choose a Soft and Balanced Color Palette
Start your amigurumi bunny pattern by deciding which colors you want to use. Color affects the personality of the finished toy more than many beginners realize.
This design uses white as the neutral base. White works beautifully for the head because it allows the facial features to remain clear and gives the pink outfit plenty of contrast.
Pink becomes the dominant clothing color while purple works as an accent. Because purple appears in more than one place, the entire character feels visually connected.
A useful beginner formula is to choose one neutral color, one dominant color and one accent color.
For example, you could try cream, sage and dusty rose. Another combination could be white, lavender and deep purple. Even blue, cream and mustard can work beautifully.
Crochet a Smooth Round Bunny Head
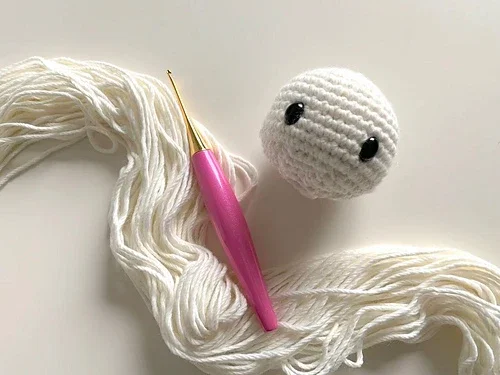
The head is one of the most important parts of an amigurumi character. People naturally look at the face first, so uneven shaping becomes easy to notice.
Most round amigurumi heads begin with evenly spaced increases. The circumference gradually expands until the desired width is reached.
After that, several rounds may be worked evenly before decreases begin shaping the lower section.
The most important thing is maintaining consistent tension. If your tension suddenly becomes looser halfway through the head, the surface can become uneven.
Stuff the head gradually. Add small pieces of fiberfill instead of pushing one large piece inside.
Turn the head in your hands while stuffing. Look for flat areas and gently redistribute the filling before closing the piece.
Make the White and Pink Bunny Ears
Bunny ears are much more than decorative pieces. Their size, angle and spacing strongly influence the character’s expression.
This bunny uses tall white ears with pink inner sections. The contrasting center makes each ear more visually interesting while keeping the main color connected to the white head.
Depending on your preferred construction method, the pink detail can be crocheted separately and sewn inside the ear or created through color changes.
Whichever method you use, make both ears as consistently as possible. Use the same hook, yarn and tension.
How to Keep Bunny Ears Even
Compare both ears before attaching either one. Place them side by side and look at their length, width and curve.
Then pin both ears onto the head. Avoid sewing one ear completely before deciding where the other belongs.
Count the stitches between each ear and the center of the head. Small adjustments at this stage can dramatically improve symmetry.
Create a Sweet Amigurumi Bunny Face
A few tiny details can completely change an amigurumi expression. Eyes that sit slightly higher, lower, closer together or farther apart can make the bunny look like a different character.
The bunny in this design uses large dark eyes combined with a tiny pink nose. Because the rest of the face is simple, these details become the main focal point.
Before permanently adding the face, use pins or removable markers to test different positions.
Look directly at the bunny, then place the head on a table and step back. Seeing the face from a distance makes asymmetry easier to notice.
If you’re making a crochet toy for a young child, choose facial features and construction methods appropriate for the intended recipient.
Build a Stable Bunny Body
Although much of the body is covered by the pink outfit, its shape still matters.
A stable torso supports the head and determines how the clothing falls around the finished bunny.
Keep the upper part of the body firm enough to support the relatively large round head.
If the neck area is too soft, the head may lean forward after assembly. On the other hand, overstuffing can stretch the stitches and make the body unnecessarily rigid.
Add fiberfill gradually and check the shape from several angles. The torso should feel supported while still remaining soft.
Create the Pink Kimono-Inspired Outfit
The clothing is what gives this crochet bunny its strongest identity. Without the outfit, the project would still be cute, but the pink robe transforms it into a much more distinctive character.
Notice the visual structure of the clothing. Pink covers most of the body, while white trim creates separation around the neckline and sleeves.
A purple detail around the waist introduces contrast without becoming too dominant.
You can create clothing in different ways. Some amigurumi designs build clothing directly into the body using color changes.
Others use separate garments that are crocheted independently and attached afterward.
A separate garment offers more flexibility and can make it easier to experiment with textures and colors.
Keep the Outfit Visually Balanced
Don’t feel that you need complicated stitches everywhere. Too much texture can distract attention from the bunny’s face.
Simple crochet fabric combined with neat edging often looks more polished than a very busy garment.
Add the Wide Sleeves and Small Bunny Hands
The sleeves are another important part of the kimono-inspired look. Their wider shape creates a different silhouette from a standard narrow amigurumi arm.
The small white hands appearing from the sleeves help connect the arms visually with the bunny’s white head.
Make both arm pieces using the same number of rounds. Compare them while working rather than waiting until both are complete.
Avoid overstuffing the sleeves. Slightly softer arms usually sit more naturally against the body.
Before sewing, pin both arms into place. Look at the project from the front and make sure they begin at a similar height.
Add the Obi-Inspired Waist Detail
The waist band is a relatively small feature, yet it has a surprisingly large visual impact.
It creates a break between the upper and lower sections of the pink garment and gives the outfit more structure.
The combination of white and purple also introduces contrast. Because purple appears again near the bunny’s ear, the color feels deliberate.
When creating your own band, check the circumference around the body before attaching it.
It should sit securely without squeezing the body so tightly that it creates an unwanted indentation.
This is a great example of how a simple amigurumi bunny pattern can look sophisticated through thoughtful color placement rather than complicated construction.
Crochet and Position the Bunny Feet
The feet are partly hidden underneath the long outfit, but they still affect the bunny’s proportions and pose.
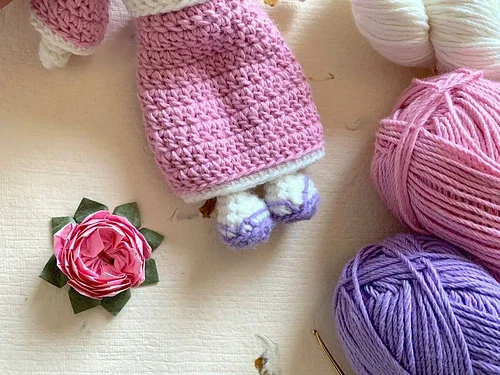
Using white for the feet helps connect them with the head and hands, while small purple details repeat the established accent color.
Matching small pieces can sometimes be more frustrating than making a large body because tiny differences are easy to notice.
Write down your round count for the first foot and follow the same notes for the second one.
Before permanent attachment, place both feet below the body and compare their position.
Assemble Your Amigurumi Bunny Carefully
Assembly can make the difference between a handmade project that looks polished and one that feels slightly uneven.
Don’t rush this stage simply because the crocheting is finished.
Start by positioning the head on the body. Use several pins to hold it in place and inspect the angle from the front, sides and back.
Once the head feels balanced, test the ears. Their angle changes the entire personality of the bunny.
Place both ears before sewing either one permanently. Then position the arms and feet.
Use small controlled stitches during assembly. Pull firmly enough to secure the pieces but not so tightly that the surrounding crochet fabric becomes distorted.
Add the Purple Flower and Finishing Details
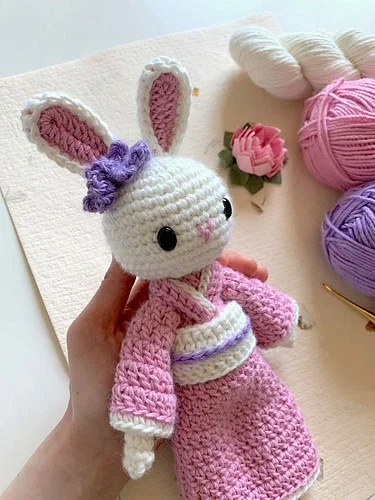
Small accessories can give an amigurumi character a strong personality. The purple flower near the bunny’s ear is a perfect example.
It attracts attention toward the face while repeating the purple color already used around the waist.
If you want to customize your bunny, you could replace the flower with a bow, tiny crochet rose or another small decoration.
Keep the accessory proportional. An oversized decoration may cover too much of the ear and compete with the facial features.
Test the accessory on both sides before sewing. Sometimes one side creates a noticeably better visual balance.
Once everything is attached, hide loose yarn tails, gently reshape the head and clothing and inspect all seams.
Your finished amigurumi bunny pattern project should now feel coordinated from top to bottom.
7 Common Amigurumi Bunny Mistakes to Avoid
-
Using inconsistent tension
Changing tension dramatically between rounds can create bumps, unexpected size differences and an uneven surface.
-
Overstuffing the head
Too much fiberfill can stretch stitches and make stuffing visible. Add small amounts gradually.
-
Attaching ears without testing placement
Always pin both ears before sewing. Long ears make uneven placement particularly noticeable.
-
Rushing facial placement
Small changes in eye or nose placement can completely change the character’s expression.
-
Losing track of round counts
Keep simple written notes when making two matching pieces such as ears, sleeves or feet.
-
Using too many colors
A limited color palette often creates a more polished and recognizable character.
-
Rushing assembly
Beautiful crochet pieces can still look uneven if their final placement isn’t carefully planned.
4 Beautiful Color Ideas for Your Amigurumi Bunny Pattern
Once you’re comfortable with the construction, changing the colors is one of the easiest ways to create a completely new bunny.
Use cream, blush pink and burgundy accents for a soft floral look.
Combine white, pale lavender and deeper purple for a calm pastel palette.
Pair cream with sage green and dusty rose for a cozy earthy design.
Use white, powder blue and a small navy accent for a fresh look.
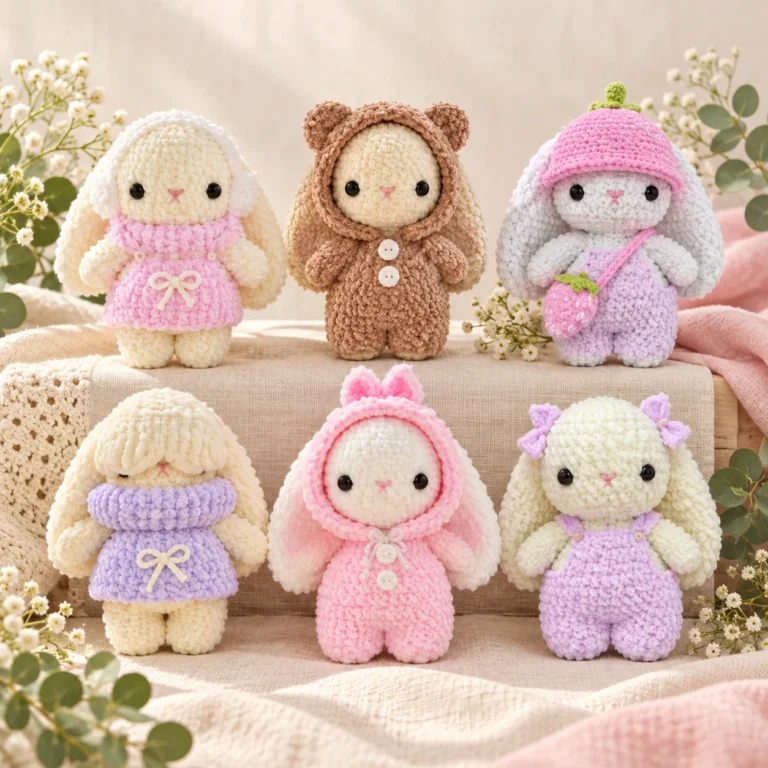
Explore more amigurumi bunny ideas if you’re looking for inspiration for your next crochet project.
How to Make Your Crochet Bunny Look More Professional
Professional-looking amigurumi isn’t only about advanced crochet skills. Finishing often matters just as much as the stitches themselves.
Start with consistent tension. Even stitches give the surface a clean appearance and help you predict how each piece will grow.
Next, hide yarn tails carefully. Loose ends around color changes, sleeves and accessories can make an otherwise beautiful project feel unfinished.
Pay close attention to symmetry. Handmade toys don’t need mathematical perfection, but obviously uneven eyes or ears can distract from the design.
Use pins generously. They let you experiment without committing to permanent placement.
Finally, know when to stop adding decorations. This amigurumi bunny pattern already has a strong visual identity through its ears, outfit, waist detail and flower.
Adding too many extra elements could make the project feel crowded.
How Much Stuffing Should an Amigurumi Bunny Have?
Stuffing is one of the easiest parts of amigurumi to underestimate. It directly influences the shape, firmness and final appearance of each piece.
The head generally needs enough support to maintain a rounded surface. Add small portions of stuffing and distribute them toward the edges.
Avoid creating one hard lump in the center. This can make the head feel uneven even if your crochet stitches are perfectly consistent.
The body should support the head while still remaining soft. Smaller limbs usually require less stuffing.
If you want the arms to sit naturally beside the body, slightly softer stuffing can give them more flexibility.
Check the crochet fabric as you work. If gaps are widening significantly, stop and redistribute or remove a little stuffing.
Cotton vs Acrylic Yarn for Amigurumi Bunnies
Both cotton and acrylic yarn can work well for an amigurumi bunny pattern. The better choice depends on the appearance, texture and availability you’re looking for.
Cotton often gives clear stitch definition. This can be helpful when counting stitches and creating small details.
Acrylic yarn is widely available in many colors and can be soft and easy to work with depending on the specific yarn.
Instead of focusing only on the fiber type, examine the yarn itself. Consider thickness, twist, softness and how clearly you can see the individual stitches.
A yarn that feels comfortable in your hands will usually make a long crochet project more enjoyable.
How to Make Your Amigurumi Bunny Larger or Smaller
Changing the yarn thickness is one of the simplest ways to change the finished size of a crochet bunny.
Thicker yarn with an appropriate hook will generally produce a larger bunny, while finer yarn creates a smaller version.
However, remember that changing yarn size also changes the scale of every detail.
A decorative flower that looks tiny on a medium bunny may appear huge on a miniature one.
The same applies to facial features and clothing details. Always evaluate the entire project rather than adjusting only one piece.
Try to use yarns of similar thickness when combining multiple colors. This helps the outfit, head and accessories maintain consistent proportions.
Why a Handmade Bunny Makes a Special Gift
Handmade crochet projects feel personal because every part is created slowly and intentionally.
A dressed bunny like this can work beautifully as a decorative keepsake, birthday gift or addition to an amigurumi collection.
You can personalize the colors based on the recipient’s favorite shades.
You could also create several versions of the same design with different clothing palettes.
If the project is intended for a child, make sure your yarn, embellishments and facial features are appropriate for the child’s age and intended use.
How to Care for a Finished Crochet Bunny
Always check the care instructions supplied with the yarn you used. Different fibers can respond differently to washing, heat and agitation.
Decorative amigurumi projects may only need occasional gentle spot cleaning.
Avoid pulling aggressively on ears, flowers or clothing while cleaning.
Afterward, gently reshape the bunny and let it dry completely.
Saving your yarn labels with your project notes is useful because you’ll always have the manufacturer’s care instructions available later.
Amigurumi Bunny Pattern FAQ
Is this amigurumi bunny pattern suitable for beginners?
The core bunny techniques are approachable for crocheters who already understand single crochet, increases, decreases and continuous rounds. The outfit and decorative details add some extra complexity.
What yarn should I use for an amigurumi bunny?
Cotton and acrylic are both popular options. Choose a yarn that gives you clear stitches, comfortable tension and the colors needed for your design.
Why can I see stuffing between my crochet stitches?
Your hook may be too large, your tension may be too loose or the piece may be overstuffed. Try correcting one factor at a time.
How do I make both bunny ears the same size?
Use the same yarn and hook, count rounds carefully and compare both ears frequently while crocheting.
When should I add the bunny’s facial features?
Many crocheters find it easier to position facial features while the head is still separate because it can be rotated freely.
Can I change the colors in an amigurumi bunny pattern?
Yes. Changing colors is one of the easiest ways to personalize a crochet project. Try using one neutral color, one dominant clothing color and one accent.
Can the bunny clothing be removable?
It can be if you construct the garment separately. Removable clothing may require a slightly different neckline or opening so the garment can pass over the body.
How do I prevent my bunny’s head from leaning forward?
Make sure the upper body and neck area have enough support. Secure the head firmly and evenly during assembly.
What makes an amigurumi bunny look professional?
Consistent tension, controlled stuffing, symmetrical placement, carefully hidden yarn tails and patient assembly make a major difference.
Keep Improving Your Amigurumi Skills
Finishing one bunny is only the beginning. Repeating similar techniques across different projects is one of the best ways to improve your confidence.
Browse our crochet tutorials for more technique-focused content.
You can also explore our bunny crochet ideas when you’re searching for colors, styles and inspiration.
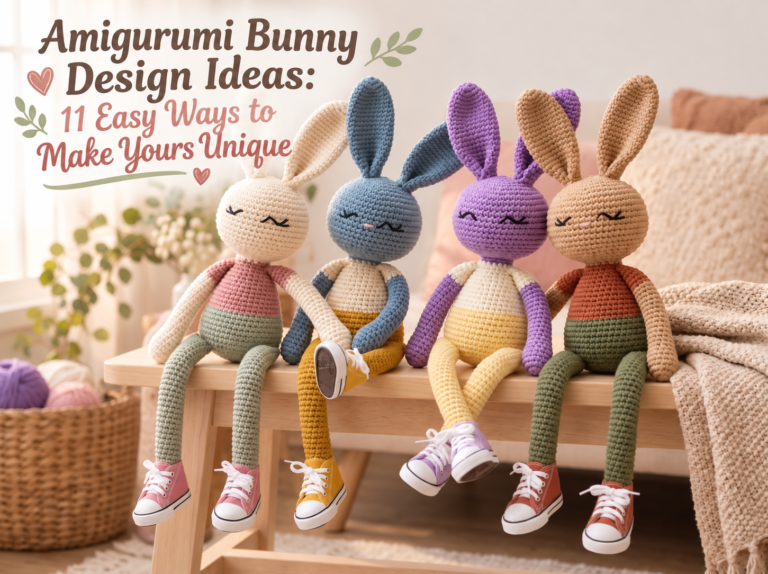
If you enjoy unusual bunny proportions, take a look at our long-legged amigurumi bunny tutorial too.
Final Thoughts on This Amigurumi Bunny Pattern
What makes this bunny charming isn’t one extremely complicated crochet technique.
It’s the combination of simple shapes, thoughtful color choices and small decorative details.
The white round head provides a clean foundation. Pink inner ears introduce warmth while the matching pink outfit creates a strong visual identity.
Purple appears only in a few places, but those accents help connect the waist and flower.
Careful assembly then brings everything together. The ears need thoughtful placement, the arms should sit at a similar height and the face should remain balanced.
If this is one of your first amigurumi projects, don’t expect every stitch to look identical. Handmade crochet improves through repetition.
Each bunny you create teaches you more about tension, shaping, stuffing and sewing.
If you already have some experience, this amigurumi bunny pattern gives you an opportunity to experiment with clothing, color layering and accessories while keeping the underlying construction approachable.
Choose your favorite yarn colors, prepare your hook and enjoy the process of turning simple strands of yarn into a bunny with its own personality.
Follow the Complete Bunny Pattern Step by Step
You’ve now learned how the bunny is planned, shaped, stuffed, decorated and assembled.
When you’re ready to crochet the complete project without guessing the stitch counts or rounds, keep the full PDF guide beside you.